Now that the seats are done, it's time to get busy putting more stuff together. I got a long way this weekend.
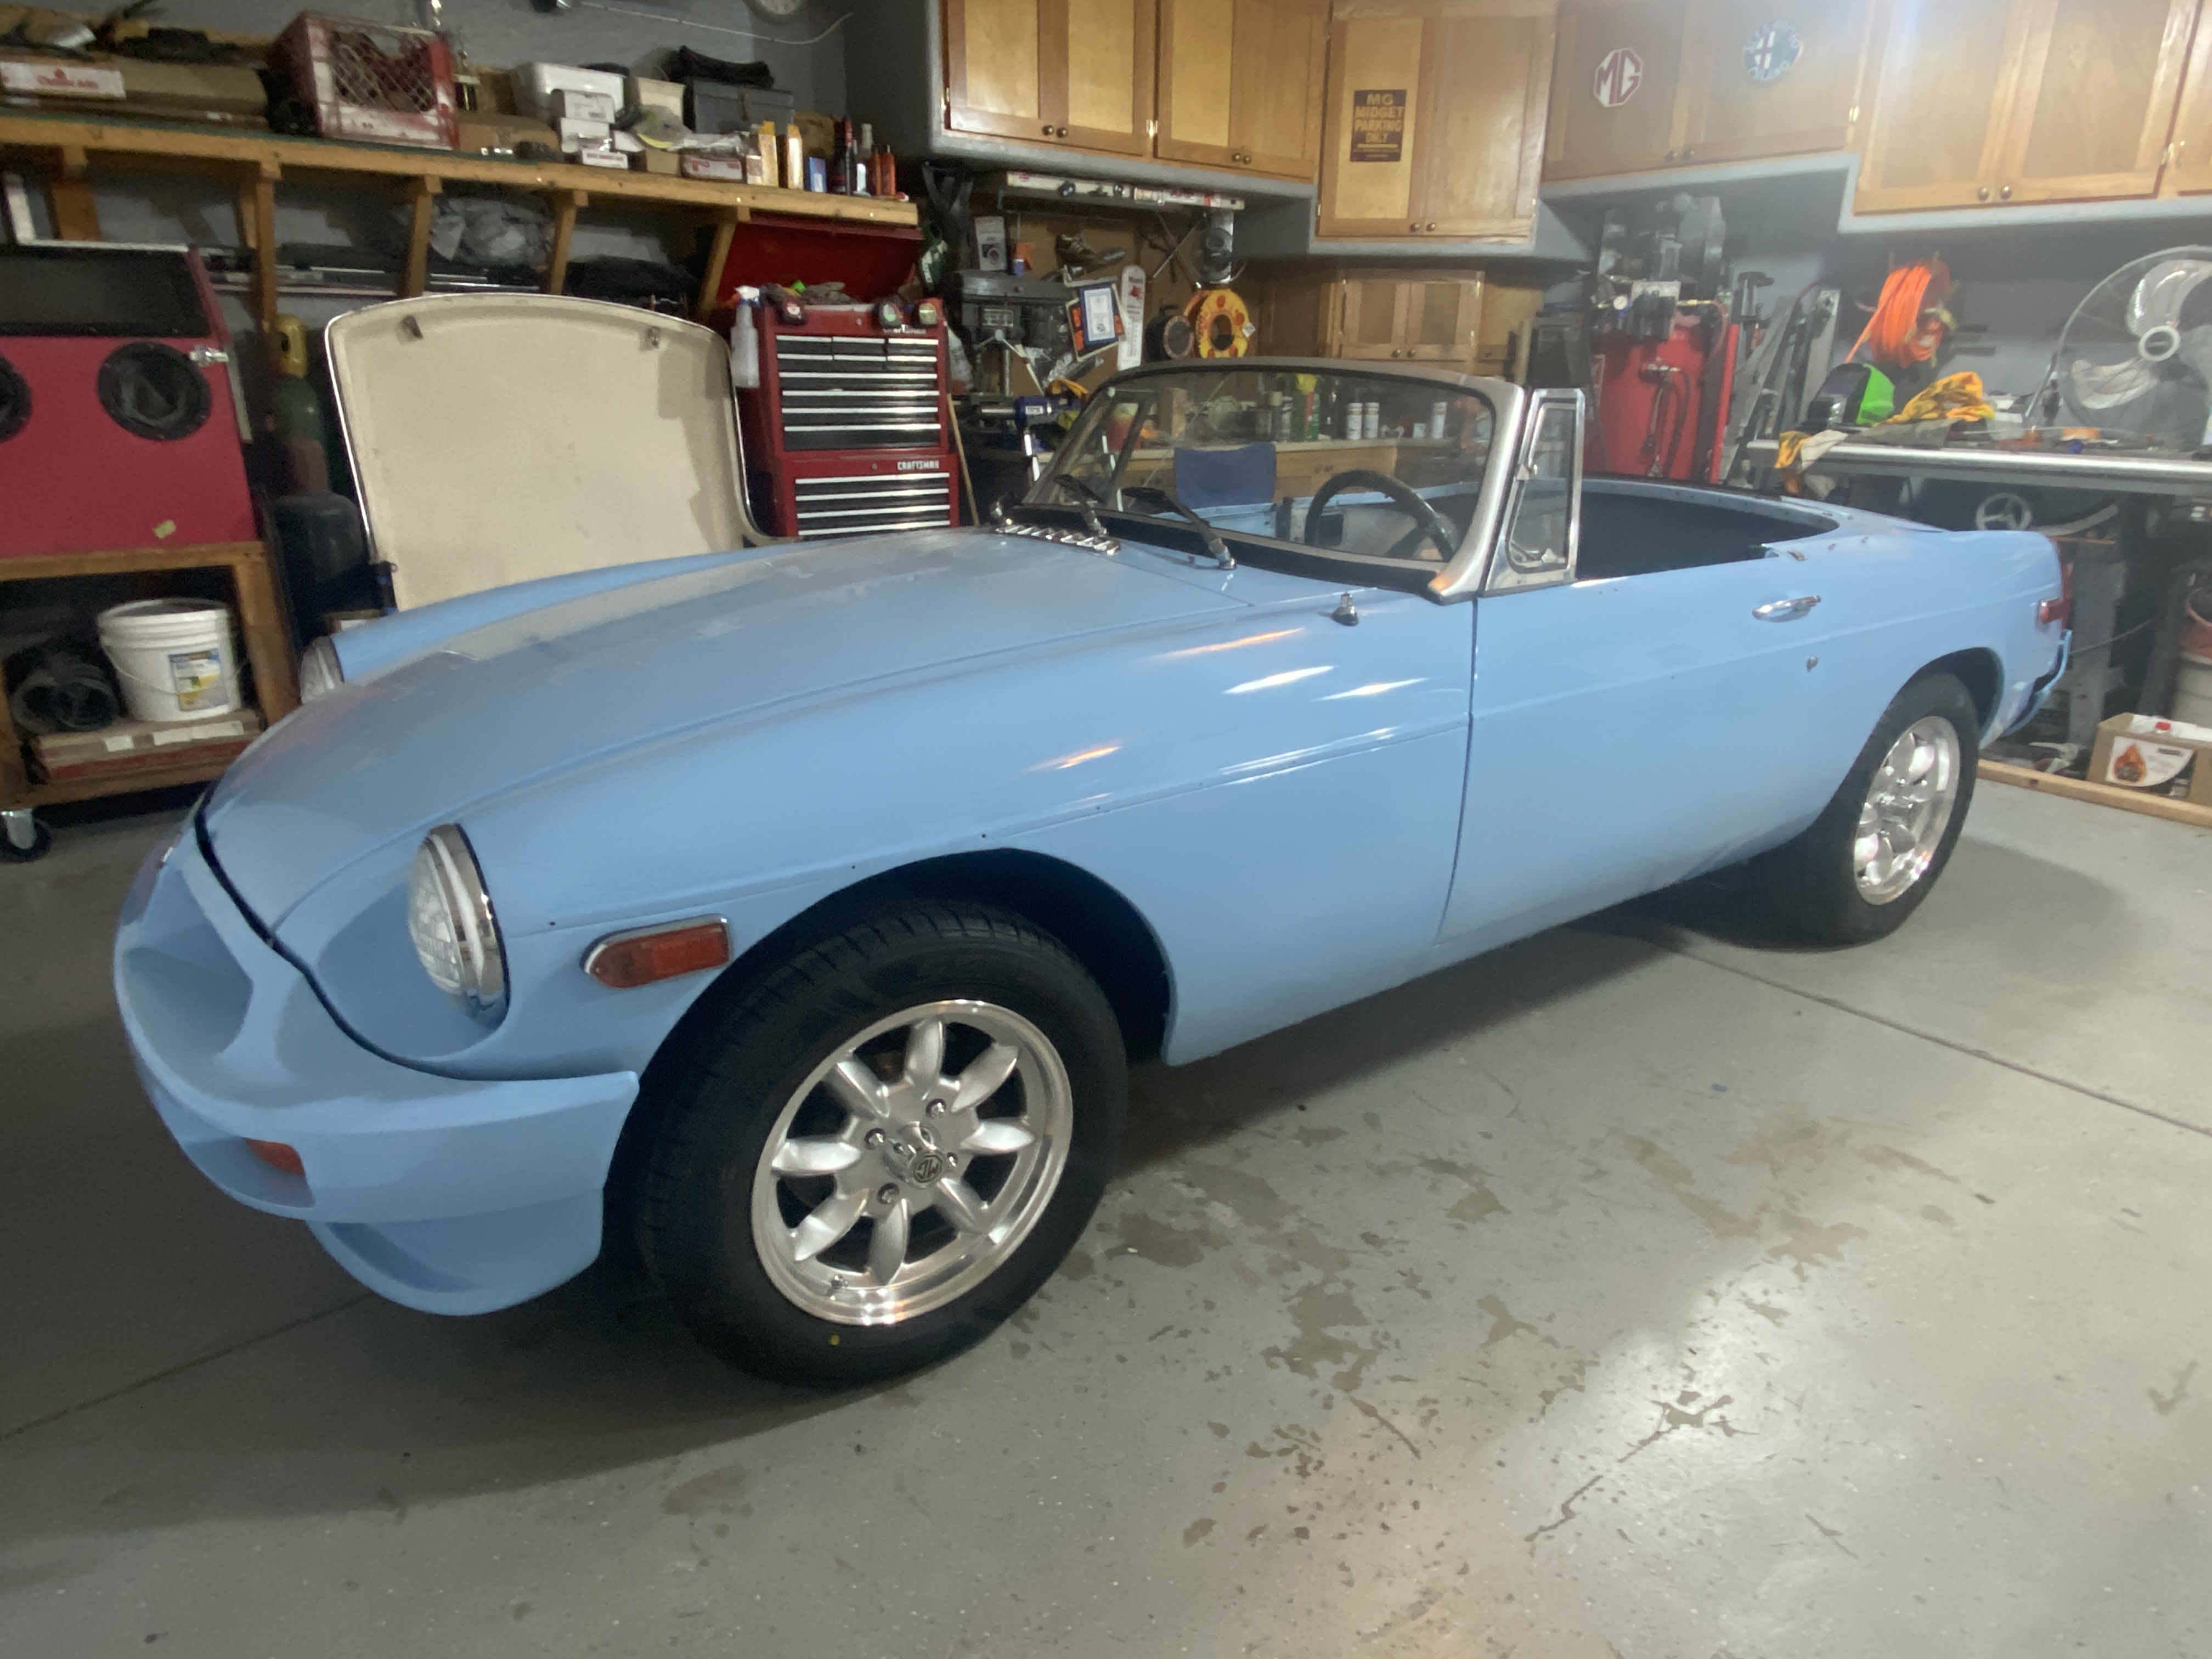
Here's the glamour shot first...

And now, down to business.
First, I cleaned up the wiper arms. They were originally black, but I like the look of the chrome that was underneath them...


And new blades, of course.
Then I did a little more covering of things, namely the cockpit surround. It's nice.

Then, my wife and daughter helped me take the boot lid off so I could install the seal and latch, and reinstall it to the car. It fit well until I put the boot lid prop in - then it got tweaked somehow and I have not yet solved the problem. I am frustrated enough to let this sit for a while. It fits nicely in the picture here, though. And it latches!


Moving on... I removed the bonnet with the help of my neighbors, installed the sound deadening material, and reinstalled it. I installed gas strut props too, later.

From there, I moved to the big job - the windshield. I had reassembled the windshield with new seals, and "all I had to do" was get it onto the car. This was not at all fun, nor was it easy. The new seal is not very flexible. All the videos I watched made it look simple - just roll the seal outward as you press the frame down.
No.
What I ended up doing was rolling outward a little bit by pushing on it from the back with a body filler applicator (being plastic and soft). Then I pushed the frame down just enough to install the center bolts and use them to cinch the frame down a little bit at a time, stopping and pulling the seal outward by getting my fingers under it and curling it back. After about 10 rounds of this, I was very close - and was able to get one of the frame bolts installed on one side. I used a C-clamp to compress the gasket just a little bit more and it was enough to allow the bolt to start threading in. I cinched the frame down in the center as far as I could and was able to then lever the frame into place on one side and get the other bolt in place. I then repeated the C-clamp trick on the driver's side, but couldn't get the second (last) bolt in place. I stopped for the evening out of sheer exhaustion. But in the morning, I found that the seal had compressed enough that I could rather easily install the last bolt! With that, the windscreen was installed and the angles are correct.

I do not want to do this ever again.
But enough whining... I moved to the doors. My neighbor Jack again came to the rescue, holding the door in place while I installed new screws. That worked out pretty well and the doors line up as expected.

Alice almost looks like a car again!
Next, I installed the quarter (vent) windows. This went pretty well, having cleaned them up and installed new rubber. The windows fit like they should with no fiddling required. I added the door handles and locks, which move (and should work!).
Then I installed those gas struts for the bonnet, and spent an hour realigning the bonnet to fit the way I wanted. It looks pretty good. The struts allow the bonnet to open very wide!

And finally, I installed the chrome trim. My friend George gave me a new set. They're really nice, just like him. I did have to reuse one piece of my old trim, but it was the one piece that was in good shape. But ooh... ahh... she looks like a real car and everything!

Now I just need to assemble the windows and figure out that pesky boot lid, and install the mirrors - and the outside of the car is complete!
Next step is the dashboard. Once fixed up and installed, I can charge the battery and try to start her up. Hopefully after that it's just a matter of installing the interior and seats, changing fluids, and installing new steering rack tie rod ends and boots (the rebuild will have to wait a bit). I am trying to get Alice ready for the Arizona MG Club's British Wheels on the Green show at the end of the month. I might make it. I probably won't. I will do my best, though!


