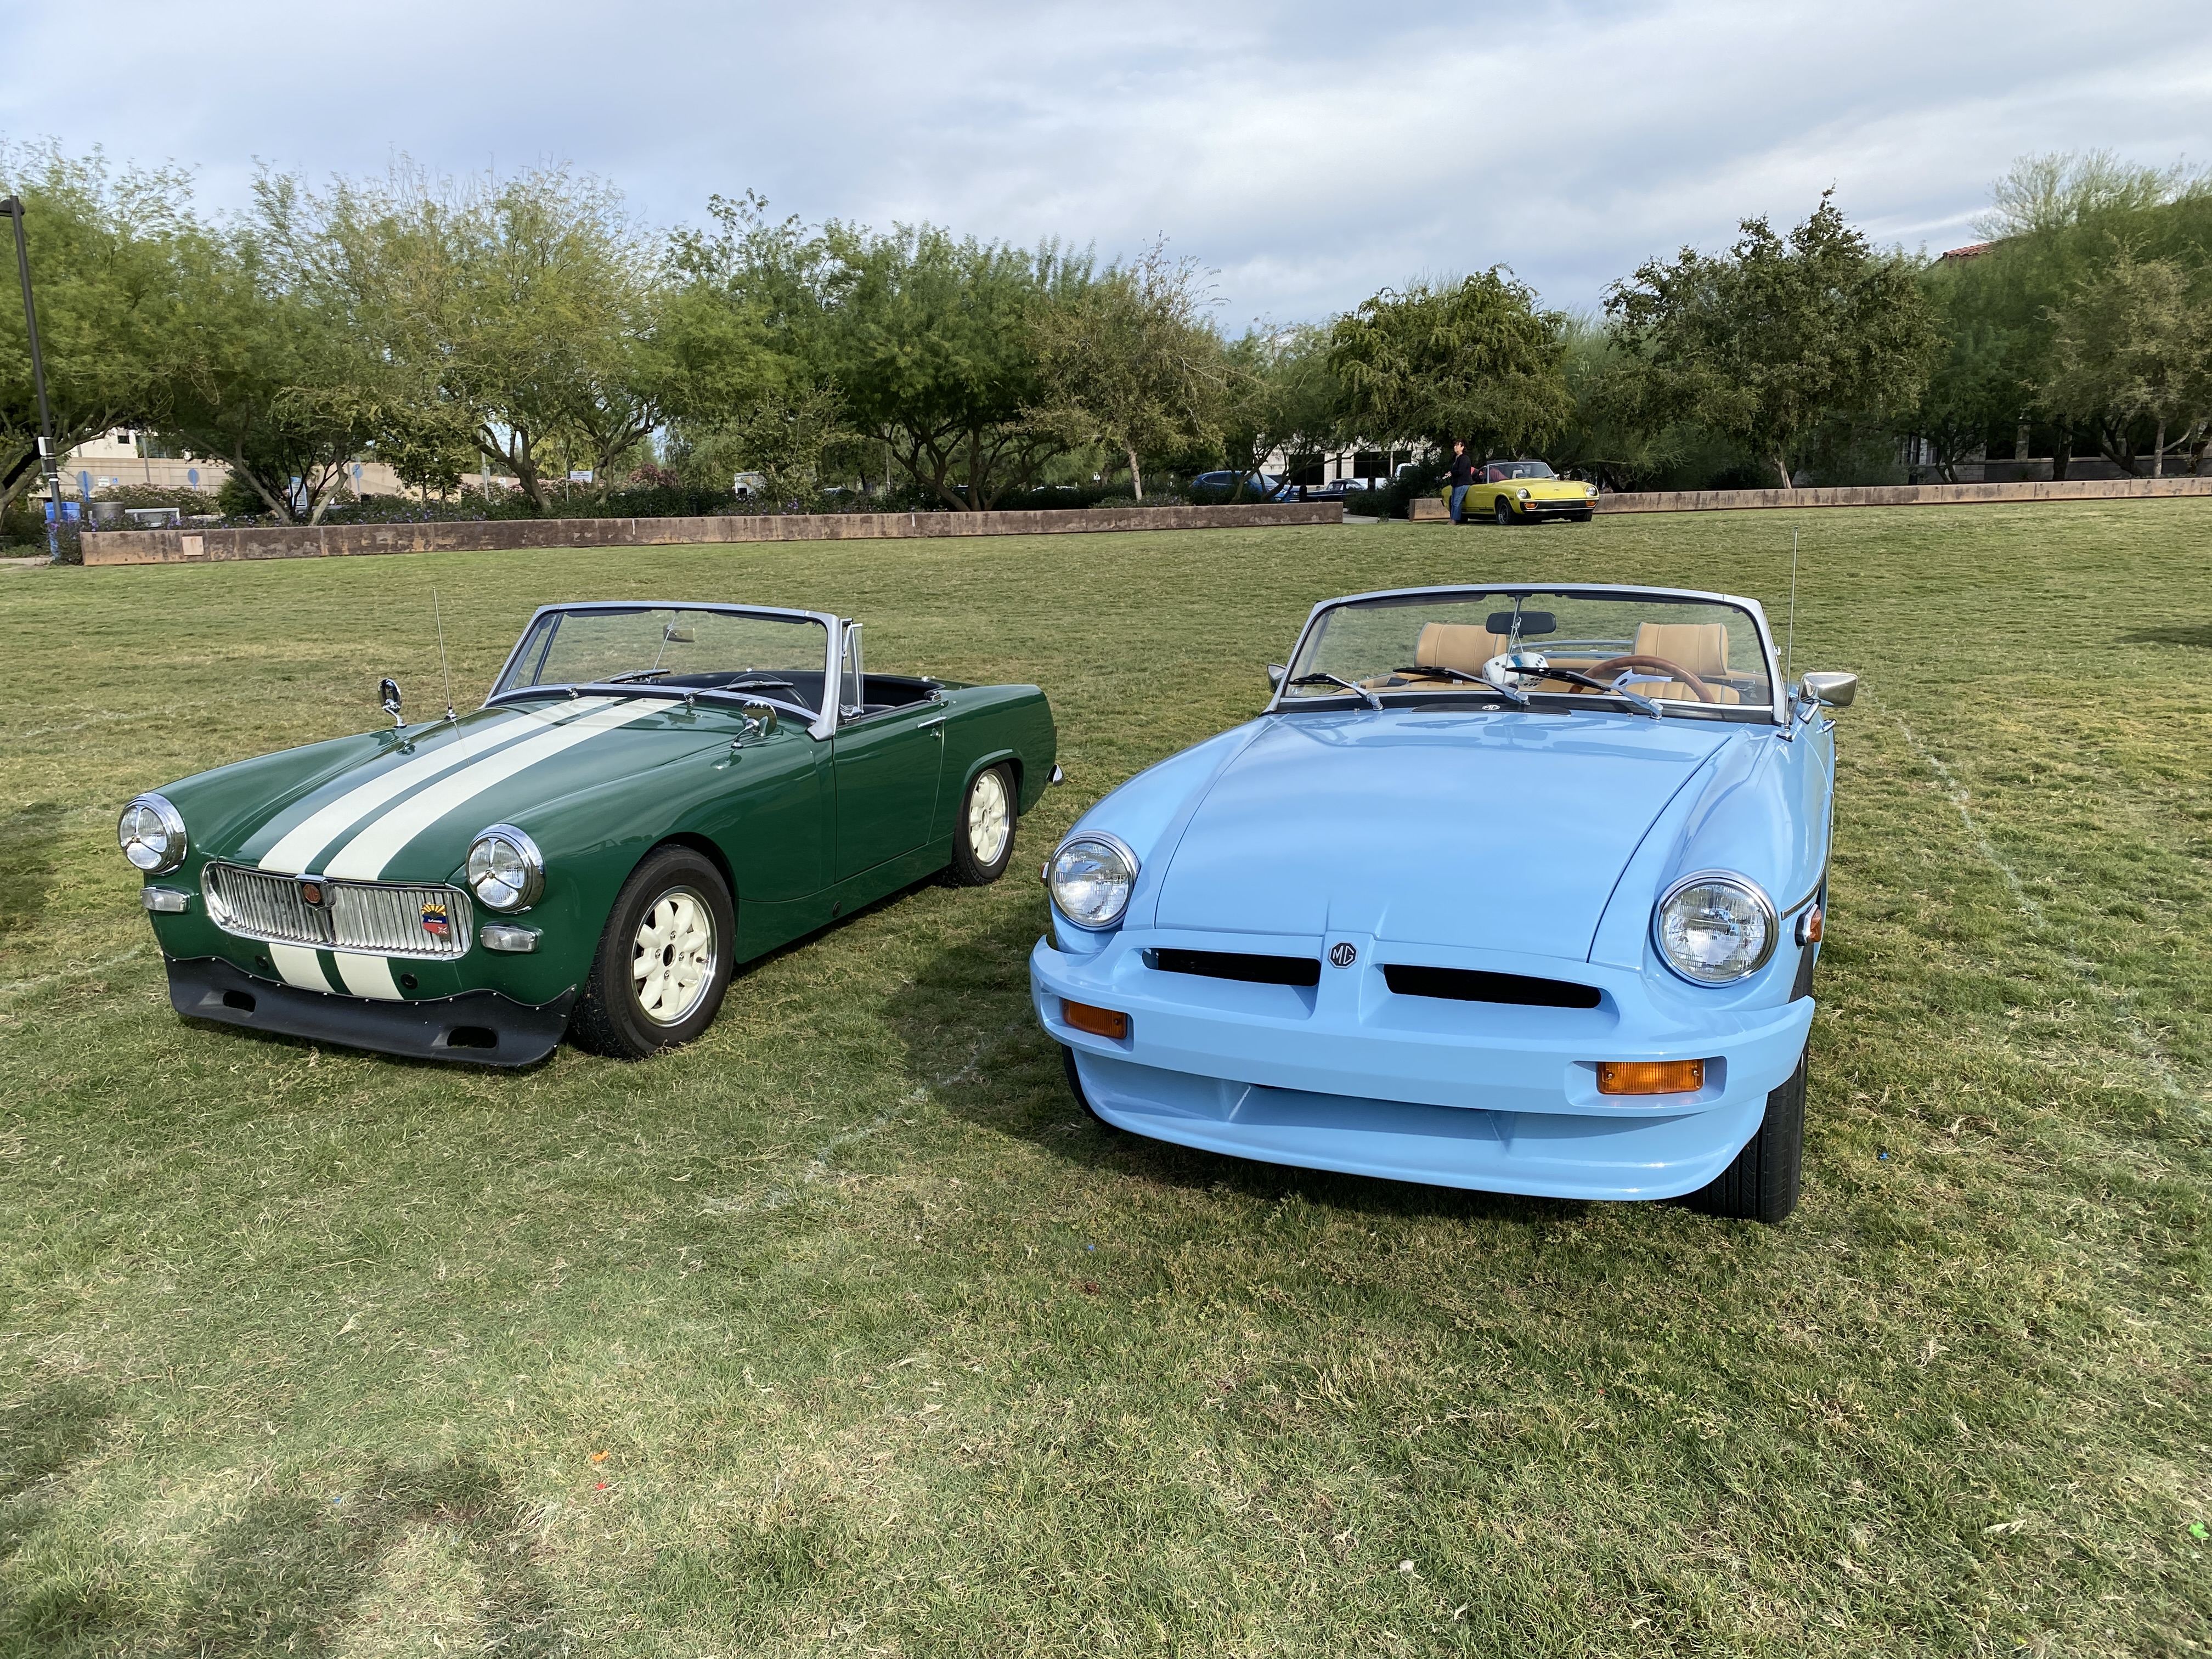
After getting Alice drivable (and insured, and registered), it was a frantic couple of days to get her capable of being driven to the show.
When I went on my test drive Wednesday night, I found that the car was squirrelly under braking. The whole car would dart randomly right or left. I did some research and the consensus was that a loose rear U-bolt could cause this behavior.
I had taken Thursday and Friday off so I could take care of last minute show details. It turns out I needed to take care of last minute car details instead!
In the end, it was the rear suspension that was faulty. I did a frantic rebuild in 8 hours on Thursday to get things put to rights. Here's the tale.
10:00 AM
At about 10 o’clock Thursday morning, I jacked up the rear of the car and started my inspection. Nothing looked terribly amiss with the U-bolts, but I was able to move the axle back and forth a bit more than I thought was okay. I decided I had no choice but to go forward with a rebuild. Fortunately, I had purchased all the bushings I would need long ago.
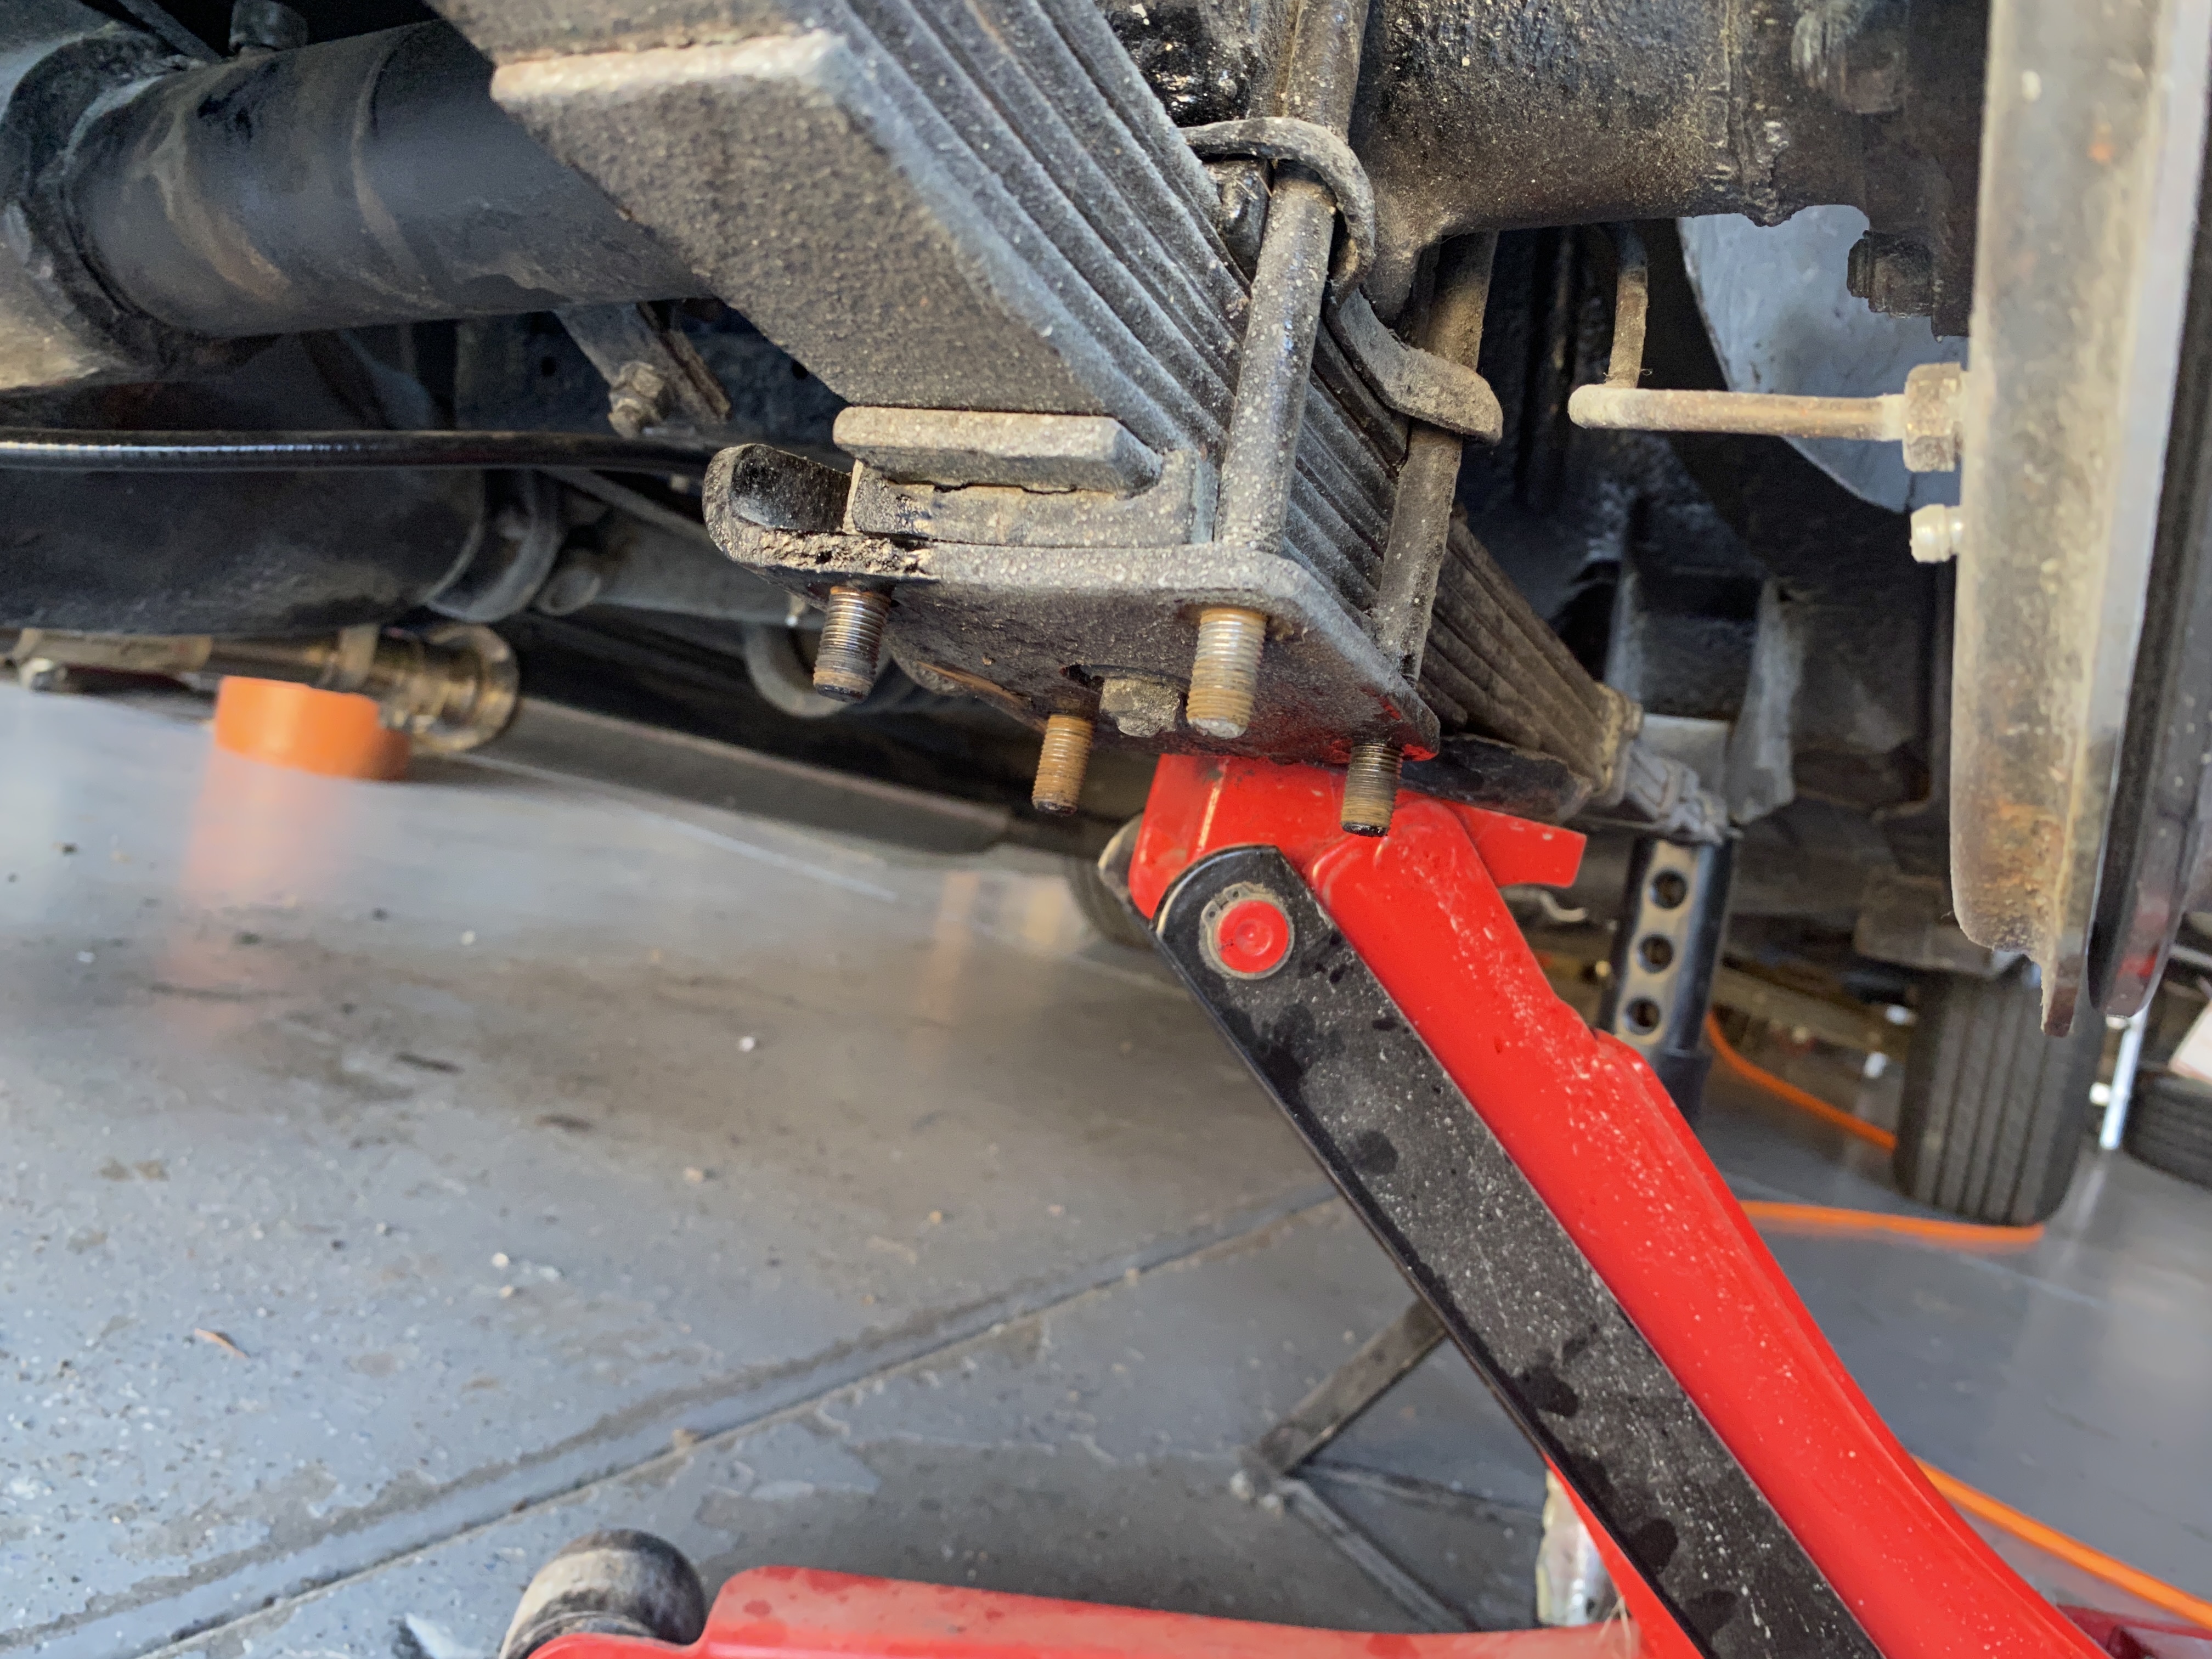
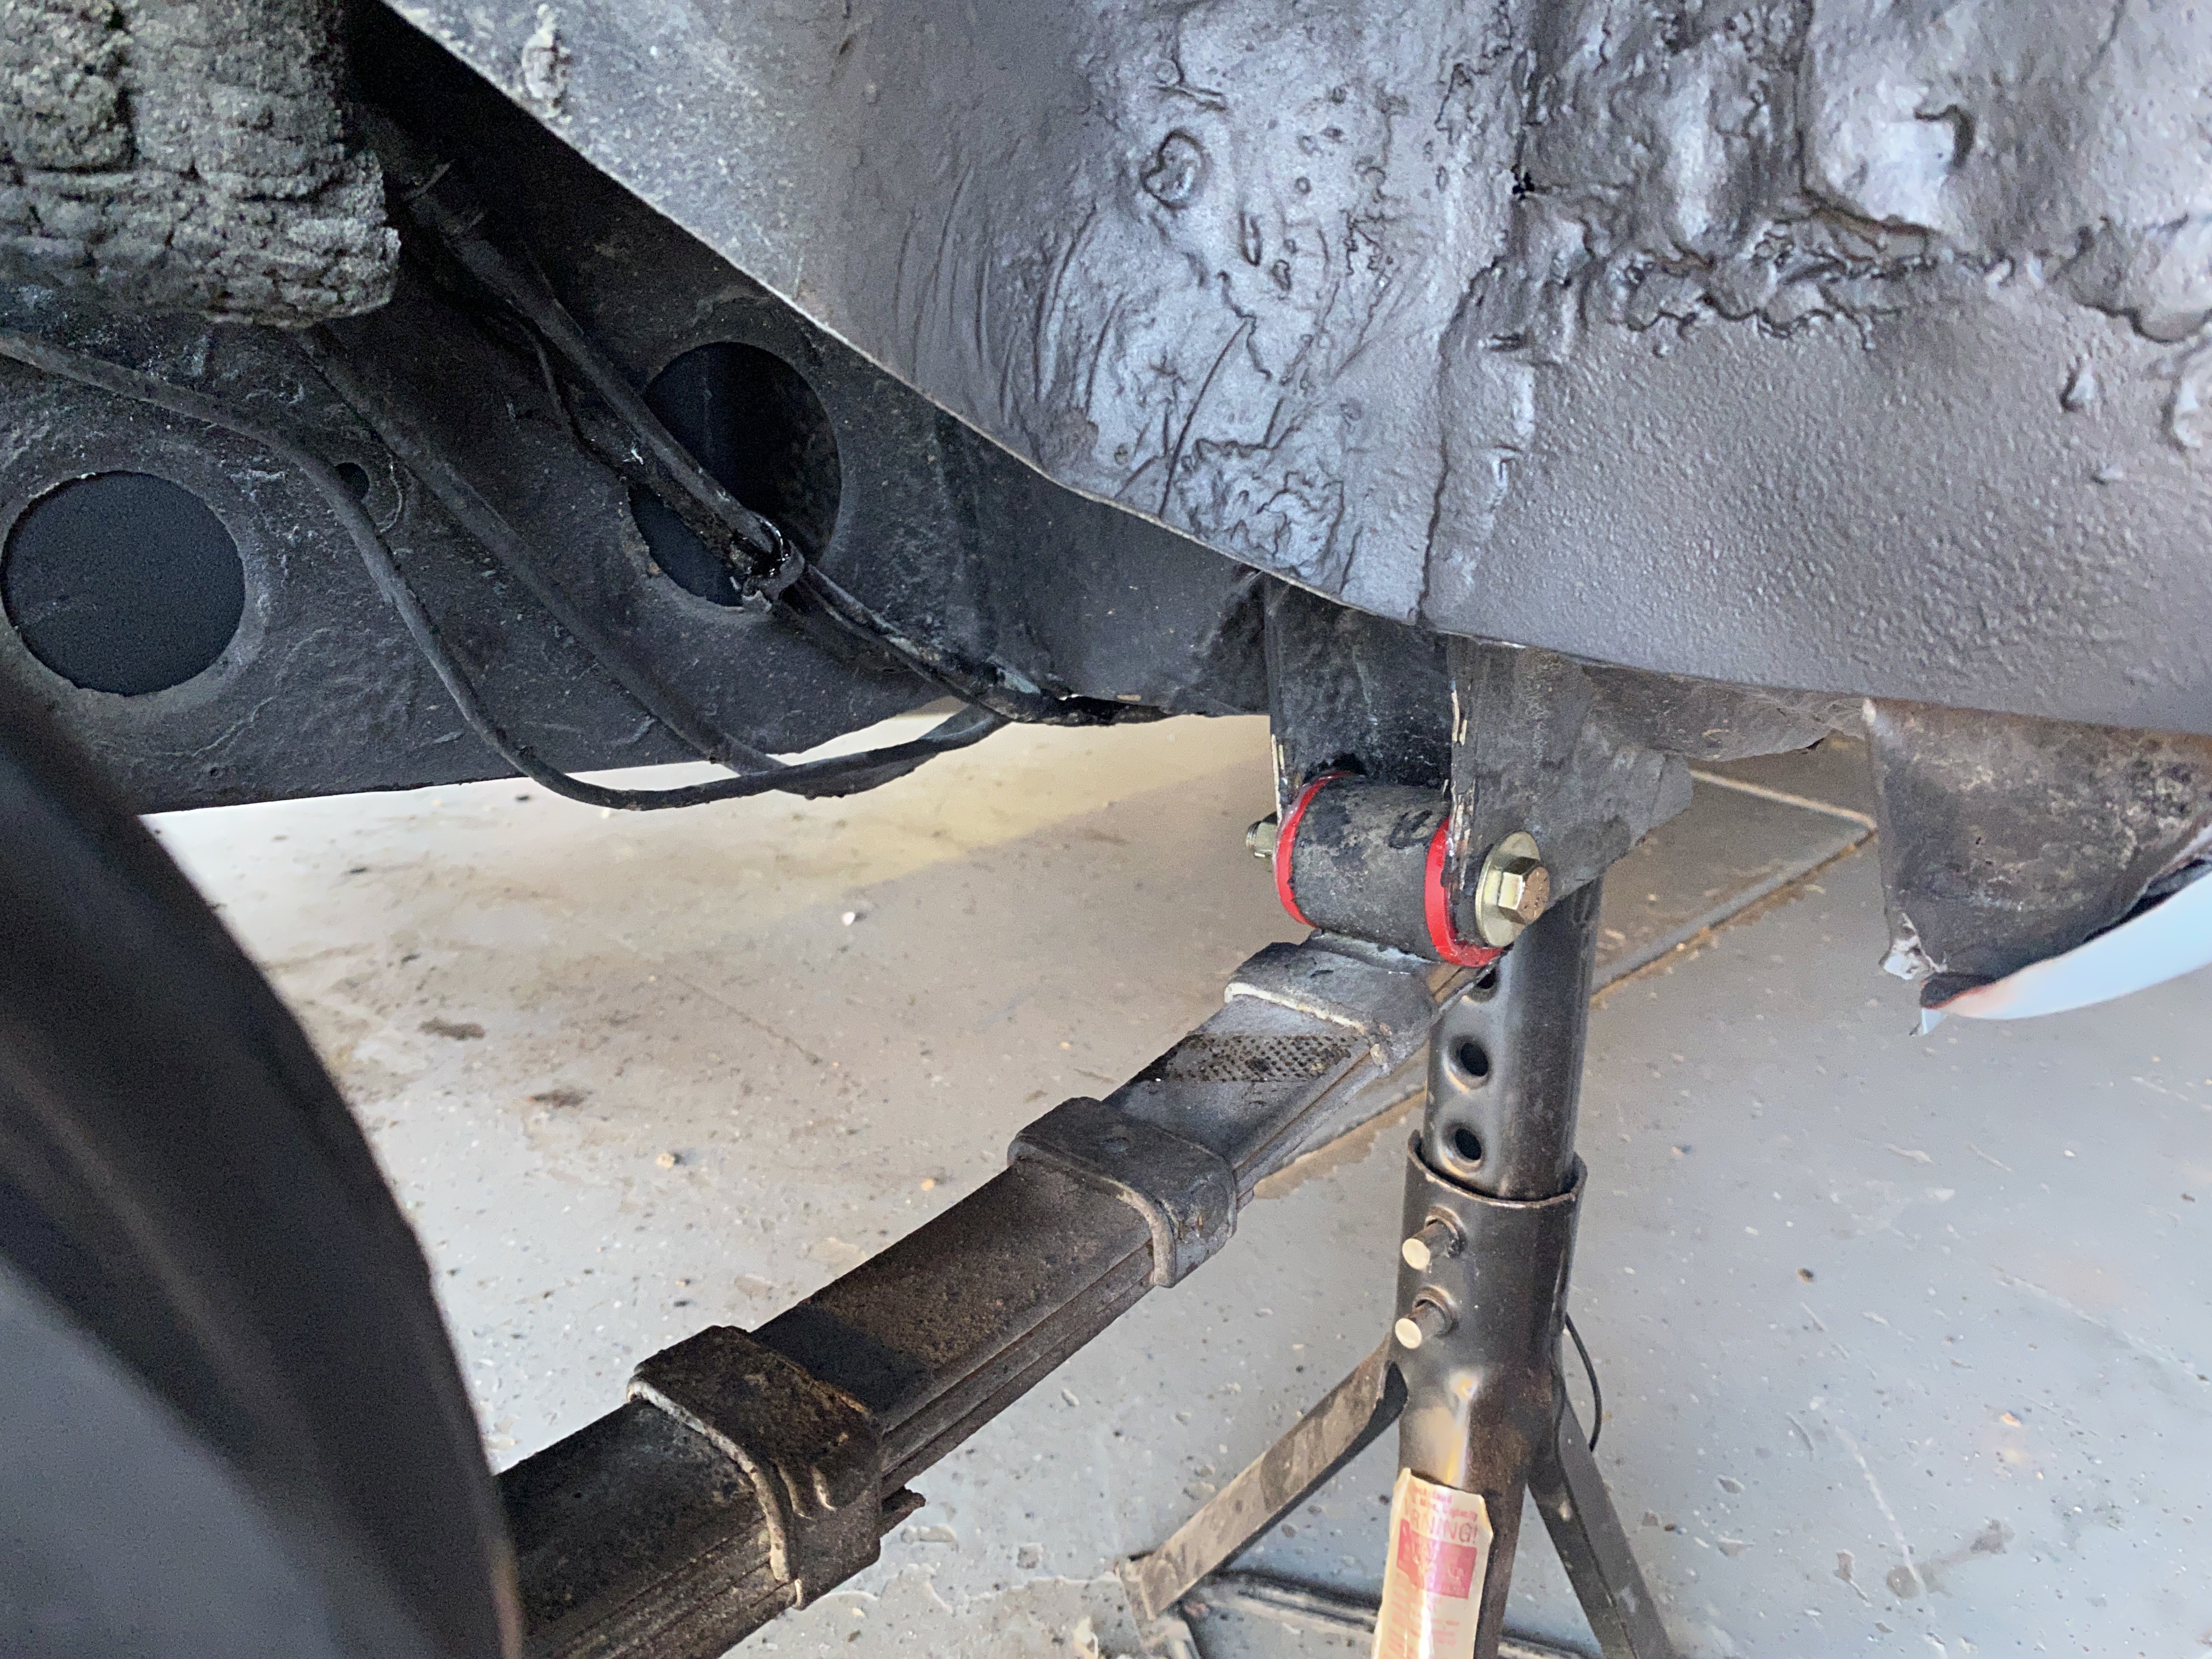
I started by jacking up the driver’s side of the car, removing the wheel and supporting the axle. I had a jack stand whose head fit right into the bracket for the front leaf spring support. That gave me access to the bolt while supporting the car. I then placed my jack under the leaf spring just in front of the U-bolts so I could support the spring while removing the nuts. As I didn’t have replacement U-bolts handy, I was extraordinarily careful to not break the bolts while removing the nuts. Thankfully, they all came loose with application of heat and penetrant. I then supported the axle with another jack stand and slowly lowered the jack to allow the spring to come loose. It took a little prying – everything was basically glued together after 47 years – but it did come free. I removed the U-bolts and bracket and cleaned them up, including chasing the threads.
(These pictures are all of the passenger’s side, but you get the idea. I completed the driver’s side and took pictures of the passenger’s side once I knew what I was doing.)


10:45 AM
Once the spring was clear of the axle, I worked to move the spring from its rear shackle. They came off with some persuasion, but the shackle was left intact. I cleaned up the shackles and chased the threads for easier reassembly.
11:30 AM
I moved on to the front bushing. This is held in place by a long (7/16 3.5” grade 8) bolt with a spacer inside the bushing. I ended up having to cut the bolt free as it had seized to the spacer, which is typical. I heated up the bushing to give a little extra room between the spring and the bracket, then cut it free with a 4” cutoff wheel. The spring was free at last!
And I identified the root cause of the wayward behavior; a large chunk of the front bushing was missing. The front of the spring was able to move ½” forward and backward.
Scaaaary.
12:15 PM
Once the front bushing was removed, I cleaned up the eye and pushed in new Prothane polyurethane bushings. These are easy to press in by hand as they come as a split bushing. I applied the supplied lubricant to the outer and inner surfaces, hand-pressed them in and inserted the spacer. This was ludicrously easy. The same was true for the rear bushing. Having already cleaned up the shackle, everything went together like I knew what I was doing.

1:00 PM
I headed to the hardware store to buy two grade 8 new front spring bolts, nuts and washers, and all new lock nuts (14 in total – 8 for the U-bolts, 4 for the shackles and two for the check straps).
1:30 PM
I headed back to the hardware store to buy two longer front spring bolts. I am glad the store is less than 10 minutes away. I shall not speak of this again.
1:45 PM
Now that I had all the correct parts, it was time to reassemble. The front bushing went in first with a little lubricant, then the bolt and flat washer, and then I cinched it up with the new nut and washers. The rear shackle was a bit of a challenge, though. I had a hard time getting the bushings to fit into their holes. I had to scrape and clean out the hole, as it had rusted somewhat, and I was finally able to get the bushing in place and accepting of the shackle. I was then able to fit the spring and shackle permanently.
2:15 PM
With the spring in place, I installed the top and bottom spring plate bushings and U-bolts. I jacked the spring up to mate with the axle. I had to hold the bottom plate where the damper link attaches out of the way, as I didn’t remove the damper or its link. Once the axle was centered on the spring, I was able to push the bottom plate into position and tap the U-bolts down. It took a bit – but I got all four nuts started on the U-bolts and was able to cinch them down by working incrementally on each once until they were all snug. Surprisingly, this didn’t take very long. I love it when a plan comes together.
2:30 PM
I replaced the check strap by applying heat to the bottom bolt, then a cutoff tool, and was able to remove the nut without damaging the fitting. I broke the top bolt off since I could replace it easily. I had new nylon check straps (highly recommended over the rubber ones) and the strap fit without much trouble.
3:00 PM
I refit the wheel and lowered the car. The driver’s side was done. I was in a hurry, but I took a 15 minute break before starting on the driver’s side.
3:15 PM
It took me less time to do the passenger’s side because I knew what to do. The U-bolts were a challenge and I had to cut one of the nuts to get it to loosen. I had more of a struggle with the rear shackle as the gas tank was close to the shackle. There was just enough room to be able to carefully apply some heat and ever so cautiously remove the bolts. Then it was a fight to get the shackle out as the bushings were stuck pretty fast. It took about 20 minutes, but it finally came free and I was able to drop the rear of the spring. However, I was incredibly lucky and the front bushing’s bolt came loose from the spacer, and I was able to drive it out relatively easily. I suspect this had been worked on previously as the bushing was intact.
4:30 PM
I cleaned up the shackle and spring, hand-pressed in the new bushings and refit the spring to the car. At least I didn’t have to make a third trip to the hardware store.
5:15 PM
I fit the axle to the spring and cinched everything up. I am missing the bottom centering plate on the passenger’s side and will replace it once I find one. (I did order one and installed it later.)
5:45 PM
I replaced the check strap. Again, I broke off the top bolt as I didn’t want to apply heat near the fuel pump.
6:00 PM
I refit the wheel and lowered the car. Job done!
This was an 8-hour job, right down to the minute. And it was a success. A test drive (after cleaning myself up) proved the car stopped straight and well even under hard braking. It was an exhausting job; you may have noticed there was no mention of lunch anywhere in this timeline. I worked straight through with just a short break. I suppose my trips to the hardware store count as breaks too.
This is not a job to be undertaken lightly. It is hard work and normally this would be done by dropping the rear axle and springs, rebuilding the assembly, then refitting the whole thing. I was desperate and was glad it was even doable. I am impressed I was able to do this in a day. Now, I need to do the same to the front suspension – it’s okay, but I can tell the bushings need to be replaced. At least I have more time for that job!