Apologies for the long delay in posting, but I didn't want to spoil the surprise. We made it to the show!
It was a frantic couple of weeks, for sure. We left off at me having just installed the windshield and trim. So let's see... what did I do next?
Ah yes. I put the doors together. I installed the window seal and put the glass in. Then I shimmied the window regulator into place, got it and the window hooked together, and bolted it up.
Sounds easy, right? It wasn't. Getting the glass into the door is a challenge. Getting the regulator into the door is another challenge. The rear window channel didn't want to fit because it was bent. I had to identify which bolts went where, but fortunately they were all in the bag. And the window seal on the driver's side got stuck and ripped.
But the passenger's side went together so much more easily, mainly because I knew what I was doing.
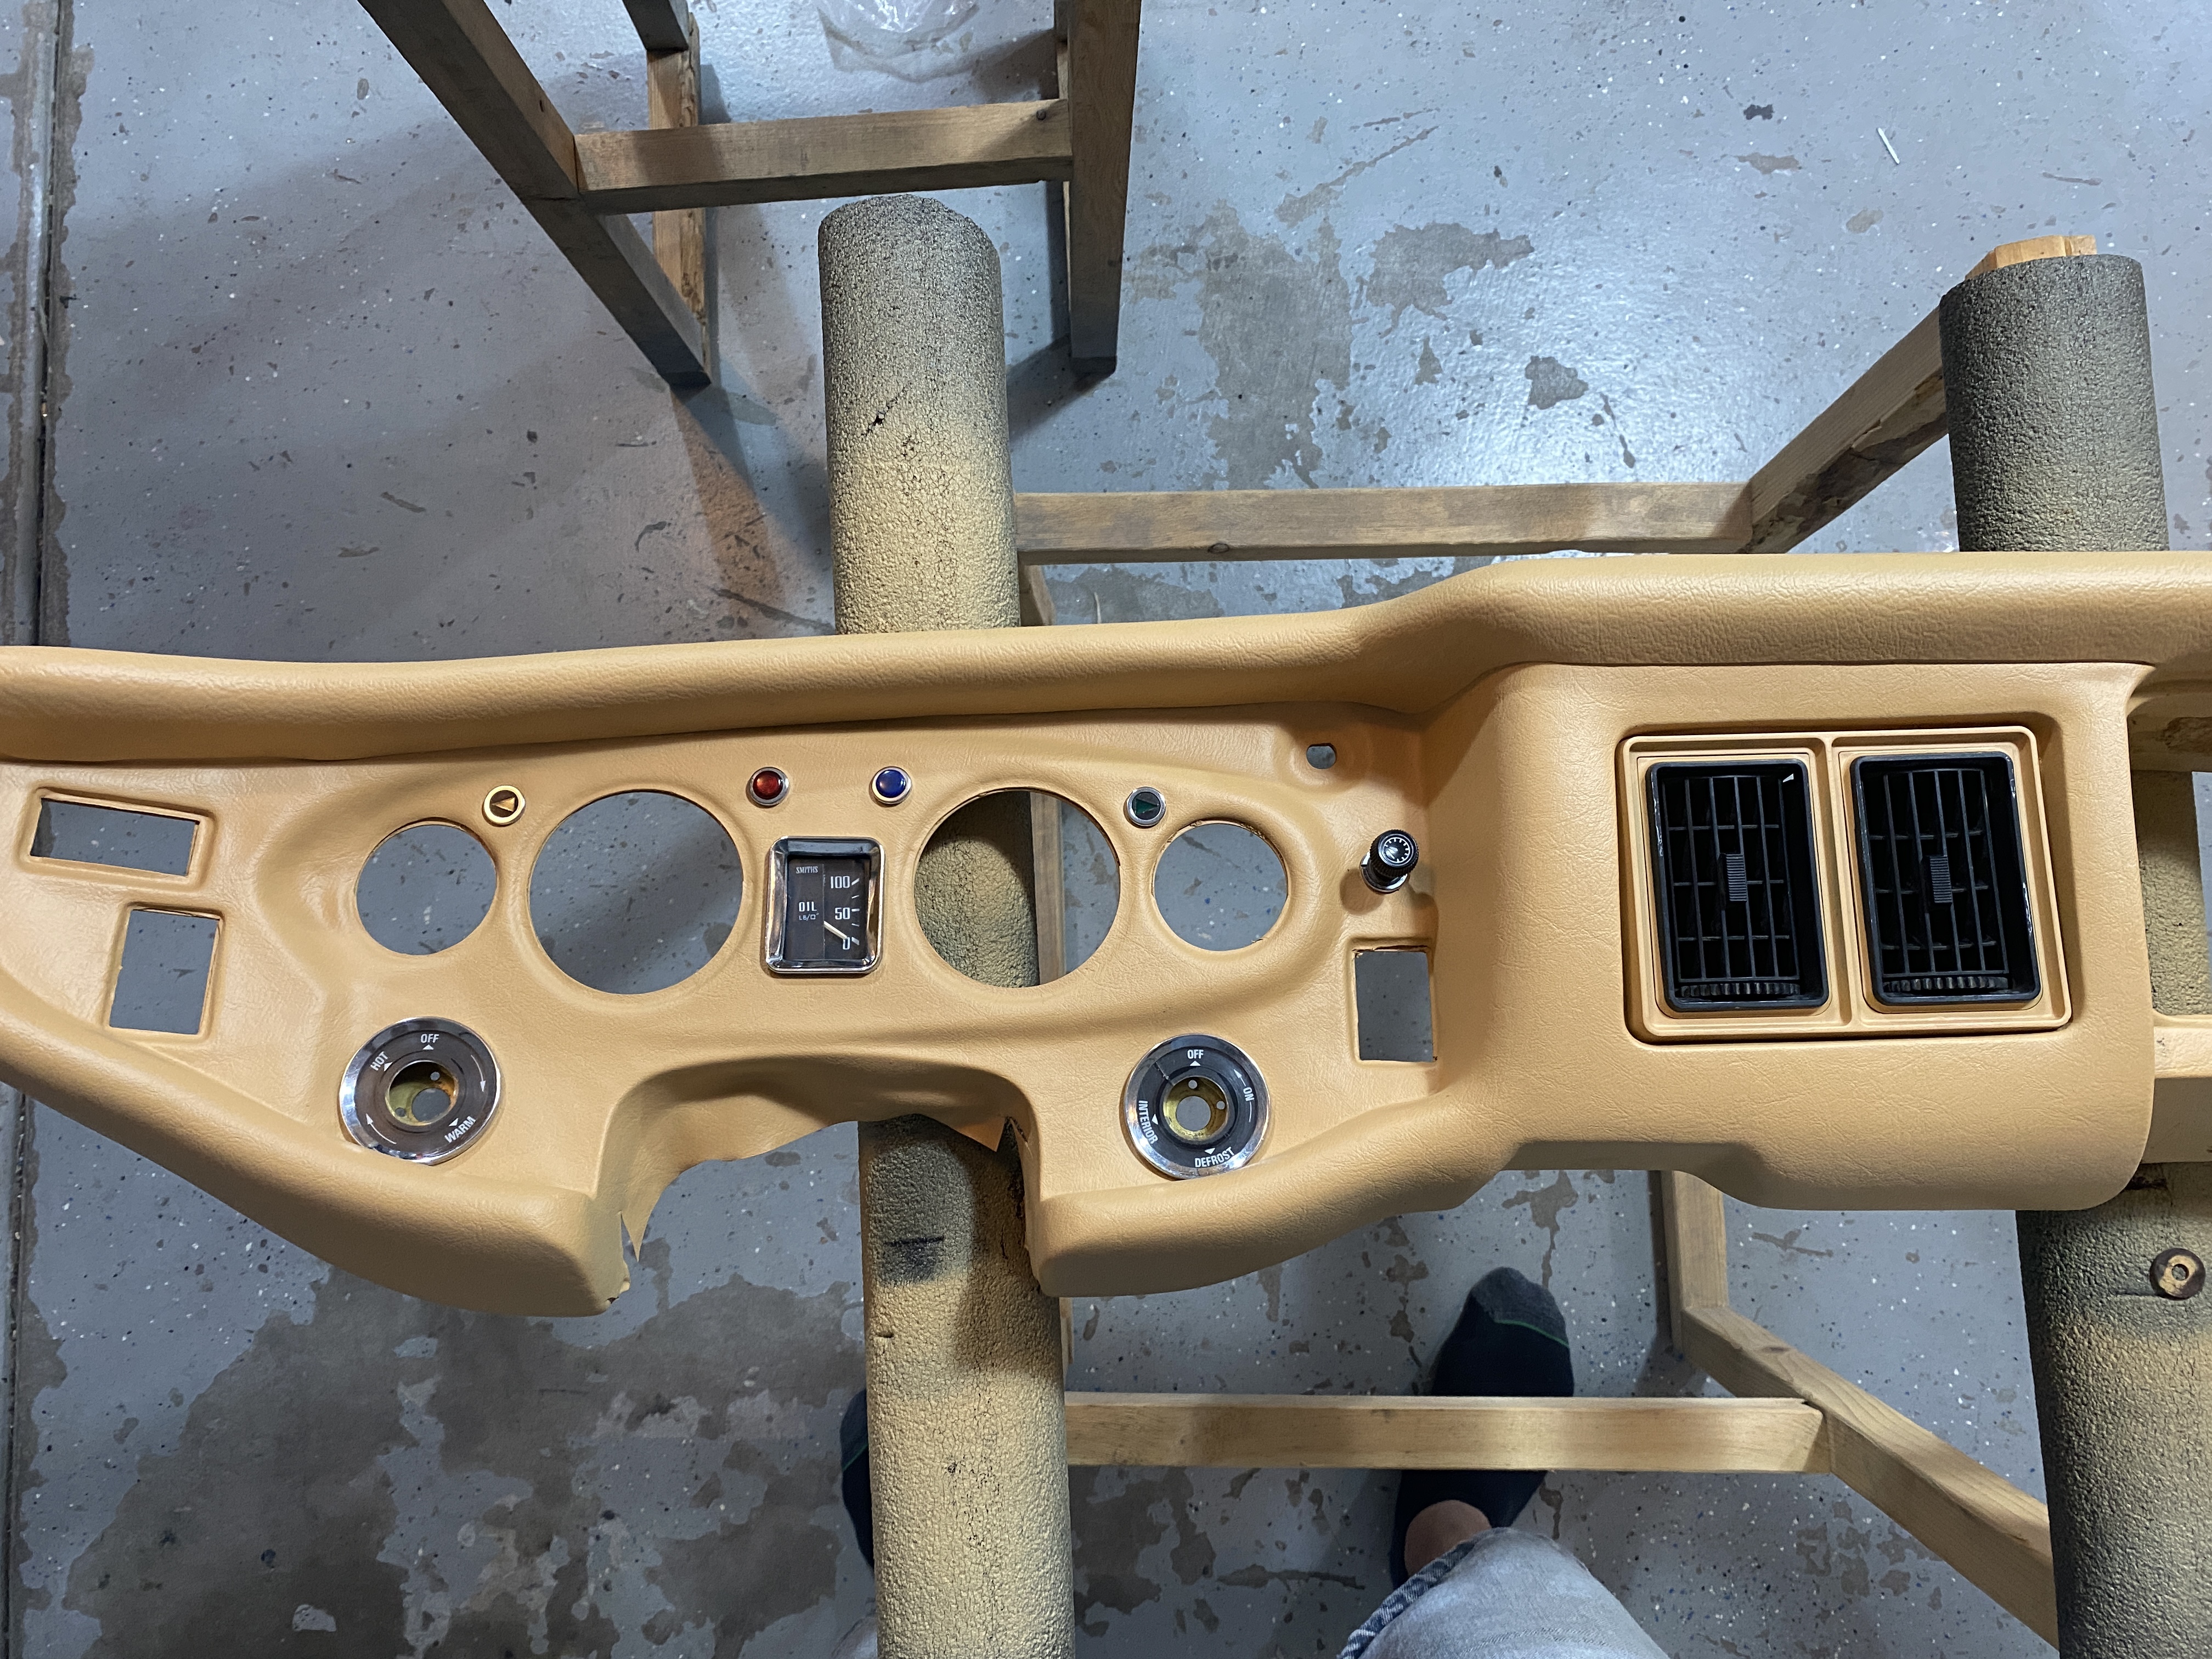
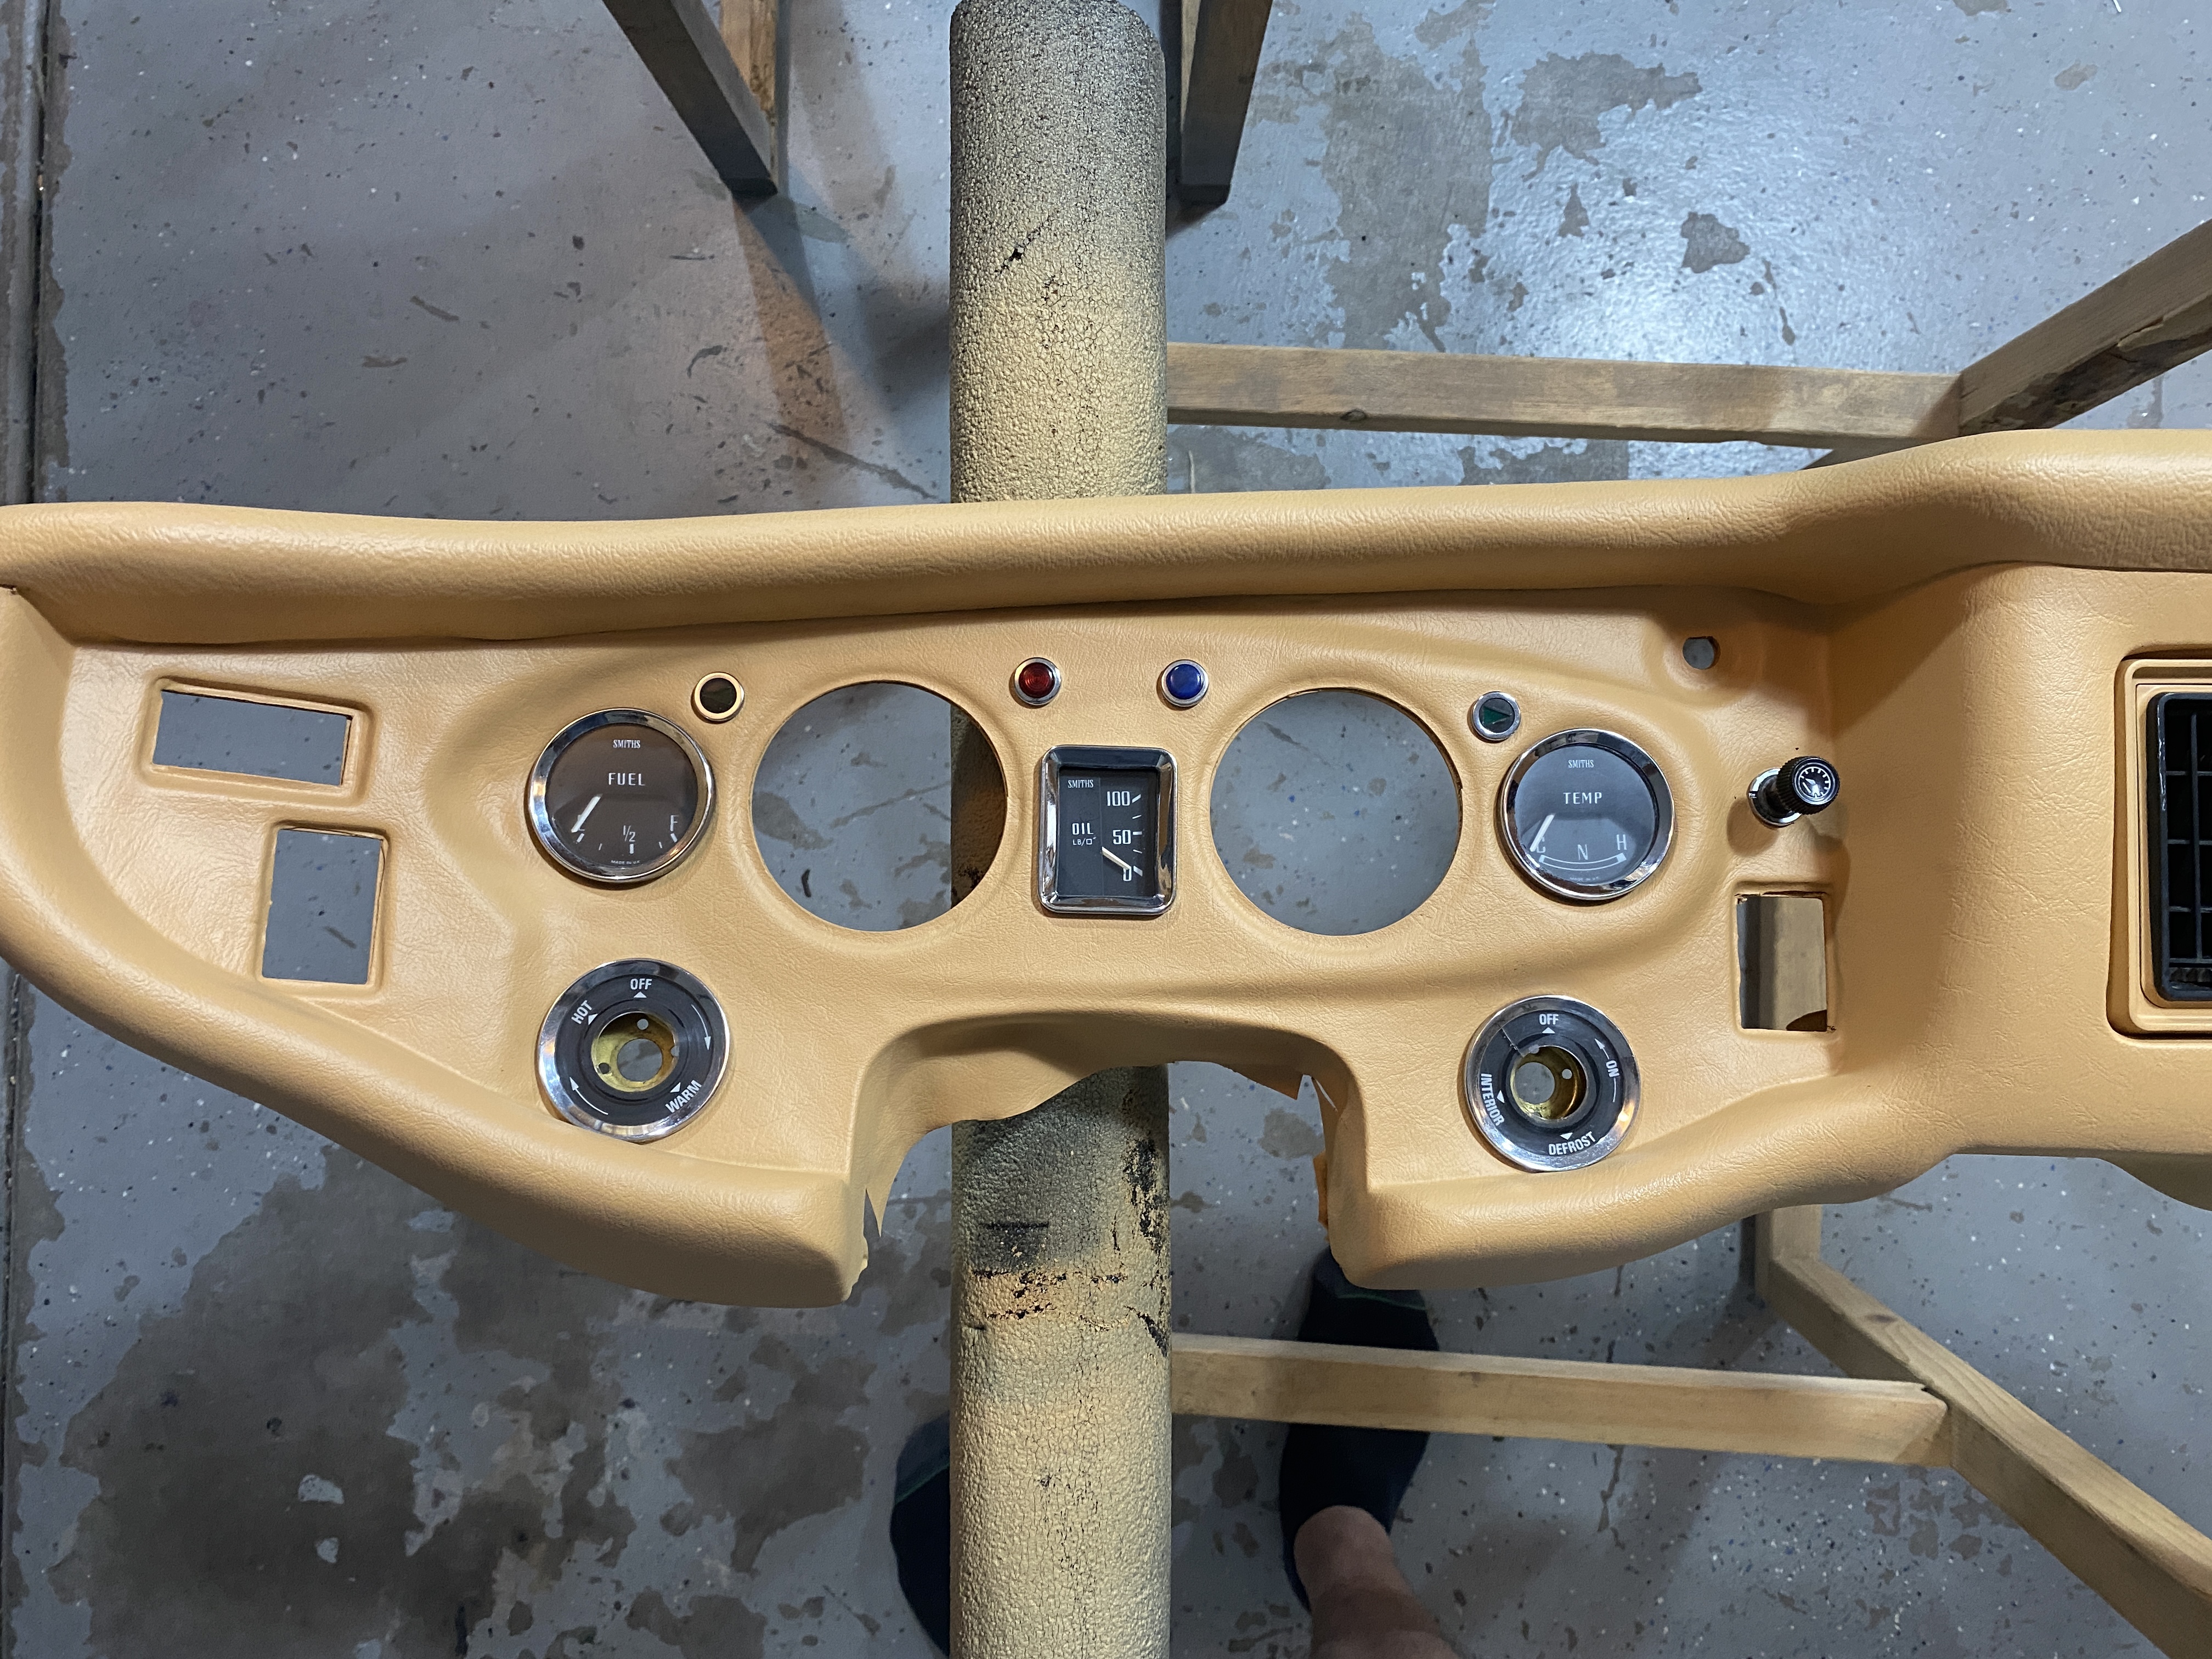
After the doors were assembled, I went to work on the dash. I decided I didn't like the black dash and consoles in a nice tan interior. So I had some paint custom matched to the vinyl, and painted the dash in that color.
I installed a dash cap as I was unhappy with the quality of my repair. The cap (Accu-form) fit well after a lot of finagling, but this isn't all that unusual. If you didn't know, you wouldn't be able to tell! I painted the dash and the consoles the same color. I used all of the paint, down to the last drop.


I then started assembling the dash, with all the gauges and the wiring.


Once the dash was together, it went into the car!

Wow.
With the dash in place, I could finish the wiring. I soon had every light lighting when it was supposed to and the wiring harness is nice and tidy.
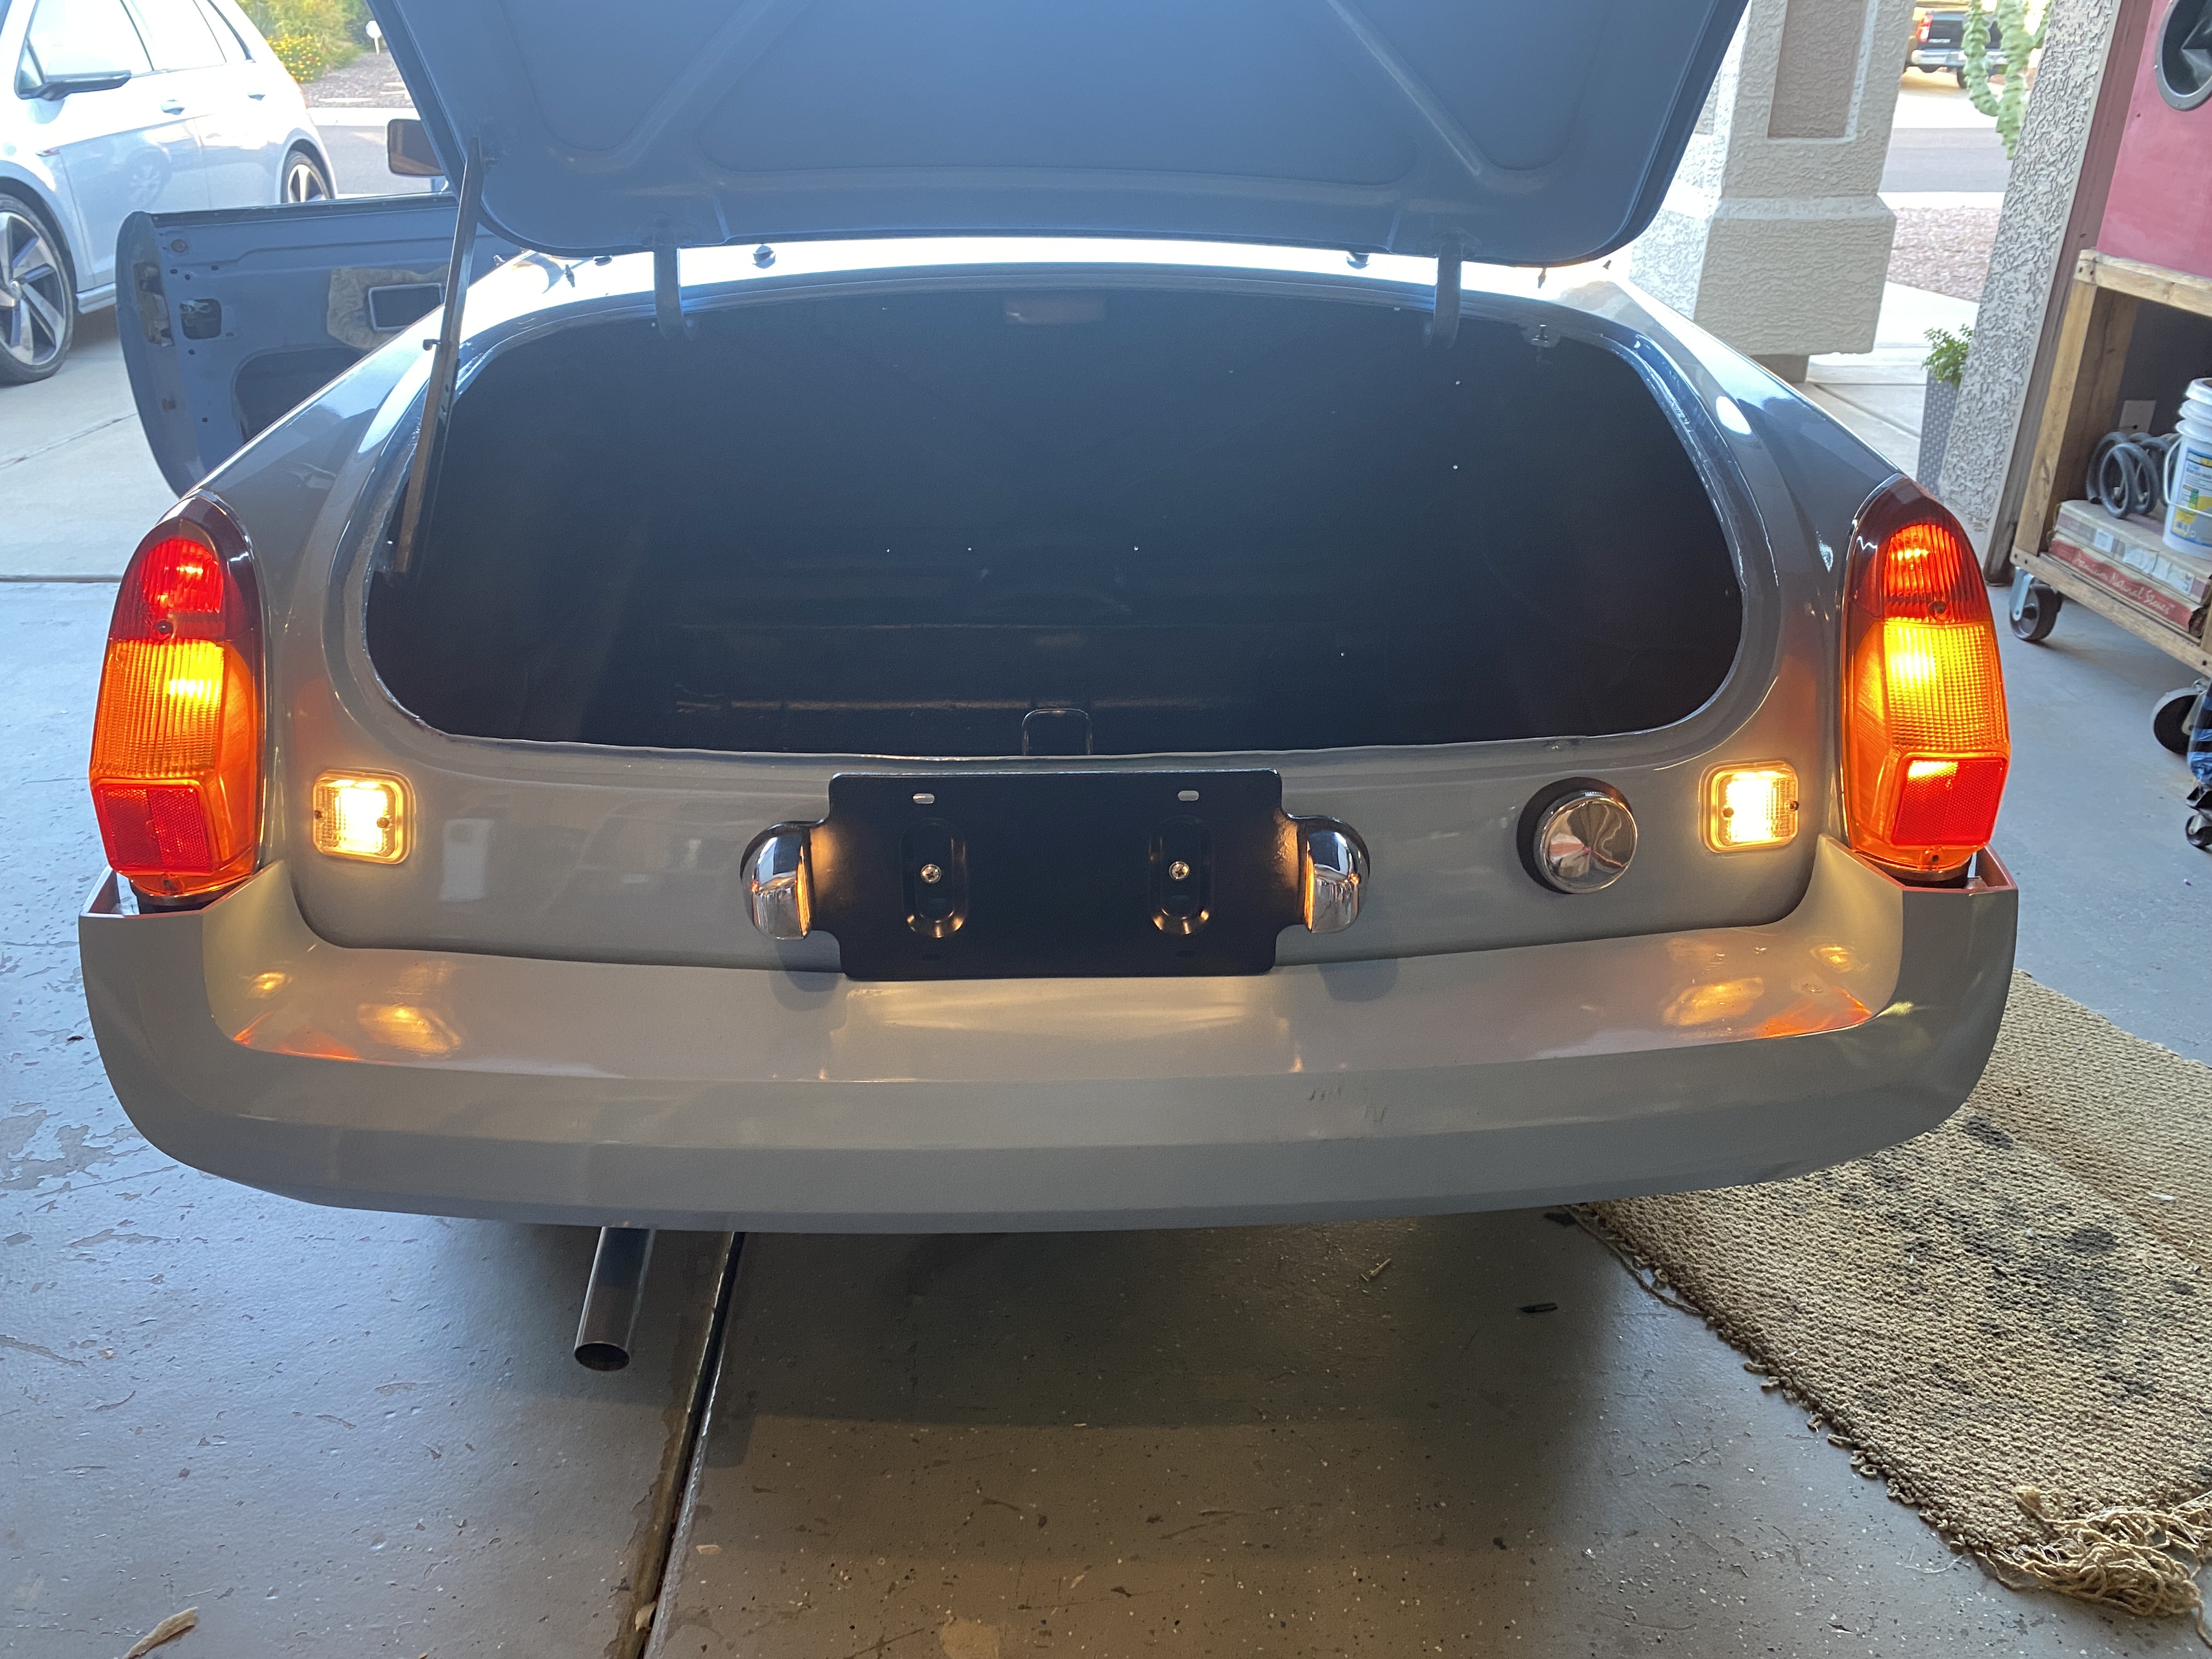

With the dash and wiring done, I was able to turn the key and fire her up. It took a little while, mostly because I hadn't set up the carbs, but she did roar to life and settled into a nice idle. Thank goodness!
Now, the race was on. It was October 21st and I needed to get my butt in gear. Pun intended. It was time for the interior. I spent the entire weekend installing the carpets in the boot, then the interior, along with the (new) seat belts. That is very difficult work to do well and I respect upholsters for their talents. I am very pleased with the result.


Okay, time's a wastin'. No rest for the wicked or the restorer! I wired up the stereo and installed the consoles.


They go on when you open the door on either side. It's tied into the switch for the interior (map) light. Which works.
The finish line approaches... Door cards and interior panels went in. The door cards had cutouts for the speakers, which was awesome!

And I found a spare hour or two to cover the steering wheel.
Almost last, but certainly not least - the seats were installed. Then the caps on the doors were recovered and installed, and I had a (basically) finished car!


Time for a test drive!

The test drive didn't go as well as I'd hoped. The car was not stable under braking. More on that in the next post... I did fix it, and the car is now safe to drive. Everything works. She starts, runs, steers and stops. And she is oh so pretty.
Read on to find out how crazy it got on the 27th to get things right enough to be able to make it to the show!
No comments:
Post a Comment