I tried to come up with a clever name for this post... but I'm too tired.
Over the past few days, I and my friends have been busier than a long-tailed cat in a room full of rocking chairs. We swapped Alice's transmission... twice. I'll explain later.
First, let me give a big THANK YOU to my friends Dave Boyer, Brett Engel, George Bean and Peter Holbrook for helping me get this done. I would still be wrestling with the transmission crossmember in a horribly hot and cramped garage if it weren't for you all. Thank you!
Notice that there's more than a few days here... but we worked mostly in the later afternoons into the evenings, aside from the weekends.
Let's jump right in, shall we?
TUESDAY
I dropped the transmission and various bits off at Dave's beautiful air conditioned luxury apartment... I mean garage. This was no big thing.
WEDNESDAY
Wednesday afternoon I drove Alice to Dave's and got to work. Folks, this is how you work on a car.
We drained fluids, removed the radiator and hoses, removed the driveshaft, exhaust header and disconnected smaller things that were relatively easy to reach. We got a good amount of that done.
Here's what I was working on. Not bad, but very grimy in the middle part.
Dave was kind enough to feed me and take me home. 😁
THURSDAY
On Thursday, we were able to remove the remaining connections and bits, dropped the transmission crossmember, and removed the engine and transmission. This went relatively smoothly. We took the engine and transmission out as one unit. I had access to a hoist and I brought a load leveler, which made this much simpler.
The engine bay didn't look too bad...
We then separated the engine and transmission. There it sits, forlornly, knowing it would not turn another mile.
I had planned to change the clutch (because that's what you do), but I was pleasantly surprised to find that the clutch is practically new. I had documentation stating it had been changed before the car was parked/neglected, and I'm glad. It saved me a lot of hassle. Another good sign was that the release bearing was practically new and showed minimal wear. It was so good that I will keep it as a spare. This also matches my documentation.
I also found that the rear main seal was not leaking and the rear engine plate was dry. That was another relief - I didn't want to have to dismantle it unless it was really necessary. Whoever worked on the engine of this car did a good job.
That was enough for the evening.
FRIDAY
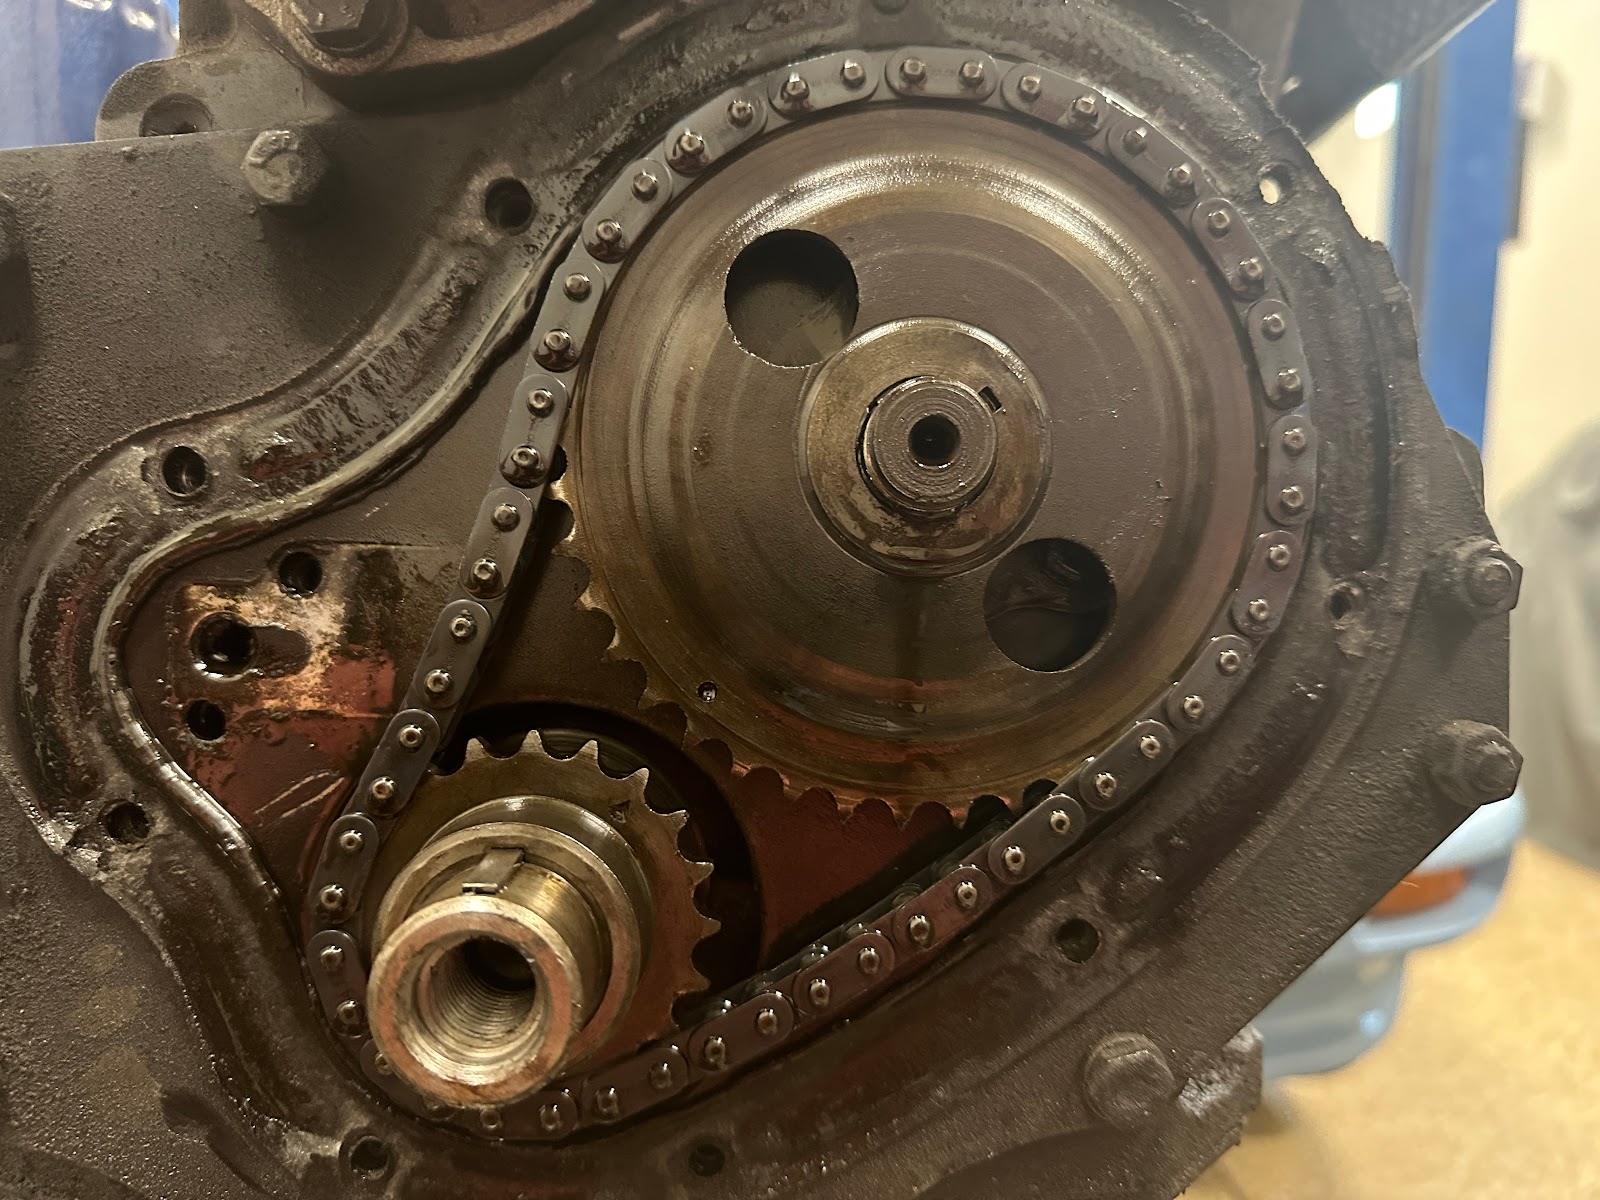
The battle I was planning to enjoin was to change the timing gears, chain and tensioner. The 18V engine went to a single-row chain and retarded the timing by 4 degrees. This was probably a parts-bin decision, but it also had the effect of moving the powerband down a bit and may have helped with emissions along with the single-carb Zenith. I wanted to revert to the original setup because I wanted the powerband a little higher for highway driving with the overdrive.
I had a duplex (two-row) setup that I coincidentally got from Dave. (That man is a giver.) As another fortuitous sign, the engine stopped exactly on TDC. Removing the crank pulley and timing cover was straightforward. I Then removed the tensioner (finding it was a Rolon aka kiss-of-death unit) and the assembly came free. I was careful not to disturb the camshaft.
The new timing gear went in relatively easily, and we were careful to ensure the dots lined up. However, this gear had the dot in a different orientation and a small mark where it looked like it "should be". So we went with it. This might not have been the right call.
Once complete, the new transmission went where the old one was. Since we didn't disturb the clutch, it fit right away and bolted up fine.
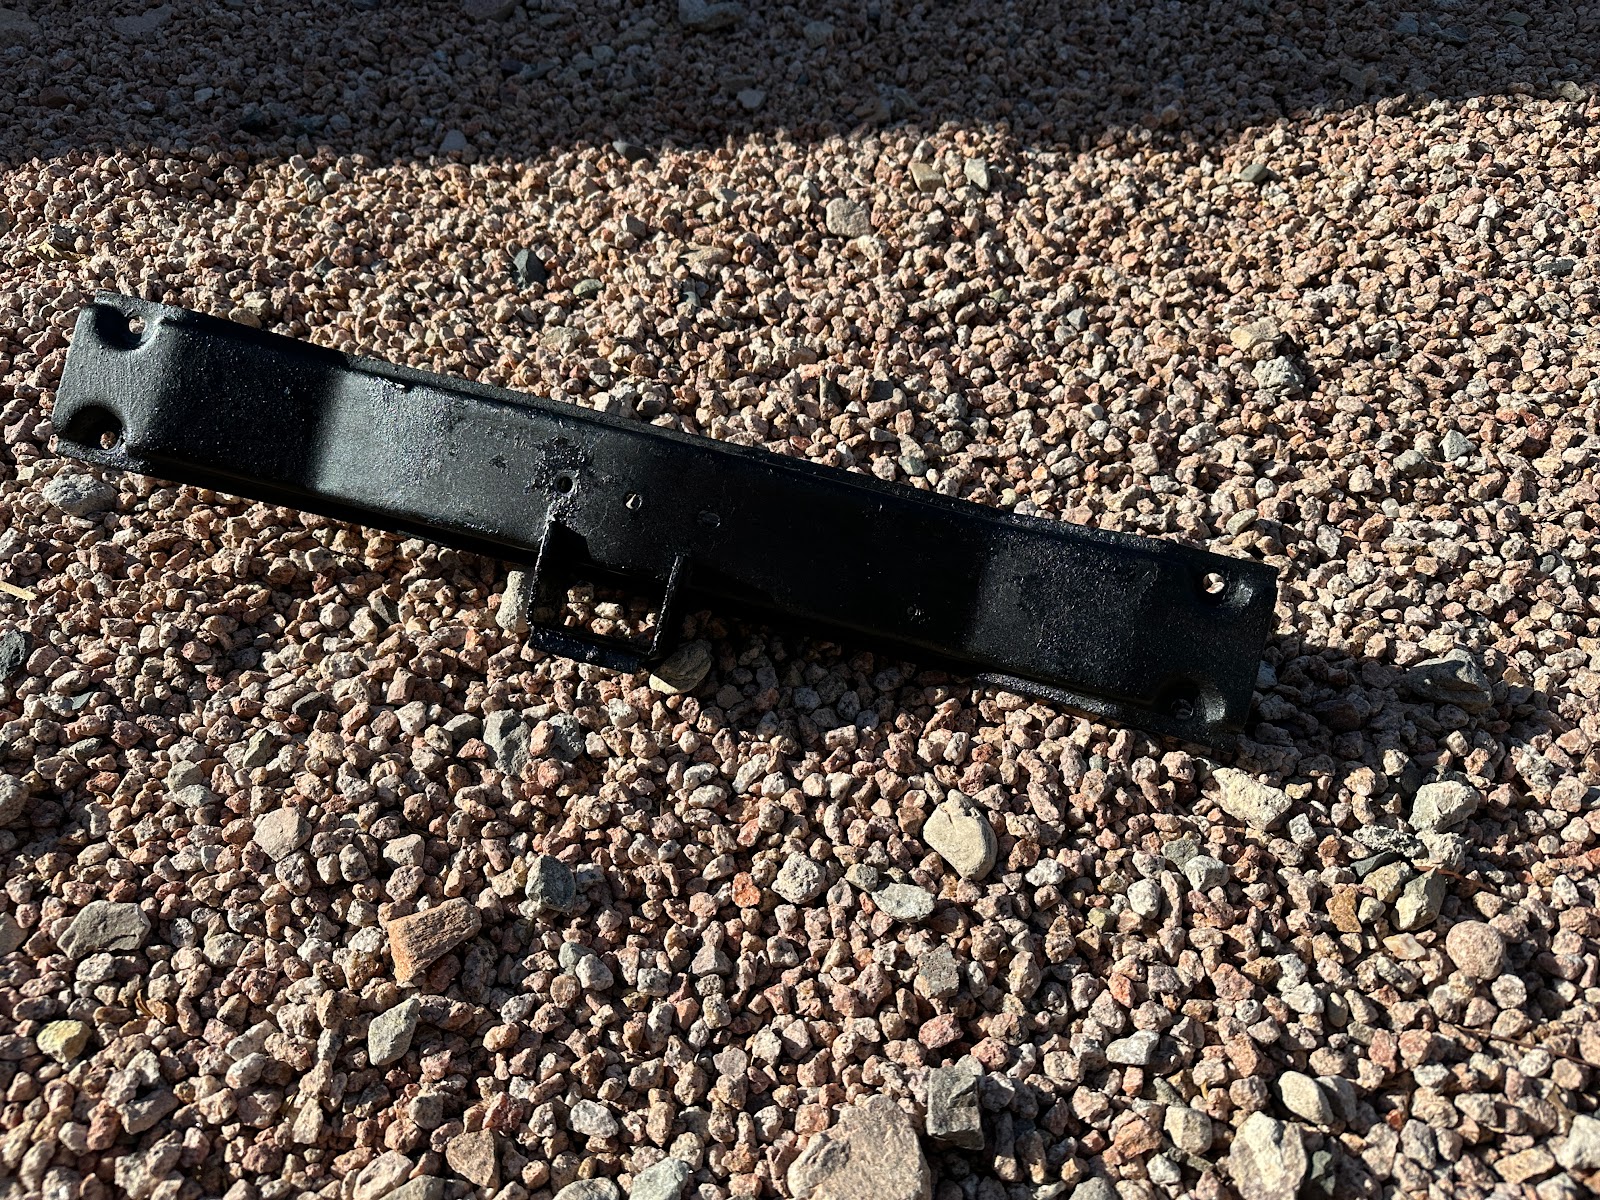
The next big job was to clean the transmission mount. What came off was basically Jell-O. The mounts were horribly degraded and the crossmember was filthy. The rear of the transmission had been leaking, apparently for a long time, and had not been changed when the engine was rebuilt. I can't imagine why, unless they pulled the engine without removing the transmission...
I won't show you any pictures because I was too filthy to touch anything I cared about. But the result cleaned up well. It goes without saying that I bought all new mounts.
I also took the opportunity to change the heater matrix (core). The one I had was weeping enough to smell coolant, so I knew it was only a matter of time. Fortunately, I had tons of room since I could stand in the engine bay and work on it at chest level, which made it lots easier.
The thing about the heater box is that it is very difficult to fit and remove, and you have to remove it to change the heater matrix. Since I had just fitted it a year ago, I knew it would come out - and I had made a couple of modifications to the rubber seal to make the job easier. I was able to unbolt the brake and fuel lines from the firewall, remove the screws and lever the heater box out enough to have it sit atop the shelf. From there, I just unclipped the clips holding the box together and took the front panel off, followed by the matrix. I could see where it was weeping.
Fitting the new matrix was simple and clipping the front cover in place was easy. Wrestling the heater box back in place was still a chore, but shaving down the rubber seal and using expandable foam tape to fill the small gap made the job possible. I refit the screws and lines back onto the firewall, and the job was done. All in all, it took me a half hour. Not bad. And the vent control still worked.
That was all the time and energy we had, so we stopped for the evening.SATURDAY
Saturday was The Big Day. The engine and transmission went back into the car. I changed the passenger's side motor mount - I could not remove the driver's side mount because of brilliant British engineering that passes the steering shaft right through the support for that mount, and makes it impossible to remove the nut without removing the entire steering rack and column. I wasn't up for that and it didn't look horrible, so it stayed. It was really loose, though, and I managed to tighten it by jamming a screwdriver against the nut and turning the mount. (This gave me an idea, but we'll get back to that.)
We discovered the magic trick to installing the transmission crossmember with new mounts:
- Install the mount and "cage" loosely to the transmission, getting the rear (impossible to reach otherwise) bolts started, and let the assembly hang loosely.
- Offer up the crossmember and maneuver the mounts through the holes. There are two holes - front and rear - and we needed the front holes for the overdrive's slightly different mounting location. (By the way, there are 16 different ways you can fit this assembly. We got it right the first time.)
- Start the nuts on the mounts, then loosely fit the front mount bolts. It will be a bit difficult, but much easier than trying to fit them both before fitting the crossmember.
- Finish tightening the rear mount bolts, then the front mount bolts and the mount nuts. I found that I could use a swivel socket and a loooong extension to get to the nuts, but needed to wrench the bolts. At least they were accessible (enough) with things being loose.
- With a jack and long 2x4 (or a transmission jack, if you have it), lift up the crossmember enough to be able to start the two bolts that join the "cage" to the bottom of the crossmember.
- Raise the crossmember up a bit more to the point where you can see if the bolts for the crossmember will fit into the holes you want to use. If you have led a clean life, they will. If not, you'll have to drop the crossmember and mounts and flip the "cage" around. It gets weird. If they fit, bolt them up and remove the support.
After getting the crossmember in place, I had to fit the wiring for the reverse lights and overdrive. There was just barely not enough room to do this without scraping the back of my hand very badly. (I'll survive.)
We then fit the exhaust and driveshaft, radiator support and radiator, hoses and lines, linkage, clutch secondary cylinder, speedo cable, etc. Everything was nice and clean.
Finally, we filled Alice with fluids, hooked up the battery, started her up, and drove home.
Except that's not what happened.
Well, we did all the things except the 'drove her home' part. There were some problems.
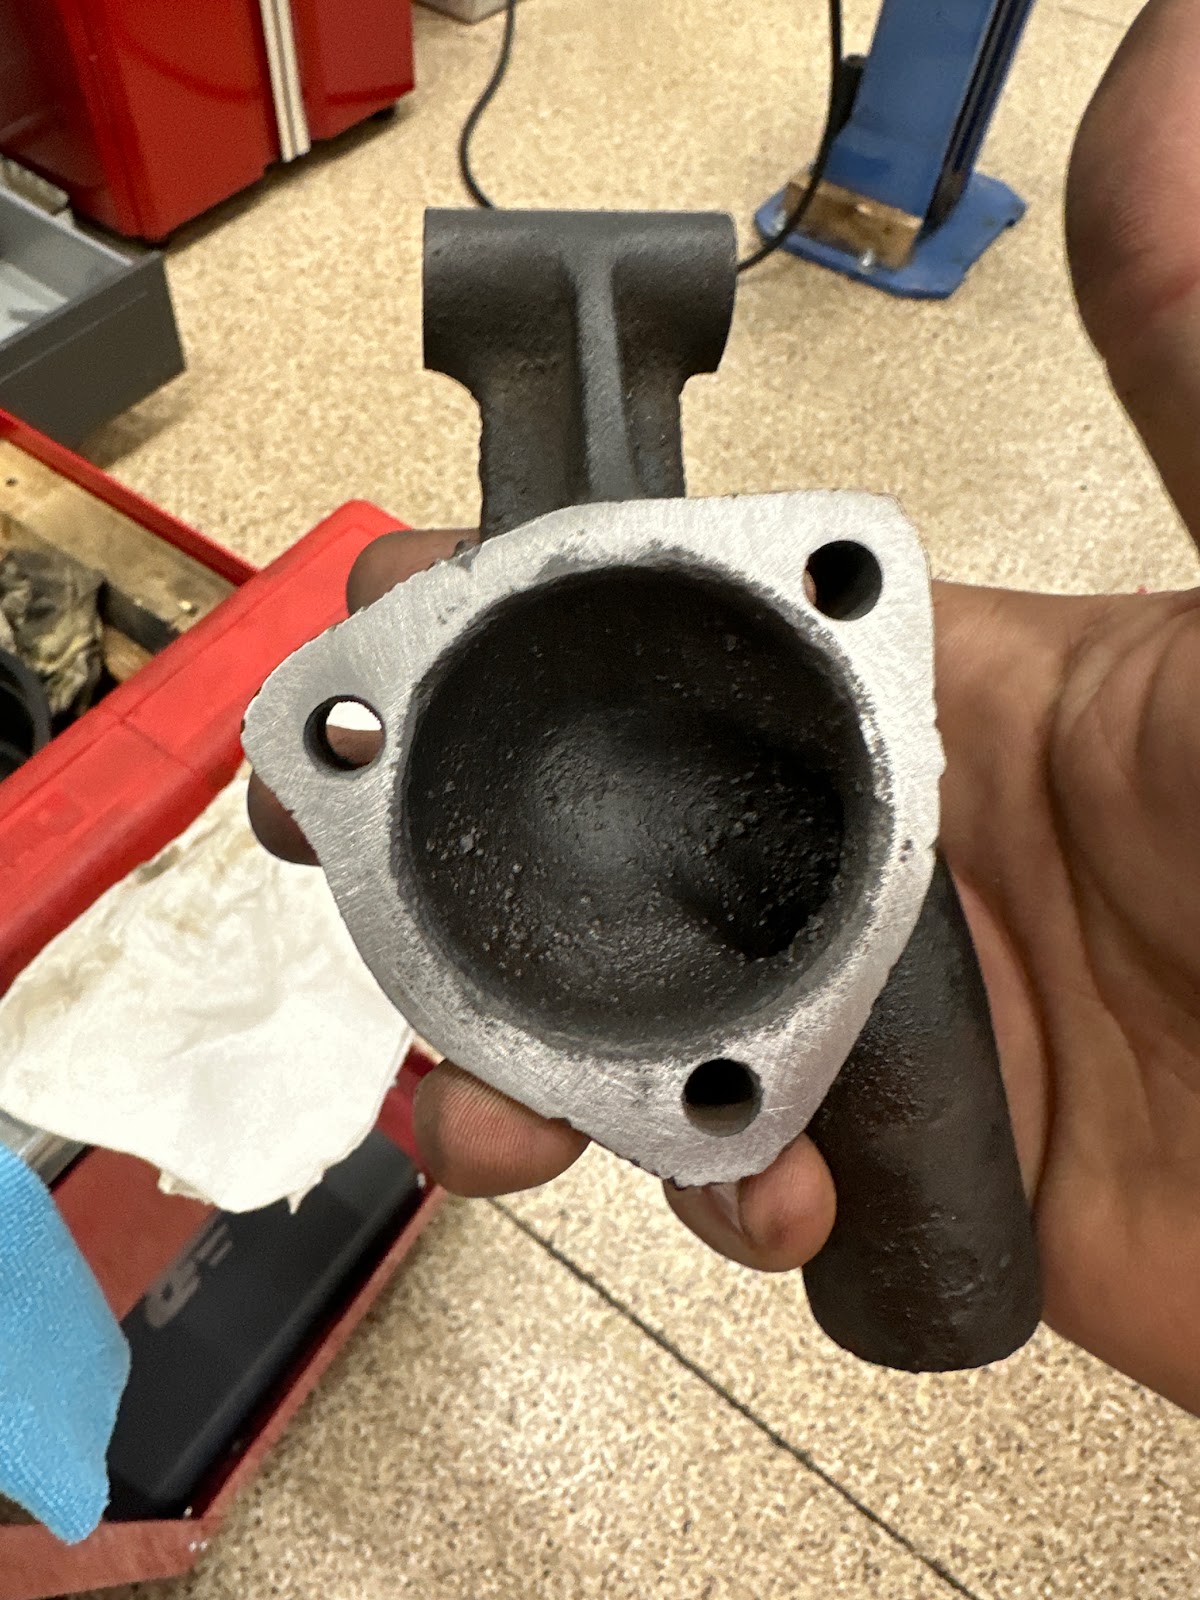
- The thermostat housing was leaking. I changed the thermostat (embarrassingly enough, I didn't do that before) and I should have left well enough alone. But that's an easy fix.
- She started right up fine, but then after about 30 seconds ran much more poorly. We adjusted the distributor timing and it got better, but not great. But it was good enough for a test drive.
- When I went on that test drive, I shifted into 1st (great!) and then 2nd (not so great). Shifting into 2nd yielded a Very Bad Noise that sounded like rotating things striking each other. But if I shifted gently, it didn't happen. I did find that the overdrive worked (wahoo!).
SUNDAY
Sunday morning I went back to Dave's early and got busy. I was now an expert at removing things from an MGB, so it actually went relatively quickly. We got the engine and transmission out and separated, and took a look inside. We did find that one of the plungers for the detents was a bit shorter, but that wasn't the root cause.
This was.
See that ground up part?
Dejected, I took the transmission home. Later on that evening, I dismantled it on the bench and found the problem.
The retaining collar for the mainshaft was loose. But why? Well, I found out why. When I assembled the mainshaft, I did not engage the ears on the 3rd gear thrust washer. That left play in the assembly once the gear rotated (and did engage). The resulting free play was enough to allow the 1/2 synchronizer assembly to move forward and contact the laygear just enough to grind the ever living snot out of it.
Fortunately, I had some things going for me.
- I had the thing apart.
- The laygear and rest of the innards looked okay.
- I had a transmission for spare parts - the one I took out of the car.
So I took that other transmission apart. It was... not pretty in there.
Someone really didn't love this thing.
However, it's just gunk. The mainshaft was okay and the 1/2 synchronizer assembly I needed was just fine. So I snitched it.
I also found out why the original transmission would grind when going into 4th gear...
See that crack? The synchro ring couldn't grab the baulk cone properly, and so it would not slow the gear enough to engage properly.
Okay, back to what I was doing... when I put the mainshaft together, I made very sure that everything was engaged properly. When I tightened the retaining collar, it went back to the position I should have expected by the marks on the locking tabs.
That was enough. My ego couldn't take any more.
WEDNESDAY
I recovered (in mind and body) enough by Wednesday to tackle reassembling the transmission. I had new gaskets in hand and a clean workbench.
I reinstalled the mainshaft, input shaft and laygear as I have previously described in Transmission One and Done. (Boy, that did not age well.) The rest of the innards went in easily as did the adapter housing. This time when I fit the front cover, I found I needed to remove the 2nd gasket I made and also add .006" of shims. (In retrospect, the need for that second gasket should have been a clue.) The overdrive dropped into place (I shared the trick in that post, too) and I buttoned everything up easy as pie.
This time, I felt it was going to be good. The transmission shifted well on the bench without feeling any 'give' and was easy to get into gear.
THURSDAY
Thursday after work I went back to Dave's (I swear, I could find my way there blindfolded by now). I had a short list of things I wanted to take care of before attempting to refit the transmission.
- I changed the timing gears and chain for an old fashioned non-adjustable set. I just didn't trust the adjustable gear after how it initially ran well, then poorly. It was a good thing I did - the gear looked like it had slipped. I had tightened the gear down well, or so I thought. It wasn't much, but it wasn't trustworthy. With the new gear set, things looked right to me. The dots lined up at TDC. (I marked TDC before I removed everything - it was easy enough.)
I cleaned up the cover, fit the tensioner and oil thrower, put a wee bit of gasket sealant on the gasket and bolted it back together. - I cleaned up the thermostat housing so it would seal properly.
- I cleaned Dave's garage. We had made a mess, and I didn't like that.
I then decided I would try and refit the transmission back to the engine myself. I got it together on the 4th try. That sucker is heavy!
SATURDAY
Saturday was The Big Day Take Two.
The whole crew (minus Dave - he was not available, but we were still using his place, so it's all good) showed up midmorning and got to work.
First, I did the impossible - I changed that driver's side motor mount. My secret?
I bought a cheapo 9.16" wrench and ground the open end down to about 1/8" thickness. When we got to Dave's, I literally superglued the wrench to the nut on the back of the mount. Once it set, I spun the old mount out and the new one in. Once snug, I broke the wrench free from the nut. It took 5 minutes.
Never tell me something is impossible.
For the rest, I'll spare you most of the gory details, except for a couple. Remember how we got that crossmember to fit exactly the first time? We were not so lucky this time. It took a couple of tries to get it right. but we did. The new motor mount raised the driver's side of the engine up, which meant the passenger's side had to come up too - the whole assembly was cocked about 5º. But we got it sorted.
And we installed this.
That aluminum radiator has more coolant capacity AND A DRAIN PLUG. I cannot fathom why British Leyland didn't fit a bung for a drain plug.
Anyhow, this time the story has a happy ending. We buttoned everything up, filled fluids, started her up, and she ran just fine. I went for a test drive and she shifted beautifully and ran well. So we fitted the bonnet, and I drove Alice home.
She's so pretty!
Once on the road, I engaged the overdrive and it was magic. On the highway, I was turning 3200 RPM at just over 70MPH. That is a great cruising speed and was very relaxed compared to the almost 4000 RPM it was turning before. And the temperature never climbed much past 'N', where before it would be closer to 'H' at this speed and ambient temperature (90-ish).
Alice is home safe and sound and happy. I have a couple of things to tweak to get her purring perfectly, but this job is done. I need a rest - but I still have Gidget's engine to put back together, so I guess I'll be working tomorrow...


