I was winging my way home from work one fine February day, and life was grand. That is, it was until I stepped on the brake pedal and didn't get the Whoa I was expecting. The pedal was hard, and the car didn't stop well. I got off the highway and found the engine running rough.
Hoo boy.
I made it home safely. The brakes still worked, but it was not easy. Alice wanted to stall at every light. But when I got near the house, I noticed something. The engine only ran roughly when I had my foot on the brake pedal. If I just used the parking brake, she ran great. I knew what this meant - the vacuum booster had failed.
These are the things that happen when you have a nearly 50 year old car and don't replace every single component. The booster just aged out and lost its ability to hold a vacuum.
Ah well... I did a little looking around, and I found that I had the unobtainable unit fitted only to the 1975 MGB. Which is Alice. This was no longer a fine February day.
I did some more research and learned that the later units for a '76 - '80 would work. Dimensions are almost the same with about a 1/4" difference in length. I decided I'd take a chance and ordered one from Moss Europe. Why the UK? Because the unit was only $100 USD, and even with $60 shipping it was cheaper than the same unit from Moss USA ($220). And, I got it in a week.
While I waited, I removed the old unit. This is not an easy task in any case, and on the '75 it's even harder because the pedal box is just-ever-so-slightly different, which makes it almost impossible to get the retaining nuts off from the inside.
But I did it.
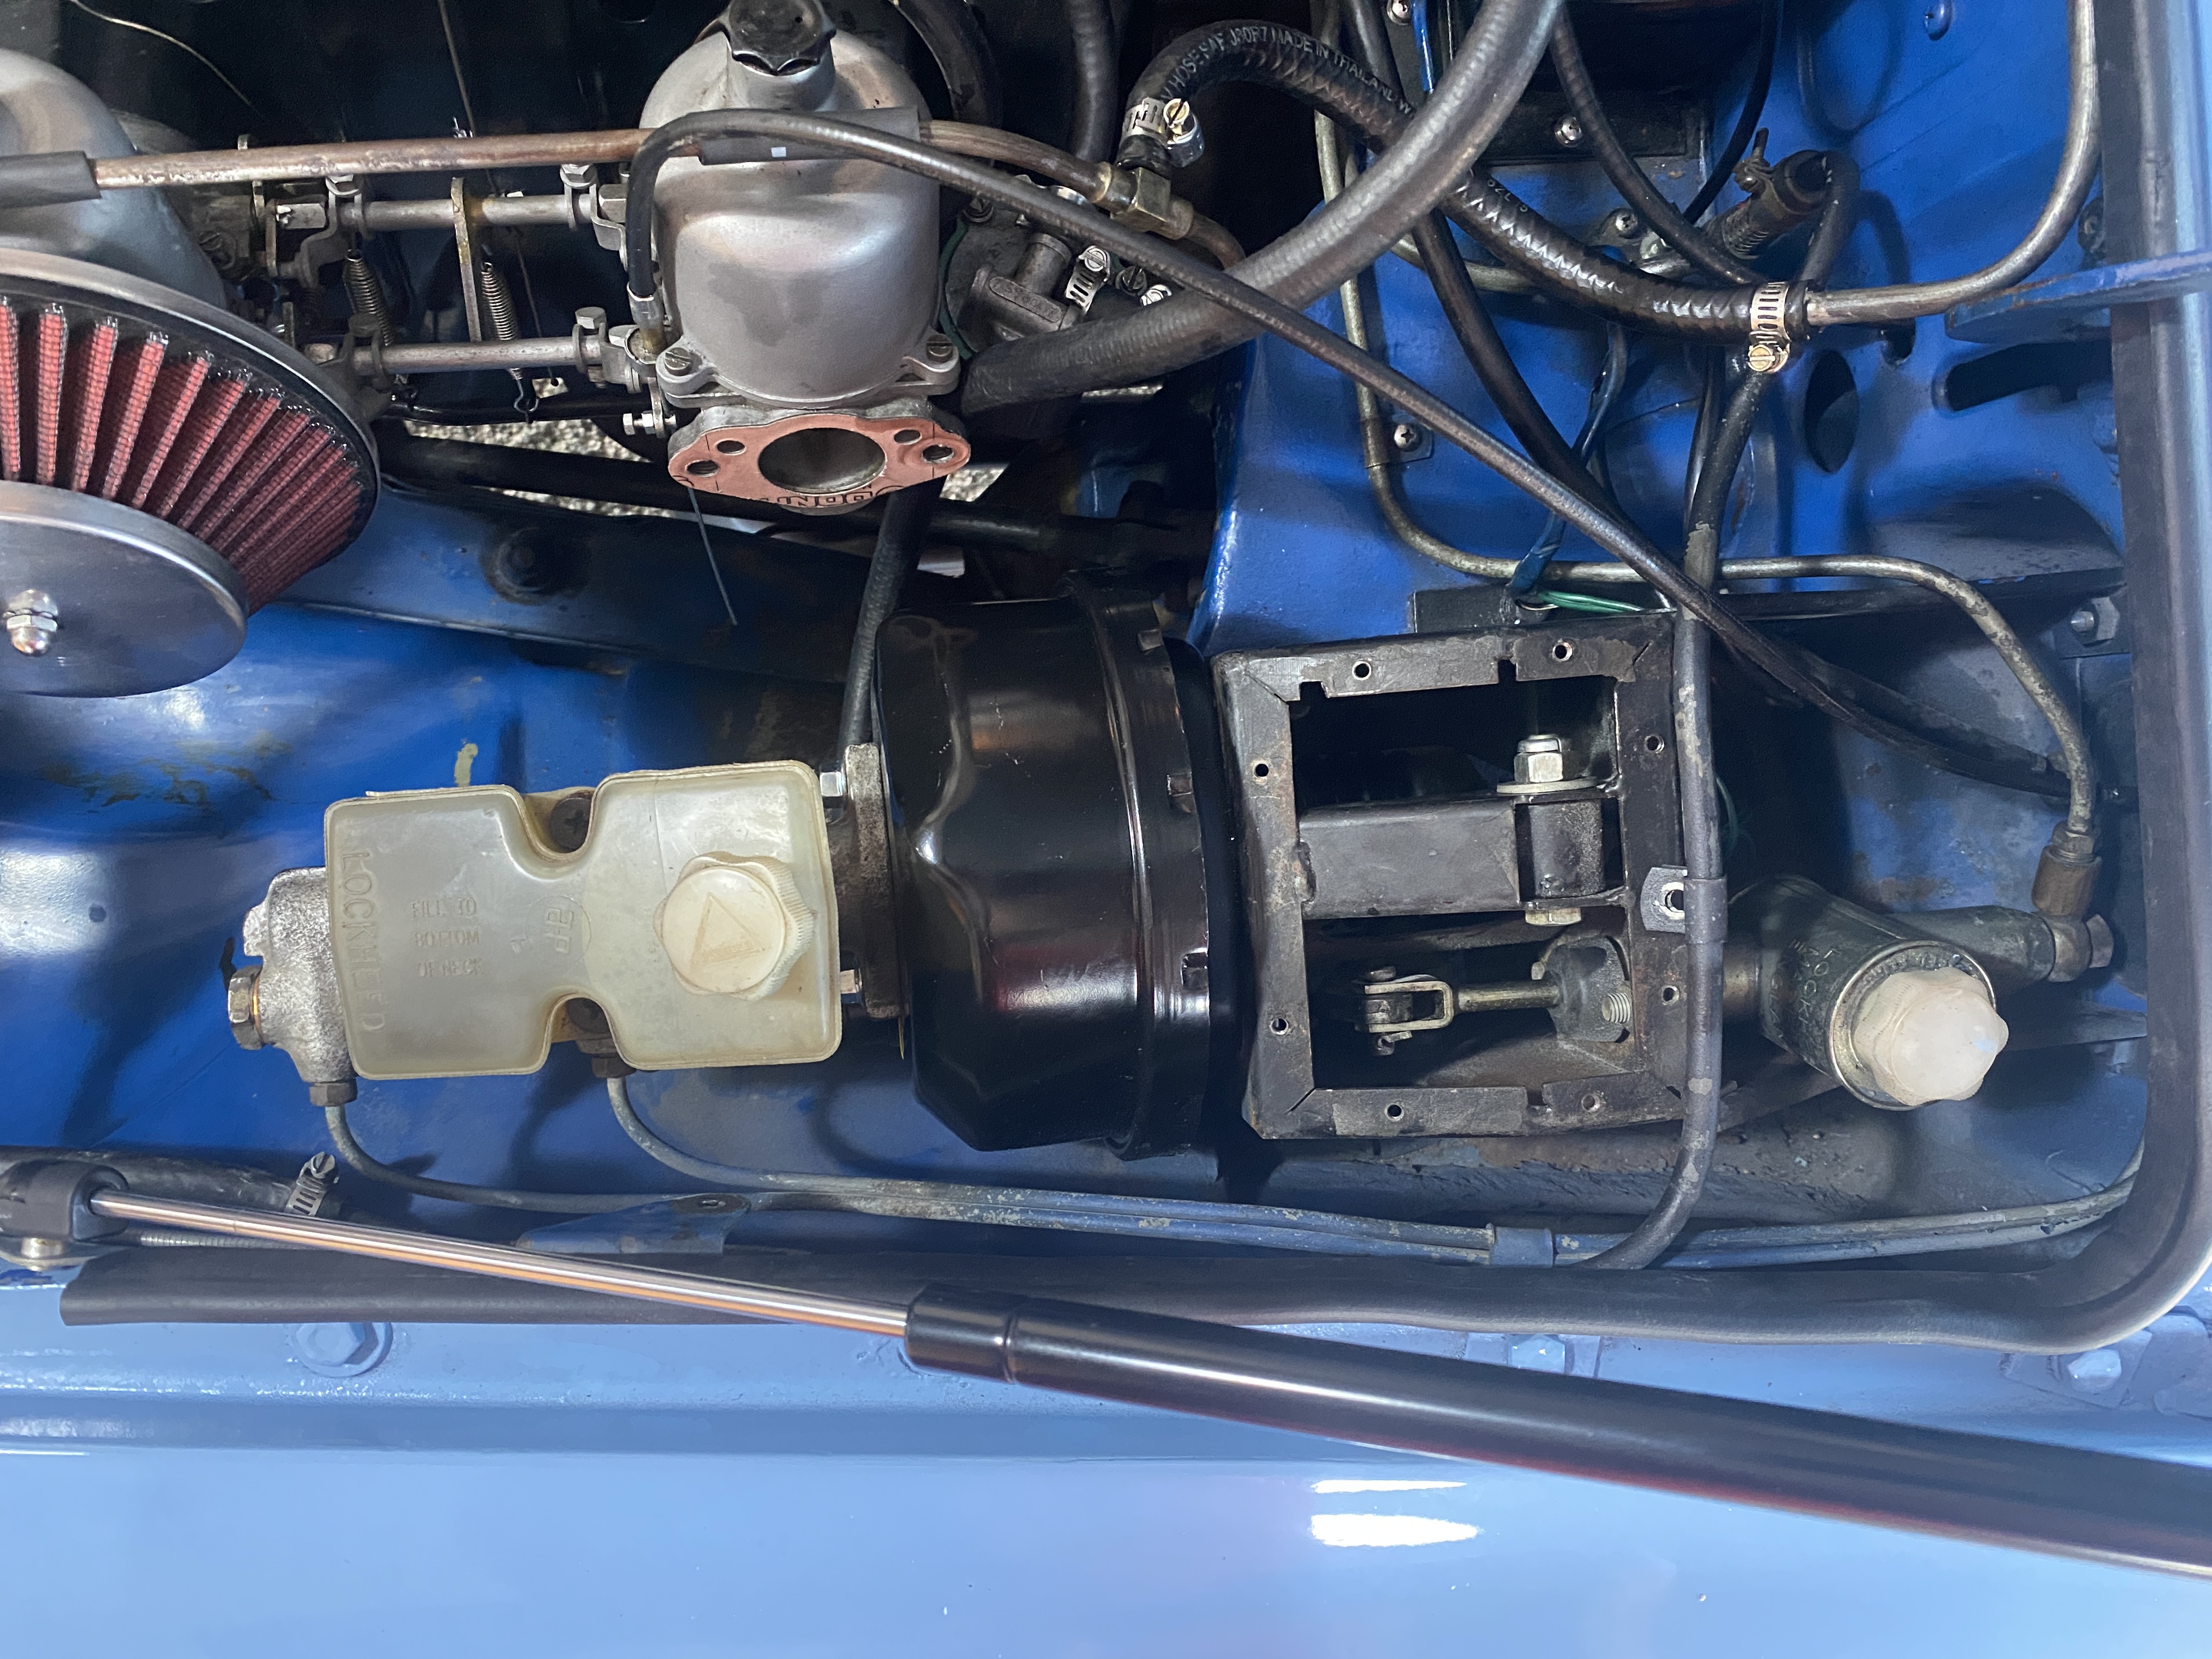
I ended up cheating a little. I removed the cover from the pedal box to find four nuts holding the booster to the box. The top two nuts came off straight away. The bottom nut behind the clutch pedal was easily accessible from underneath. That last nut, though... I couldn't get a socket on it from underneath (between the pedals), I couldn't get a ratchet and socket on it from above, and I couldn't get enough swing on a ratcheting box wrench. So like I said, I cheated... and I cut a little notch in the box to give the ratcheting wrench enough swing to loosen the nut. I was then able to spin it off with a finger from underneath.
Once those nuts were loose, I removed the pin that attaches the booster to the brake pedal. It was a tight fit but a needle nose pliers did the trick.
Finally, I removed the brake master cylinder's two nuts... and then I loosened the clamp holding the rear brake line to the inner wing... then the one holding the lines to the firewall, at the bonnet hinge... then the air cleaner... and then with a deep breath and trepidation, I was able to move the master cylinder backward enough to let me swivel the booster out of the way. And it came out.


Believe it or not, fitting the replacement is almost as easy. The '76 unit does match up well, aside from being a bit shorter in length. It slid into place with little effort, and three of the four nuts went on with little fuss. That fourth nut, though... the one behind the brake pedal... is not so easy. I have ordered a flexible extension to see if that will be sufficient to get that nut into place. For now, there are only three.


Before the master cylinder can be refitted, the pushrod that links the booster to the master cylinder must be adjusted. There are tools designed for this purpose, but I don't have one. The intent is to get the pushrod when in place to exactly, barely touch the cup in the master cylinder so there is almost no play. There is a multiplier in distance here - I don't exactly know what it is - but a little play makes a large difference in the feel at the pedal. Too much play will result in a low pedal with a hard feel when it does engage. Too little will cause the brakes to bind. So I cheated again, and carefully measured the distance the old pushrod protruded from the old unit. I adjusted the new unit's pushrod to match.
Then, I put it all back together.

When I started the car, the pedal sank a bit like it is supposed to. Actually, it sank a bit too much. I wanted a little bit higher pedal, so I unbolted the master from the power booster and adjusted the linkage to be a millimeter longer. This time, I was satisfied with the feel and height of the pedal.
After reinstalling the air cleaner and refitting the retaining clamps for the brake lines, I went for a little jaunt. The brakes felt solid and easy to modulate. I was able to lock up the brakes with a hard stomp on the brake pedal.
Once I get that flexible extension, I'll get that last nut installed (I don't think it is wise to leave it as is). Then, this job will be done! It was not pleasant but very satisfying, and I can rest easy knowing the braking system is in safe and sound condition.
No comments:
Post a Comment