Alice has her hat on.

Installing the top was a lot less stressful than I thought it would be. It helps that the top I bought from Prestige Auto Trim is a perfect fit and came with good instructions, though I modified them a touch.
First things first - raise the frame and lay the top on the car to see how close the fit is, attaching it to the fasteners. It happens to be ideal. In fact, Prestige even had a mark indicating roughly where the header rail would attach - and it happened to be spot on. I left the protective paper in place until the end so I wouldn't screw it up and drip stuff on it.


Next, stretch the fabric to see how well it will line up with the header rail. As I mentioned before, the top fit extremely well and matched the marks from Prestige. The instructions say to mark the center of the material and the header rail so you can align those marks. However, I skipped this as the top is not exactly large and it is pretty easy to see how it will fit by looking at the edges to ensure it covers the header rail.
The step beyond is the one that requires courage: attaching the top to the header rail with contact cement. The instructions say to make a chalk line outlining where the header rail meets the fabric. However, I already had it! I used Weldwood contact cement, which comes in small bottles and are the perfect amount for this job.
I carefully applied contact cement to the header rail (which I cleaned well first) and the fabric up to the mark. I let it dry for about 5 minutes, and then stretched the fabric and tacked it down in the center. I then pulled fabric into alignment on each side. You get a little working time and a couple of tries, but that's it. I practiced this a half dozen times before applying the cement.
The result was nearly ideal!


Once dry, the next step is to attach the seal to the header rail. The seal and its retainer come as a kit from Moss, which also includes the proper rivets to attach the retainer. This also acts to hold the fabric in place to the header rail. The seal fits into the retainer pretty easily as it is soft.
The top from Prestige also came with a nice extra strip of fabric on each side that helps relieve stress on the edges of the fabric. I glued this fabric down with a little contact cement, then attached the seal retainer. I had to punch holes with an awl through the fabric before attaching the retainer. I used the rivets, and I modified my rivet gun to help it fit into the small gap available without bending the lip of the retaining rail (too much). Lots of people use screws instead.
I then fitted the seal and attached the header rail to the windshield frame. This is where your efforts really pay off - the top should be tight, but not drum-tight as it will shrink a bit in colder weather.
On my frame, there is a strip of fabric attached to the top around the back rail on the frame (the part that sticks up the most). I applied contact cement and glued this together to encapsulate the rail. This was not 100% successful, and I'll have to go back and use some thread to make it stronger. But that's okay.
Finally, I attached the snaps to the fabric where it meets the windshield frame. This is what provides teh seal against the window when it's up.
I am extremely pleased with the result!
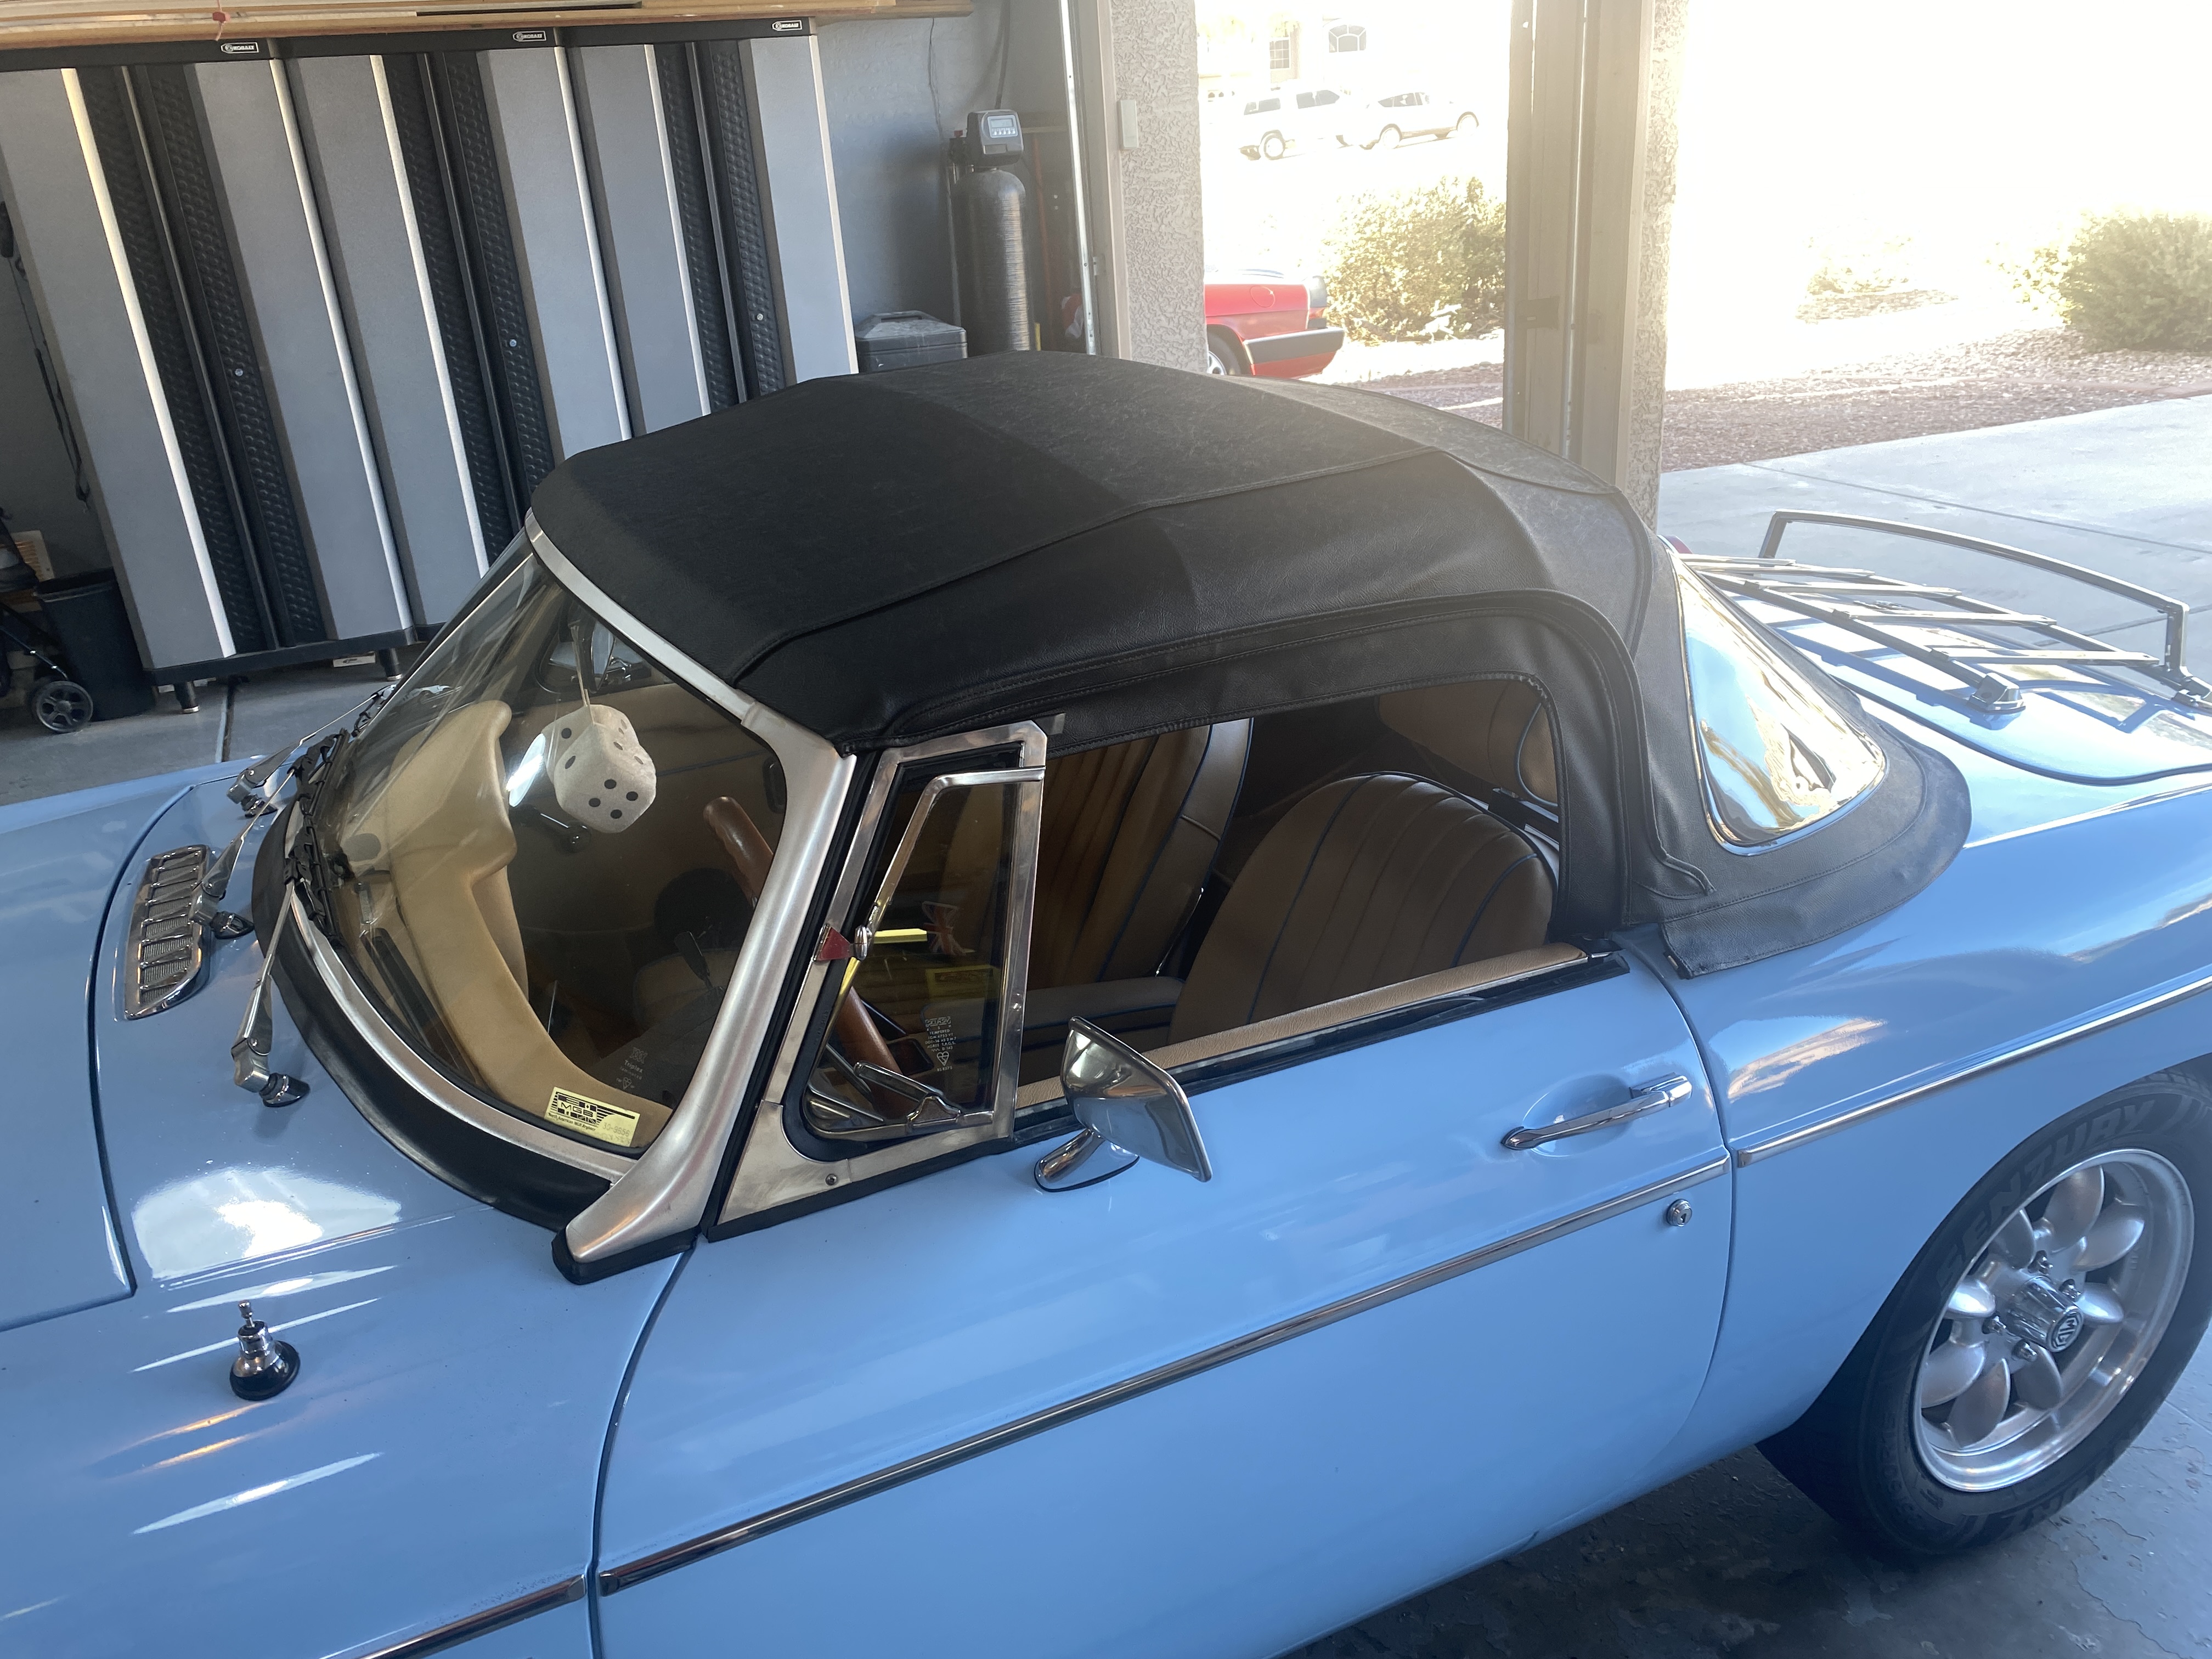

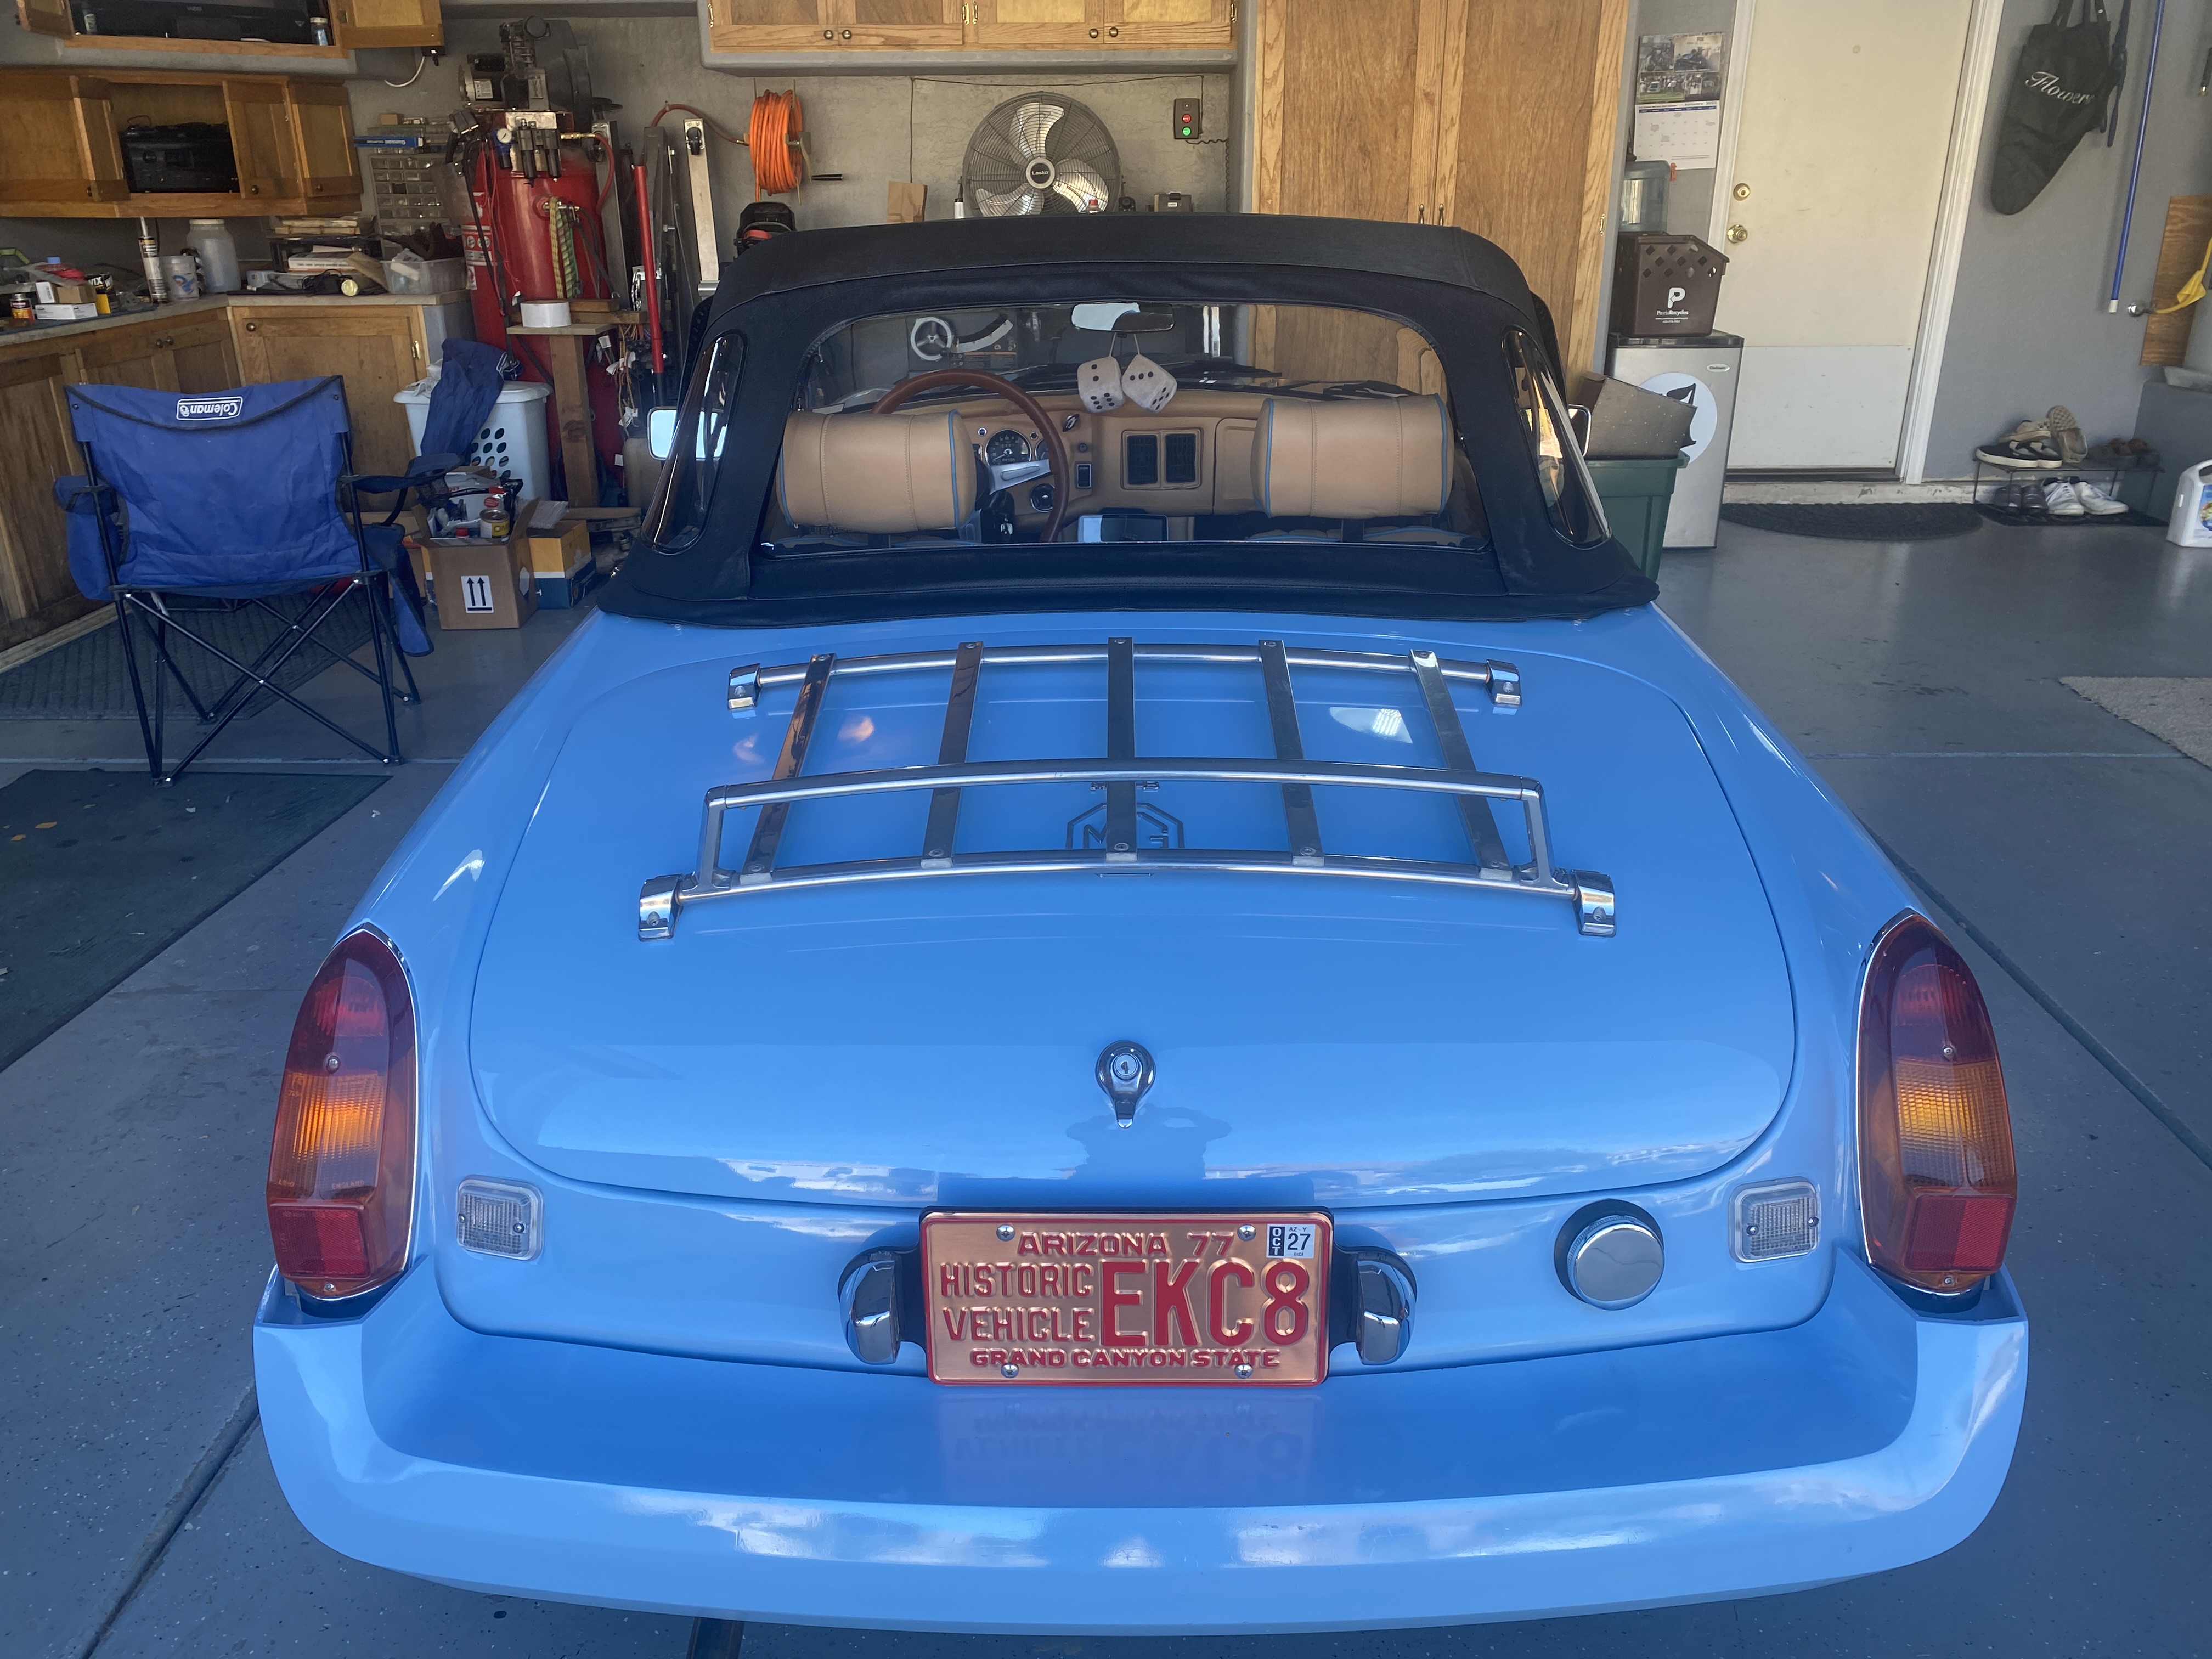
The hood fits perfectly and the car is actually quite quiet when it's raised. There is only a little wind noise even at highway speeds. The rear window zips out as well. I also bought a new boot cover for when the hood is lowered, and that also fits perfectly.
This was the last step to having a complete car. Now, I can focus on improvements - and driving!
No comments:
Post a Comment