Tuesday, June 27, 2023

Transmission One And Done

I've been working on acquiring an overdrive for Alice since I got her.  The overdrive is a highly sought after factory option, as it reduces RPM at speed and makes for a much more comfortable (and economical) driving experience.  I couldn't find an overdrive transmission, but I did find someone that would sell me the parts to convert my 4-speed to an overdrive.  I bought those last year and they were in a box until I finally managed to find time to get to work.  And with Alice's own 4 speed about to give up the ghost, it was time.

What's funny is that I ended up actually building two overdrives; I built one, and rebuilt another.  There was some mix-and-matching to get them done, but they both came together and I expect they'll work great.  So some of the pictures in this article don't exactly look like the same transmission, because they're not.  But the internals are the same.

DISASSEMBLY

Disassembly of the MGB 4-speed transmission is actually pretty simple and only requires a few tools.  The big parts are easy - remove the speedometer drive, the remote housing, the output flange, remove the rear extension.  These come off with only a few bolts.  Inside the rear extension is an assembly that keeps the linkage that engages the selector rods in place.  This can be a bit fiddly to remove, but have patience.  Once this assembly is out, the rear extension comes free.  The output flange has a very large nut, and an impact wrench (1 1/8" socket) is the simplest way to remove it.

Once these are off, you'll feel like you made a lot of progress.  Hold on to that feeling for a while.

The clutch fork and front cover are next.  Again, there's not much to it.  Remove the release bearing, then unbolt the clutch fork with a 9/16" wrench and remove it.  Remove years of grime and crud and then remove the front cover by undoing the 8 1/2" nuts that hold it in place and pulling it off the input shaft.

Now, it starts to get interesting...

Remove the side cover and gaze at the wonder that is a transmission's guts.  Then stop gazing and get back to work.

Remove the three 9/16" retaining bolts that hold the detent pistons and their springs in place, then remove the springs and pistons with a small magnet on a stick.  It you're lucky, they'll come right out.  I was not so lucky the first time, but they eventually came out.

Remove the selector rods by undoing the 7/16 retaining nuts and the 9mm (I'm sure it's Whitworth, but 9mm works) bolts, and withdraw the rods one at a time.  Once the rods are out, remove the selector forks, which are what move the synchro assemblies back and forth on the mainshaft as you move the selector rods back and forth.

The rest of the innards come out in a specific order:

First, remove the reverse gear by undoing its retaining bolt, withdrawing the shaft and then removing the gear from the housing.

Second, remove the shaft that holds the laygear in place.  The laygear is what transmits power from the input to the mainshaft.  Let the laygear drop down into the case - it needs to move out of the way for the next two parts.

Third, remove the input shaft (the part that connects to the engine).  This comes out with a little fiddling and as one assembly.

Fourth, remove the mainshaft.  This can be tough.  On one transmission, it took a half hour of careful tapping from the inside with a long punch against the main bearing's outer race.  This is one big bearing.  On the other, it almost fell out with only minor persuasion from a rubber mallet.  I was careful to not let the 3/4 synchro assembly fall off the shaft as I removed it.


Fifth, remove the laygear from the case.  This is fiddly as there are two thrust washers that keep things very closely aligned. 

Last, the mainshaft comes apart.  There is a retaining collar that screws into the front of the mainshaft, and it has a retainer that comes loose by tapping the spots where it's holding the collar out of the way.  Then the retaining collar can be unscrewed with some persuasion.  There's a special tool for this, but I used a Channel-lock pliers and put the mainshaft in a vise with padding to keep from damaging it.  After that, it's removing the gears one at a time, keeping them in order and proper orientation.

Folks, that's it for the big pieces.  You're left with an empty case.

RECONDITIONING

Reconditioning is mostly a game of cleaning, but there are some parts that need to be checked and probably replaced.  First and foremost, the synchro "baulk rings".  They're called that because they help slow, or "baulk", the gears being disengaged and engaged by gripping a cone.  The slowing of the shaft allows the synchro assembly to line up two gears, disengage one and engage the other.  Because the assemblies are at rest relative to each other, the gears mesh without "crashing".  Once engaged, the input shaft turns the laygear to connect input to output, and the different input/output ratios make the output shaft turn at a different speed relative to the input shaft.  (That's basically the whole magic of a transmission.)

The baulk rings are designed to wear and usually last 60-70 thousand miles, more if you're a smooth and easy driver.  They have little tiny teeth that wear out, and when they're worn out they don't do their job well enough to slow things down.  That's why a worn transmission is hard to "put into gear" and makes grindy noises when you try.  The photo below shows a new baulk ring with an older one.  See the way the teeth are worn?

Aside from the baulk rings, the bearings that support the laygear and between the input and output shafts can wear, but it's not too likely.  I replaced them because they aren't expensive, and I don't place on going back in there anytime soon.

The laygear shaft and thrust washers are known to wear, so inspect them.  For the thrust washers, this is where you check the 'end float' (the amount of space between the washer and the housing) when the laygear is installed.  If out of tolerance, replace them.

A full gasket set is required, of course.  The front cover seal should be replaced even if it feels supple.  The rear seal would also be replaced, but since I am converting to an overdrive I won't be using this part again.

Be sure to inspect each gear to ensure they're usable.  Chipped teeth, while unlikely, make the entire endeavor a waste of time.  You need these gears for the new mainshaft you're going to build.

CONVERSION

There are a few parts that change when you convert to an overdrive.  The mainshaft is different at the back because it fits into the overdrive unit.  The remote housing becomes an adapter to hold the overdrive unit.  The speedo drive is part of the overdrive unit.

The main part of the conversion is the swapping of gears from the non-OD mainshaft to the overdrive mainshaft.  Having removed them and kept them in sequence, this is pretty simple.  Just put things on the new mainshaft in the same order they came off, and lube everything a little bit as you do so.  Once the gears are in place, refit the retaining collar and its retainer.  Again, no special tool meant a Channel-lock was carefully employed.  Tap the retainer back into place to keep the retaining collar from turning.

REASSEMBLY

The Haynes manual loves to state that "installation is the reverse of removal."  This is a bit cheeky, but basically true.  The parts go back in in the order they came out.

First, the laygear and its thrust washers.  This rests in the bottom of the case like before so you can get the mainshaft and first motion shaft into place.  You will have fitted the new bearings before you put the laygear into position.

Second, the mainshaft.  This is a bit delicate as you don't want to damage the rather large gears that barely fit into the housing.  There is a key like a half moon which lines up with a matching pin, and that sets the orientation of the bearing outer race.  Once aligned, the outer race can be gently tapped with a rubber mallet around its edge.  The bearing will fit slowly at first, then start moving more freely until finally at the end it pops into place flush with the back of the housing.

Third, the input shaft.  Don't forget the caged needle bearing that goes between the input shaft and the mainshaft.  The input shaft should fit into place with little effort.

Fourth, install the layshaft.  This is a bit fiddly, and I tip the case so the layshaft will fall into place under the influence of gravity.  I use a long extension to help fiddle the laygear and thrust washers around until the layshaft slips into place.  Once installed the layshaft has a specific orientation that the front cover will maintain as it has a slot for the protrusion on the end of the layshaft.

Fifth, install the reverse gear and its retaining bolt.


Once all those parts are in place, it's a good idea to see if things turn freely.  The gears are in 'neutral', so you should be able to turn the input and output shafts separately and without significant effort.

With the guts of the transmission back in place, refit the selector forks and rods and the detent pistons and springs.  The selector forks and rods have a specific orientation and only go together one way, so you can't really mess it up.  But I take lots of pictures both for articles like these and to help my poor short term memory.


Once again, stop and admire your work for a moment.  You earned it.

Finally, refit the front cover.  This requires a little bit of math.  (I never said there would be no math.)  You measure the depth of the front cover where the input shaft bearing fits, add a little bit for the cover gasket, and subtract the height of the input shaft bearing where it protrudes from the case. This tells you how thick any shims between the cover and the bearing have to be.  This is really hard unless you have a good micrometer, but I only have an okay micrometer.  I managed.

It is usually okay to just refit the cover with the shims that were there before (replacing them if they're damaged, which happens often).  However, note that you really should measure this.  If there is a gap, the input shaft bearing can move back and forth and cause premature failure of the bearing.  One trick is to get some modeling clay and make a reverse cast of the inside of the cover, which is easier to measure.

Fit the cover and any shims, and tighten the cover down slowly and evenly.  Once fully in place, make sure the input shaft spins freely with the selector rods in neutral.  If it doesn't, then you have too much shimming.

On one of the two transmissions, I actually needed to make a double gasket to create a little more gap to allow things to spin freely.  This transmission had something similar done before.  On the other, the shims were needed.

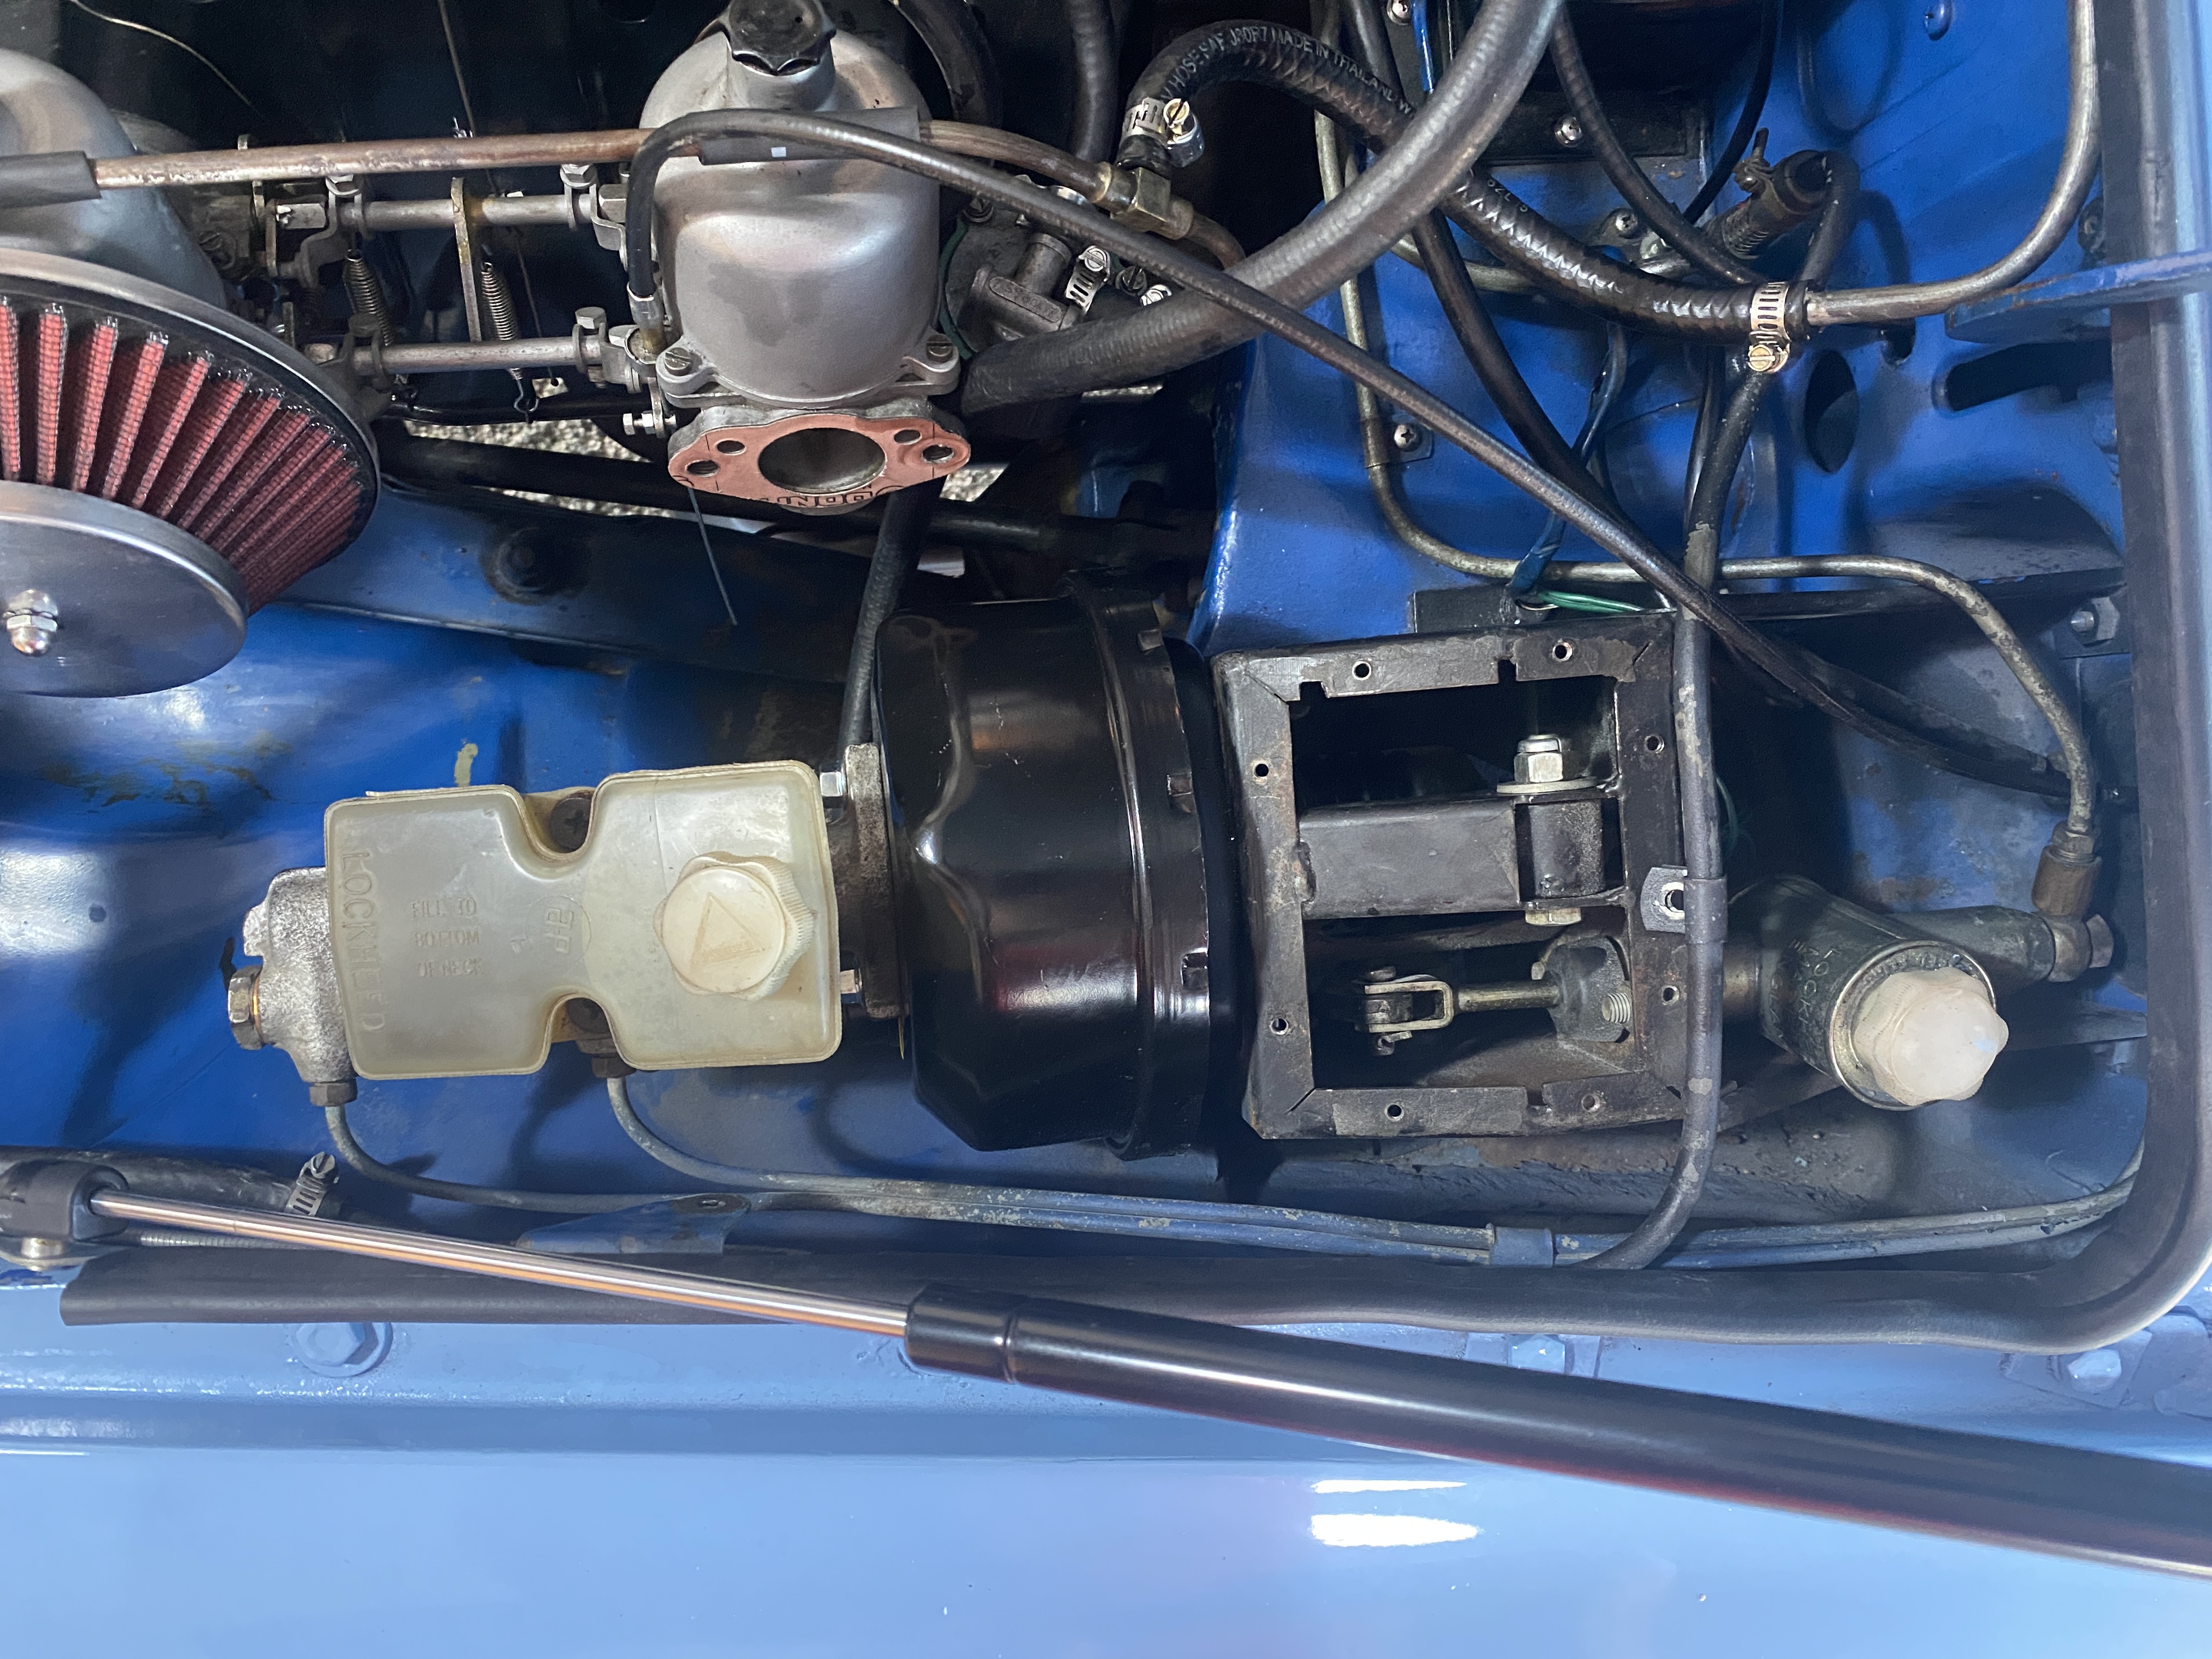
INSTALLING THE OVERDRIVE

Now that the main portion of the transmission has been reassembled, the fun part can begin.  The overdrive unit was after all the whole point of the exercise.

The LH type overdrive is an interesting piece of kit.  When not engaged, it transmits power by a 1:1 ratio between the input and output shafts.  (Gear ratios are measured by input:output, so X turns of the input shaft equates to Y turns of the output shaft.)  The action of a solenoid engages a little hydraulic pump that builds pressure.  This pressure forces springs forward to engage a cone clutch, which sends the input power through a planet-and-sun gear set and changes the input/output ratio to something less than 1:1 (like 0.82:1).  The output shaft spins more slowly as a result.  This 'over-unity' ratio is the 'over' part of 'overdrive'.  It's pretty simple and bulletproof if not abused.

The first part of installing the overdrive is installing the remote adapter housing.  This housing is shorter to make up for the overdrive unit's length.  (In fact, the non-OD and overdrive units are the same length, and for the later overdrive units are a direct swap.)  The remote adapter housing has the linkage to control the selector rods.  Fit a new gasket and bolt the housing into place with the linkage engaged to the selector rods (but still in neutral).

I ran into an interesting problem when I first assembled one transmission.  The mainshaft and laygear didn't line up quite right.  I spent quite a bit of time fussing about this, and finally called my new friend Dick Moritz, He the Keeper of Overdrive Secrets.  He informed me that sometimes, the large double-bearing on the mainshaft gets distorted a bit when the pressure on it relaxes during disassembly.  His answer was to bolt the remote housing down evenly and watch the gears move into place.  And golly, he was right.  The other transmission didn't have this little issue and I fitted the remote housing without incident.

See the before and after I'm talking about...

The next part is one that you cannot forget, or nothing will happen when you engage the overdrive.  The overdrive's mainshaft has a small eccentric cam held in place with a 3/16" ball bearing.  This is what drives the pump inside the overdrive unit.  Fit the cam and bearing, being very careful not to let that ball bearing fall into the case.  I pack cloths around the mainshaft to prevent that from happening.  Once fitted, remove the cloths.

Fitting the overdrive to the remote housing can be difficult, unless you know "the trick".  Fortunately for you, I am going to share the secret passed on to me by He the Keeper of Overdrive Secrets...

First, line up the teeth inside the overdrive by using a long screwdriver to force them in a counter-clockwise direction.

Second, turn the output shaft until the big part of the cam is facing the flat part of the case.

Now, put the transmission into a gear (any will do) and use a locking pliers on the input shaft to keep it from turning at all.  This is the part of "the trick" that makes it work.

Next, remove the filter cover and filter from the bottom of the overdrive unit and thread a small nylon rope through and around the pump drive.  You want to be able to pull the pump drive back about 1/4" so it won't run into the cam, which you thoughtfully oriented so the smallest part is where the pump will be.  Make sure you can pull back on the pump drive a few times before proceeding.  It shouldn't make that much effort.


It's time to offer up the overdrive unit.  Fit a new gasket between the remote housing the the overdrive, and slide the overdrive onto the output shaft.  It will go a little ways, then stop.  That's okay.

Here's the rest of "the trick".  Pull the nylon rope that pulls on the pump drive and turn the output flange counter-clockwise ever so slightly.  After maybe 1/8 of a revolution, the whole overdrive unit will drop into place with a 'thunk' and rest against the remote housing.  Remove the nylon rope and refit the filter and cover.  Bolt the overdrive into place with the 8 nuts and lock washers (four have a lower profile because it's really fiddly to get them into place).  Remove the locking pliers and take the transmission out of gear, and make sure the input and output turn freely and independently of each other.


Celebrate!

FINAL ASSEMBLY

The last bit of assembly is to fit the remote shifter unit with a new gasket.  The little retaining assembly for the linkage goes in first, and that can be tough to fit.  Line up the linkage in the selector rods and then you should be able to slide the retainer into place.  Have patience - it came out, so it will go back in.  Once in place, fit the gasket, line up the ball in the housing's linkage with the socket in the selector's linkage, and bolt the housing into place.  Don't forget about the little plastic cup that goes on the ball.

Fit the side cover with its own new gasket.  Refit the clutch fork and a new boot and release bearing, and you're done.


See, that wasn't so hard!

Rebuilding a gearbox is really all about diligence and patience.  There's nothing magical going on in there.  Fitting the overdrive is also seen as a black art, but now that you know "the trick" it's not a big deal.  I did all of this with a few wrenches, pliers and sockets, a couple of screwdrivers, a bench vise and an impact wrench and large socket (the one "special" tool I used and would have had to buy if I didn't have it).

Now that the transmission's done, it has to go into the car.  But that's another story...

Read more »

Sunday, March 12, 2023

Front Suspension Rebuild

The last remaining 'rebuild' job on Alice was the front suspension.  She drove well enough, but felt a bit loose and bobbed and weaved more than I'd like going around corners and when braking.

I decided to take a peek at the front dampers to see if there was anything I could do in the interim.  It turns out the front right damper was empty!  Well, that's an easy fix, I thought... I filled it up and the situation improved quite a bit.  Until I saw the stream of oil finding its way down the front subframe, that is... at that point, I knew why the damper was empty.

That is also a relatively easy fix.  Worldwide Auto Parts in Madison, WI is a premier rebuilder of many British car front Armstrong (lever) dampers, and I've used their stuff on Gidget.  I rang them up and soon had newly rebuilt dampers zinging their way across the country to my front door.  But that just meant I had to follow through, and rather than just replace the dampers I decided it was time to get the rebuild off my to-do list.  The challenge was that I had just one day to finish the job... or I'd have to wait a month for another free weekend.

So, here we go!  I'll describe the driver's side rebuild and let your imagination fill in the details for the passenger's side.

Here's where I started.  This doesn't look too bad, right?  There's a ton of old grease and crud hidden behind that rotor.  Those rotors and pads are almost new and the brakes work very well, so at least I didn't have to worry about that...

Disassembly was the name of the game here.  With 47 years on the clock (figuring this hadn't been done before), I was nervous but hopeful that Lady Luck would continue to smile upon me. Most things have come apart on this car with relative ease, even after being an Illinois and Virginia resident.

To start, I supported the car on a frame rail with a jack stand as I would need my jack to safely lower and decompress the spring.  I removed the tie rod end followed by the brake caliper, and suspended the caliper so it wouldn't yank on the brake hose.  Once I dismounted the hub and rotor, I then jacked up the stub axle underneath the lower trunnion (being careful not to shear off the grease fitting) and freed the upper trunnion from the damper arm.  I then lowered the unit carefully and removed the now-decompressed front spring.

That actually went pretty well.  Mmmm, look at that old grease and crud!

Once the spring was released, it was a pretty easy job to remove the lower A arm by heating up, then undoing the four bolts that hold the arm to the subframe.  My luck held and everything came loose.

Finally, I unbolted the rebound buffer and the damper.  I was less fortunate with the rebound buffer, as one bolt was chemically welded to the spacer - but who cares?  I had a replacement buffer and spacer.


Then I cleaned everything I could.  I did not do a full restoration on this, but at least it's free of grime and looks like someone cared.

Look at that lovely damper next to its fresh replacement...

I decided that in the interests of time, I would not drop the subframe.  I looked at the body mounts that join the subframe to the shell and decided they looked okay.  It would be a major effort to unbolt the steering rack and drain and remove the front brakes, and I just wasn't able to tackle that.  I have the urethane body mount pads and if I find in the future it needs doing, I'll plan accordingly.

But enough of that... on to more disassembly!

Now I had the driver's side front suspension as a unit on my workbench (which I cleaned just for this job).

Yummy.

I removed the dust shroud and stared at the kingpin for a bit.  I crossed my fingers and put the assembly in my trusty vise, and a miracle occurred.  The trunnion nut came loose!  I removed the nut, tapped the bolt through and removed the stub axle.  Then I removed the spring pan by undoing the four bolts that hold it to the A arms, followed by the arms themselves.  And I noticed something. 

Do you see what I see?  Those look like polyurethane bushings!

So maybe I had good reason to believe the subframe body mounts were in good shape.  Someone's been here before.  I looked again and the body mount pads look like they're urethane too.  I did note that the lower trunnion bolt and assembly did not look like they had been touched, so I suspect that to be the source of the looseness and noise I was hearing.

Well, I'm here now, so everything's getting replaced anyway.

Once I had everything apart, it was time to clean.  This is a filthy job!  But it could be worse... it could be raining.  I also had to deal with the fact that the pins on which the A arm bushings rode were not in the best shape.  I cleaned them up as best I could and they'll do, though they aren't perfect.

I cleaned and cleaned and cleaned for at least an hour.  I used a couple of different scrapers to pick the decades of grease and gunk off the stub axles and A arms, followed by brake cleaner to remove the last of the gunk.  Once clean, I hit the A arms and spring with a light coat of black semi-gloss paint.  I was going for that 'cared for' look without it being perfect.  These items would all have to be replaced to achieve a restoration quality job.  The difference is impressive.

I also did not disassemble the stub axle.  There was no appreciable play in the kingpin and my initial attempt to remove the upper trunnion nut convinced me I should leave it well enough alone.

While the parts dried in the sun, I took a trip to my favorite hardware store (Ace) and picked up a mess of replacement hardware for both sides.  I only made one trip this time.

Once painted and dry, I loosely reassembled the lower A arm with its new bushings.  Loose reassembly is important as you have to be able to jockey things around a bit for proper alignment during reassembly.

Now, the fun began!  it's always fun to put clean and new parts back together.  And good thing, too.  I had been at work for about 6 hours (minus that half hour at the hardware store).

First, I bolted the new damper and rebound buffer in place with a new spacer.  I have found that the rebound buffers need a bit of 'adjustment' (tweaking in a vise) to get them to fit properly to the subframe.

Next, the A arm went in with four new bolts to attach it to the subframe, followed by attaching the stub axle to the A arm with new kit.  (I had previously installed the new trunnion bushings and greased the stub axle.)  I inserted the spring and carefully jacked the axle up until I could attach the upper trunnion to the damper.  This was a bit of a struggle, though it was eased by the fact that you can loosen a bolt that holds the damper's arms together to give just enough clearance to insert the trunnion.  Once the lower trunnion bolt was in place, I tightened the spring pan bolts and attached the tie rod end.  I then lowered the jack and admired the view.  But not for too long - I had miles to go before I could sleep!

Finally, I installed the dust shroud and remounted the hub and rotor.  I took the opportunity to repack the front wheel bearing too.  I reinstalled the caliper, and the job was done!

Boy, that looks better.  It looks like it has some age, but was taken care of.  That's all I was after.

That was a 7-hour job.  The passenger's side went about the same, but a bit quicker as things tend to do when you have done them before.  The one thing I did fight with on the passenger's side was that lower trunnion bolt.  The nut stubbornly refused to come loose, so I cut it off and drove the pin out with a punch.  Aside from that, it was a straightforward but very messy job.

All in all, I spent 12 hours on this job from start to finish.

But was it worth it?  Oh, you betcha!

After I cleaned myself up and changed, I went for a short test drive.  The difference is remarkable!  Before, corners were a chore and it felt like I was fighting to get around a turn.  Now, Alice is happy to take them.  I won't say it's "go-kart-like handling," but it's miles better than before and is very predictable.  Stopping doesn't exhibit more than minimal brake dive.  Everything is quiet, and the annoying steering wheel shake I was getting at 60-65 MPH is gone.  Even going over heavy bumps doesn't get her unsettled.

Alice now rides and handles like the sporty car she is meant to be.  

I would have preferred to have taken the whole weekend for the job, but it was probably best to have gotten it all done at once as I was incredibly worn out the following day.  This is not a job for the faint of heart, though it is not terribly difficult given proper tools and patience.  MGB front suspensions are simple affairs and will last for years if serviced regularly.

My last major task is to swap transmissions.  But that's going to have to wait a while... 

Read more »

Friday, February 17, 2023

Boosting Brakes

I was winging my way home from work one fine February day, and life was grand.  That is, it was until I stepped on the brake pedal and didn't get the Whoa I was expecting.  The pedal was hard, and the car didn't stop well.  I got off the highway and found the engine running rough.

Hoo boy.

I made it home safely.  The brakes still worked, but it was not easy.  Alice wanted to stall at every light.  But when I got near the house, I noticed something.  The engine only ran roughly when I had my foot on the brake pedal.  If I just used the parking brake, she ran great.  I knew what this meant - the vacuum booster had failed.

These are the things that happen when you have a nearly 50 year old car and don't replace every single component.  The booster just aged out and lost its ability to hold a vacuum.

Ah well... I did a little looking around, and I found that I had the unobtainable unit fitted only to the 1975 MGB.  Which is Alice.  This was no longer a fine February day.

I did some more research and learned that the later units for a '76 - '80 would work.  Dimensions are almost the same with about a 1/4" difference in length.  I decided I'd take a chance and ordered one from Moss Europe.  Why the UK?  Because the unit was only $100 USD, and even with $60 shipping it was cheaper than the same unit from Moss USA ($220).  And, I got it in a week.

While I waited, I removed the old unit.  This is not an easy task in any case, and on the '75 it's even harder because the pedal box is just-ever-so-slightly different, which makes it almost impossible to get the retaining nuts off from the inside.

But I did it.

I ended up cheating a little.  I removed the cover from the pedal box to find four nuts holding the booster to the box.  The top two nuts came off straight away.  The bottom nut behind the clutch pedal was easily accessible from underneath.  That last nut, though... I couldn't get a socket on it from underneath (between the pedals), I couldn't get a ratchet and socket on it from above, and I couldn't get enough swing on a ratcheting box wrench.  So like I said, I cheated... and I cut a little notch in the box to give the ratcheting wrench enough swing to loosen the nut.  I was then able to spin it off with a finger from underneath.

Once those nuts were loose, I removed the pin that attaches the booster to the brake pedal.  It was a tight fit but a needle nose pliers did the trick.

Finally, I removed the brake master cylinder's two nuts... and then I loosened the clamp holding the rear brake line to the inner wing... then the one holding the lines to the firewall, at the bonnet hinge... then the air cleaner... and then with a deep breath and trepidation, I was able to move the master cylinder backward enough to let me swivel the booster out of the way.  And it came out.


Believe it or not, fitting the replacement is almost as easy.  The '76 unit does match up well, aside from being a bit shorter in length.  It slid into place with little effort, and three of the four nuts went on with little fuss.  That fourth nut, though... the one behind the brake pedal... is not so easy.  I have ordered a flexible extension to see if that will be sufficient to get that nut into place.  For now, there are only three.

Before the master cylinder can be refitted, the pushrod that links the booster to the master cylinder must be adjusted.  There are tools designed for this purpose, but I don't have one.  The intent is to get the pushrod when in place to exactly, barely touch the cup in the master cylinder so there is almost no play.  There is a multiplier in distance here - I don't exactly know what it is - but a little play makes a large difference in the feel at the pedal.  Too much play will result in a low pedal with a hard feel when it does engage.  Too little will cause the brakes to bind.  So I cheated again, and carefully measured the distance the old pushrod protruded from the old unit.  I adjusted the new unit's pushrod to match.

Then, I put it all back together.

When I started the car, the pedal sank a bit like it is supposed to.  Actually, it sank a bit too much.  I wanted a little bit higher pedal, so I unbolted the master from the power booster and adjusted the linkage to be a millimeter longer.  This time, I was satisfied with the feel and height of the pedal.

After reinstalling the air cleaner and refitting the retaining clamps for the brake lines, I went for a little jaunt.  The brakes felt solid and easy to modulate.  I was able to lock up the brakes with a hard stomp on the brake pedal.

Once I get that flexible extension, I'll get that last nut installed (I don't think it is wise to leave it as is).  Then, this job will be done!  It was not pleasant but very satisfying, and I can rest easy knowing the braking system is in safe and sound condition.


Read more »

Friday, February 3, 2023

Hood II

Alice has her hat on.

Installing the top was a lot less stressful than I thought it would be.  It helps that the top I bought from Prestige Auto Trim is a perfect fit and came with good instructions, though I modified them a touch.

First things first - raise the frame and lay the top on the car to see how close the fit is, attaching it to the fasteners.  It happens to be ideal.  In fact, Prestige even had a mark indicating roughly where the header rail would attach - and it happened to be spot on.  I left the protective paper in place until the end so I wouldn't screw it up and drip stuff on it.

Next, stretch the fabric to see how well it will line up with the header rail.  As I mentioned before, the top fit extremely well and matched the marks from Prestige.  The instructions say to mark the center of the material and the header rail so you can align those marks.  However, I skipped this as the top is not exactly large and it is pretty easy to see how it will fit by looking at the edges to ensure it covers the header rail.

The step beyond is the one that requires courage: attaching the top to the header rail with contact cement.  The instructions say to make a chalk line outlining where the header rail meets the fabric.  However, I already had it!  I used Weldwood contact cement, which comes in small bottles and are the perfect amount for this job.

I carefully applied contact cement to the header rail (which I cleaned well first) and the fabric up to the mark.  I let it dry for about 5 minutes, and then stretched the fabric and tacked it down in the center.  I then pulled fabric into alignment on each side.  You get a little working time and a couple of tries, but that's it.  I practiced this a half dozen times before applying the cement.

The result was nearly ideal!

Once dry, the next step is to attach the seal to the header rail.  The seal and its retainer come as a kit from Moss, which also includes the proper rivets to attach the retainer.  This also acts to hold the fabric in place to the header rail.  The seal fits into the retainer pretty easily as it is soft.

The top from Prestige also came with a nice extra strip of fabric on each side that helps relieve stress on the edges of the fabric.  I glued this fabric down with a little contact cement, then attached the seal retainer.  I had to punch holes with an awl through the fabric before attaching the retainer.  I used the rivets, and I modified my rivet gun to help it fit into the small gap available without bending the lip of the retaining rail (too much).  Lots of people use screws instead.

I then fitted the seal and attached the header rail to the windshield frame.  This is where your efforts really pay off - the top should be tight, but not drum-tight as it will shrink a bit in colder weather.

On my frame, there is a strip of fabric attached to the top around the back rail on the frame (the part that sticks up the most).  I applied contact cement and glued this together to encapsulate the rail.  This was not 100% successful, and I'll have to go back and use some thread to make it stronger.  But that's okay.

Finally, I attached the snaps to the fabric where it meets the windshield frame.  This is what provides teh seal against the window when it's up.

I am extremely pleased with the result!

The hood fits perfectly and the car is actually quite quiet when it's raised.  There is only a little wind noise even at highway speeds.  The rear window zips out as well.  I also bought a new boot cover for when the hood is lowered, and that also fits perfectly.

This was the last step to having a complete car.  Now, I can focus on improvements - and driving!


Read more »