Friday, February 17, 2023

Boosting Brakes

I was winging my way home from work one fine February day, and life was grand.  That is, it was until I stepped on the brake pedal and didn't get the Whoa I was expecting.  The pedal was hard, and the car didn't stop well.  I got off the highway and found the engine running rough.

Hoo boy.

I made it home safely.  The brakes still worked, but it was not easy.  Alice wanted to stall at every light.  But when I got near the house, I noticed something.  The engine only ran roughly when I had my foot on the brake pedal.  If I just used the parking brake, she ran great.  I knew what this meant - the vacuum booster had failed.

These are the things that happen when you have a nearly 50 year old car and don't replace every single component.  The booster just aged out and lost its ability to hold a vacuum.

Ah well... I did a little looking around, and I found that I had the unobtainable unit fitted only to the 1975 MGB.  Which is Alice.  This was no longer a fine February day.

I did some more research and learned that the later units for a '76 - '80 would work.  Dimensions are almost the same with about a 1/4" difference in length.  I decided I'd take a chance and ordered one from Moss Europe.  Why the UK?  Because the unit was only $100 USD, and even with $60 shipping it was cheaper than the same unit from Moss USA ($220).  And, I got it in a week.

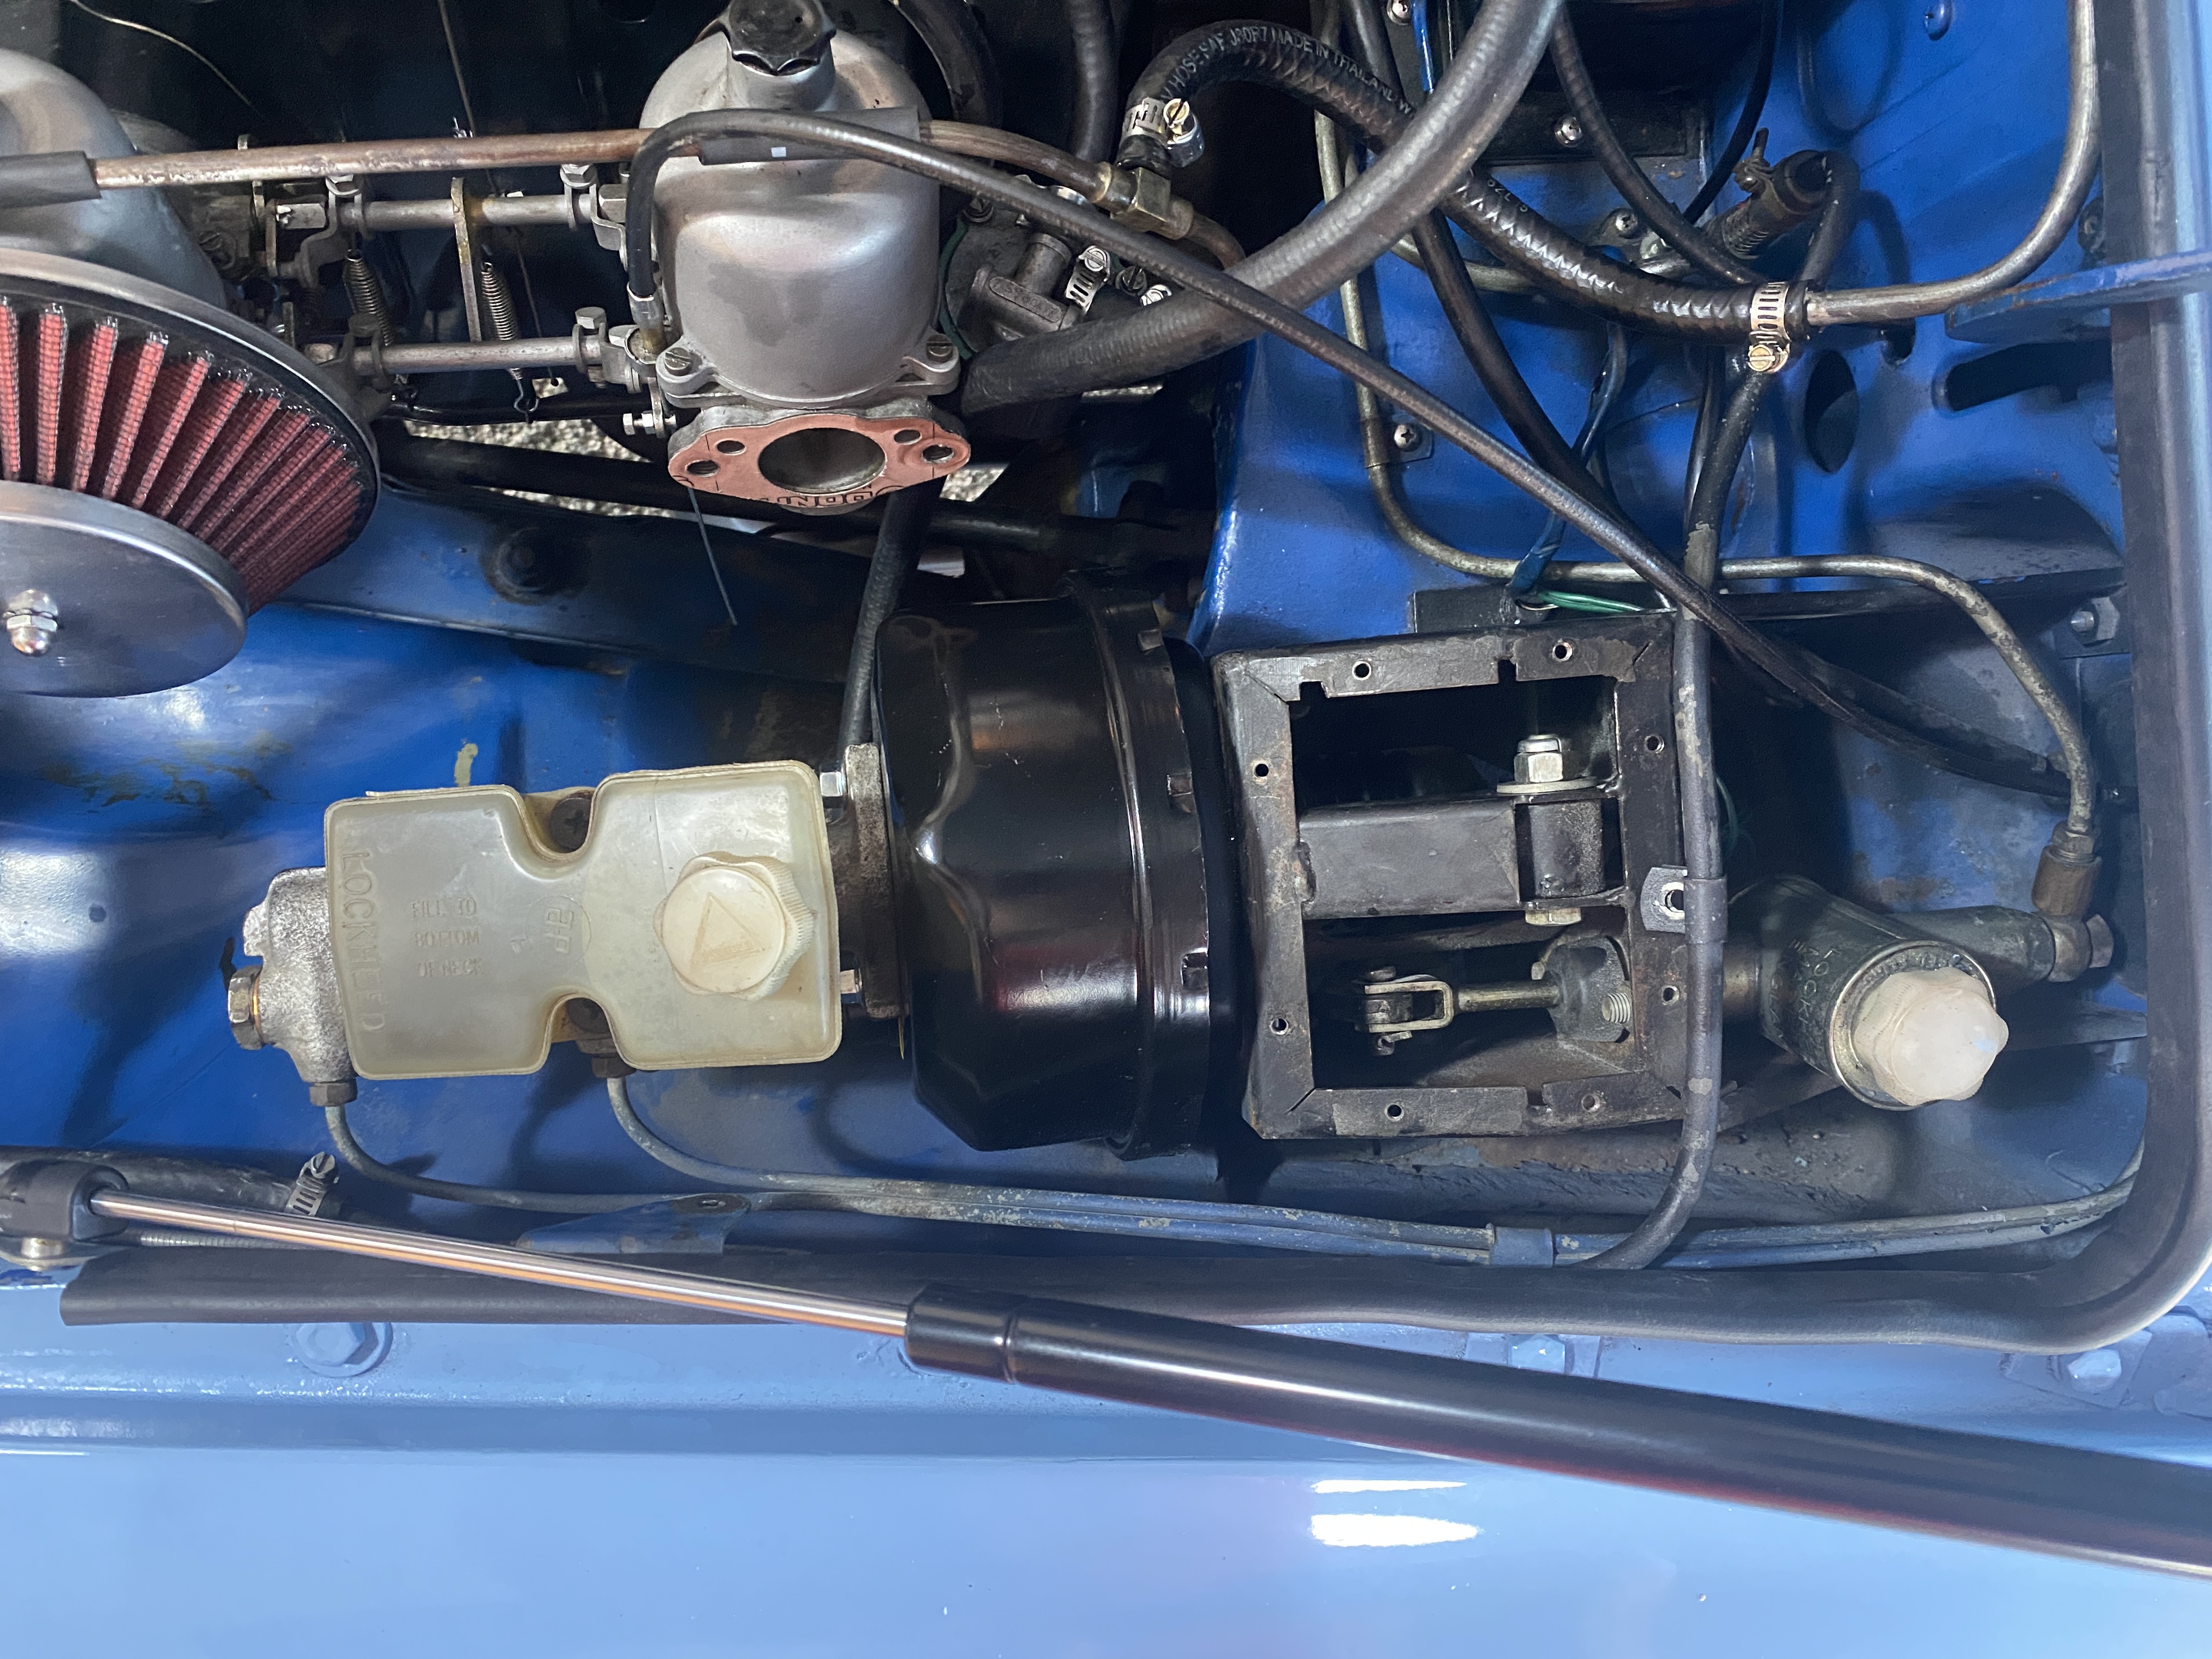
While I waited, I removed the old unit.  This is not an easy task in any case, and on the '75 it's even harder because the pedal box is just-ever-so-slightly different, which makes it almost impossible to get the retaining nuts off from the inside.

But I did it.

I ended up cheating a little.  I removed the cover from the pedal box to find four nuts holding the booster to the box.  The top two nuts came off straight away.  The bottom nut behind the clutch pedal was easily accessible from underneath.  That last nut, though... I couldn't get a socket on it from underneath (between the pedals), I couldn't get a ratchet and socket on it from above, and I couldn't get enough swing on a ratcheting box wrench.  So like I said, I cheated... and I cut a little notch in the box to give the ratcheting wrench enough swing to loosen the nut.  I was then able to spin it off with a finger from underneath.

Once those nuts were loose, I removed the pin that attaches the booster to the brake pedal.  It was a tight fit but a needle nose pliers did the trick.

Finally, I removed the brake master cylinder's two nuts... and then I loosened the clamp holding the rear brake line to the inner wing... then the one holding the lines to the firewall, at the bonnet hinge... then the air cleaner... and then with a deep breath and trepidation, I was able to move the master cylinder backward enough to let me swivel the booster out of the way.  And it came out.


Believe it or not, fitting the replacement is almost as easy.  The '76 unit does match up well, aside from being a bit shorter in length.  It slid into place with little effort, and three of the four nuts went on with little fuss.  That fourth nut, though... the one behind the brake pedal... is not so easy.  I have ordered a flexible extension to see if that will be sufficient to get that nut into place.  For now, there are only three.

Before the master cylinder can be refitted, the pushrod that links the booster to the master cylinder must be adjusted.  There are tools designed for this purpose, but I don't have one.  The intent is to get the pushrod when in place to exactly, barely touch the cup in the master cylinder so there is almost no play.  There is a multiplier in distance here - I don't exactly know what it is - but a little play makes a large difference in the feel at the pedal.  Too much play will result in a low pedal with a hard feel when it does engage.  Too little will cause the brakes to bind.  So I cheated again, and carefully measured the distance the old pushrod protruded from the old unit.  I adjusted the new unit's pushrod to match.

Then, I put it all back together.

When I started the car, the pedal sank a bit like it is supposed to.  Actually, it sank a bit too much.  I wanted a little bit higher pedal, so I unbolted the master from the power booster and adjusted the linkage to be a millimeter longer.  This time, I was satisfied with the feel and height of the pedal.

After reinstalling the air cleaner and refitting the retaining clamps for the brake lines, I went for a little jaunt.  The brakes felt solid and easy to modulate.  I was able to lock up the brakes with a hard stomp on the brake pedal.

Once I get that flexible extension, I'll get that last nut installed (I don't think it is wise to leave it as is).  Then, this job will be done!  It was not pleasant but very satisfying, and I can rest easy knowing the braking system is in safe and sound condition.


Read more »

Friday, February 3, 2023

Hood II

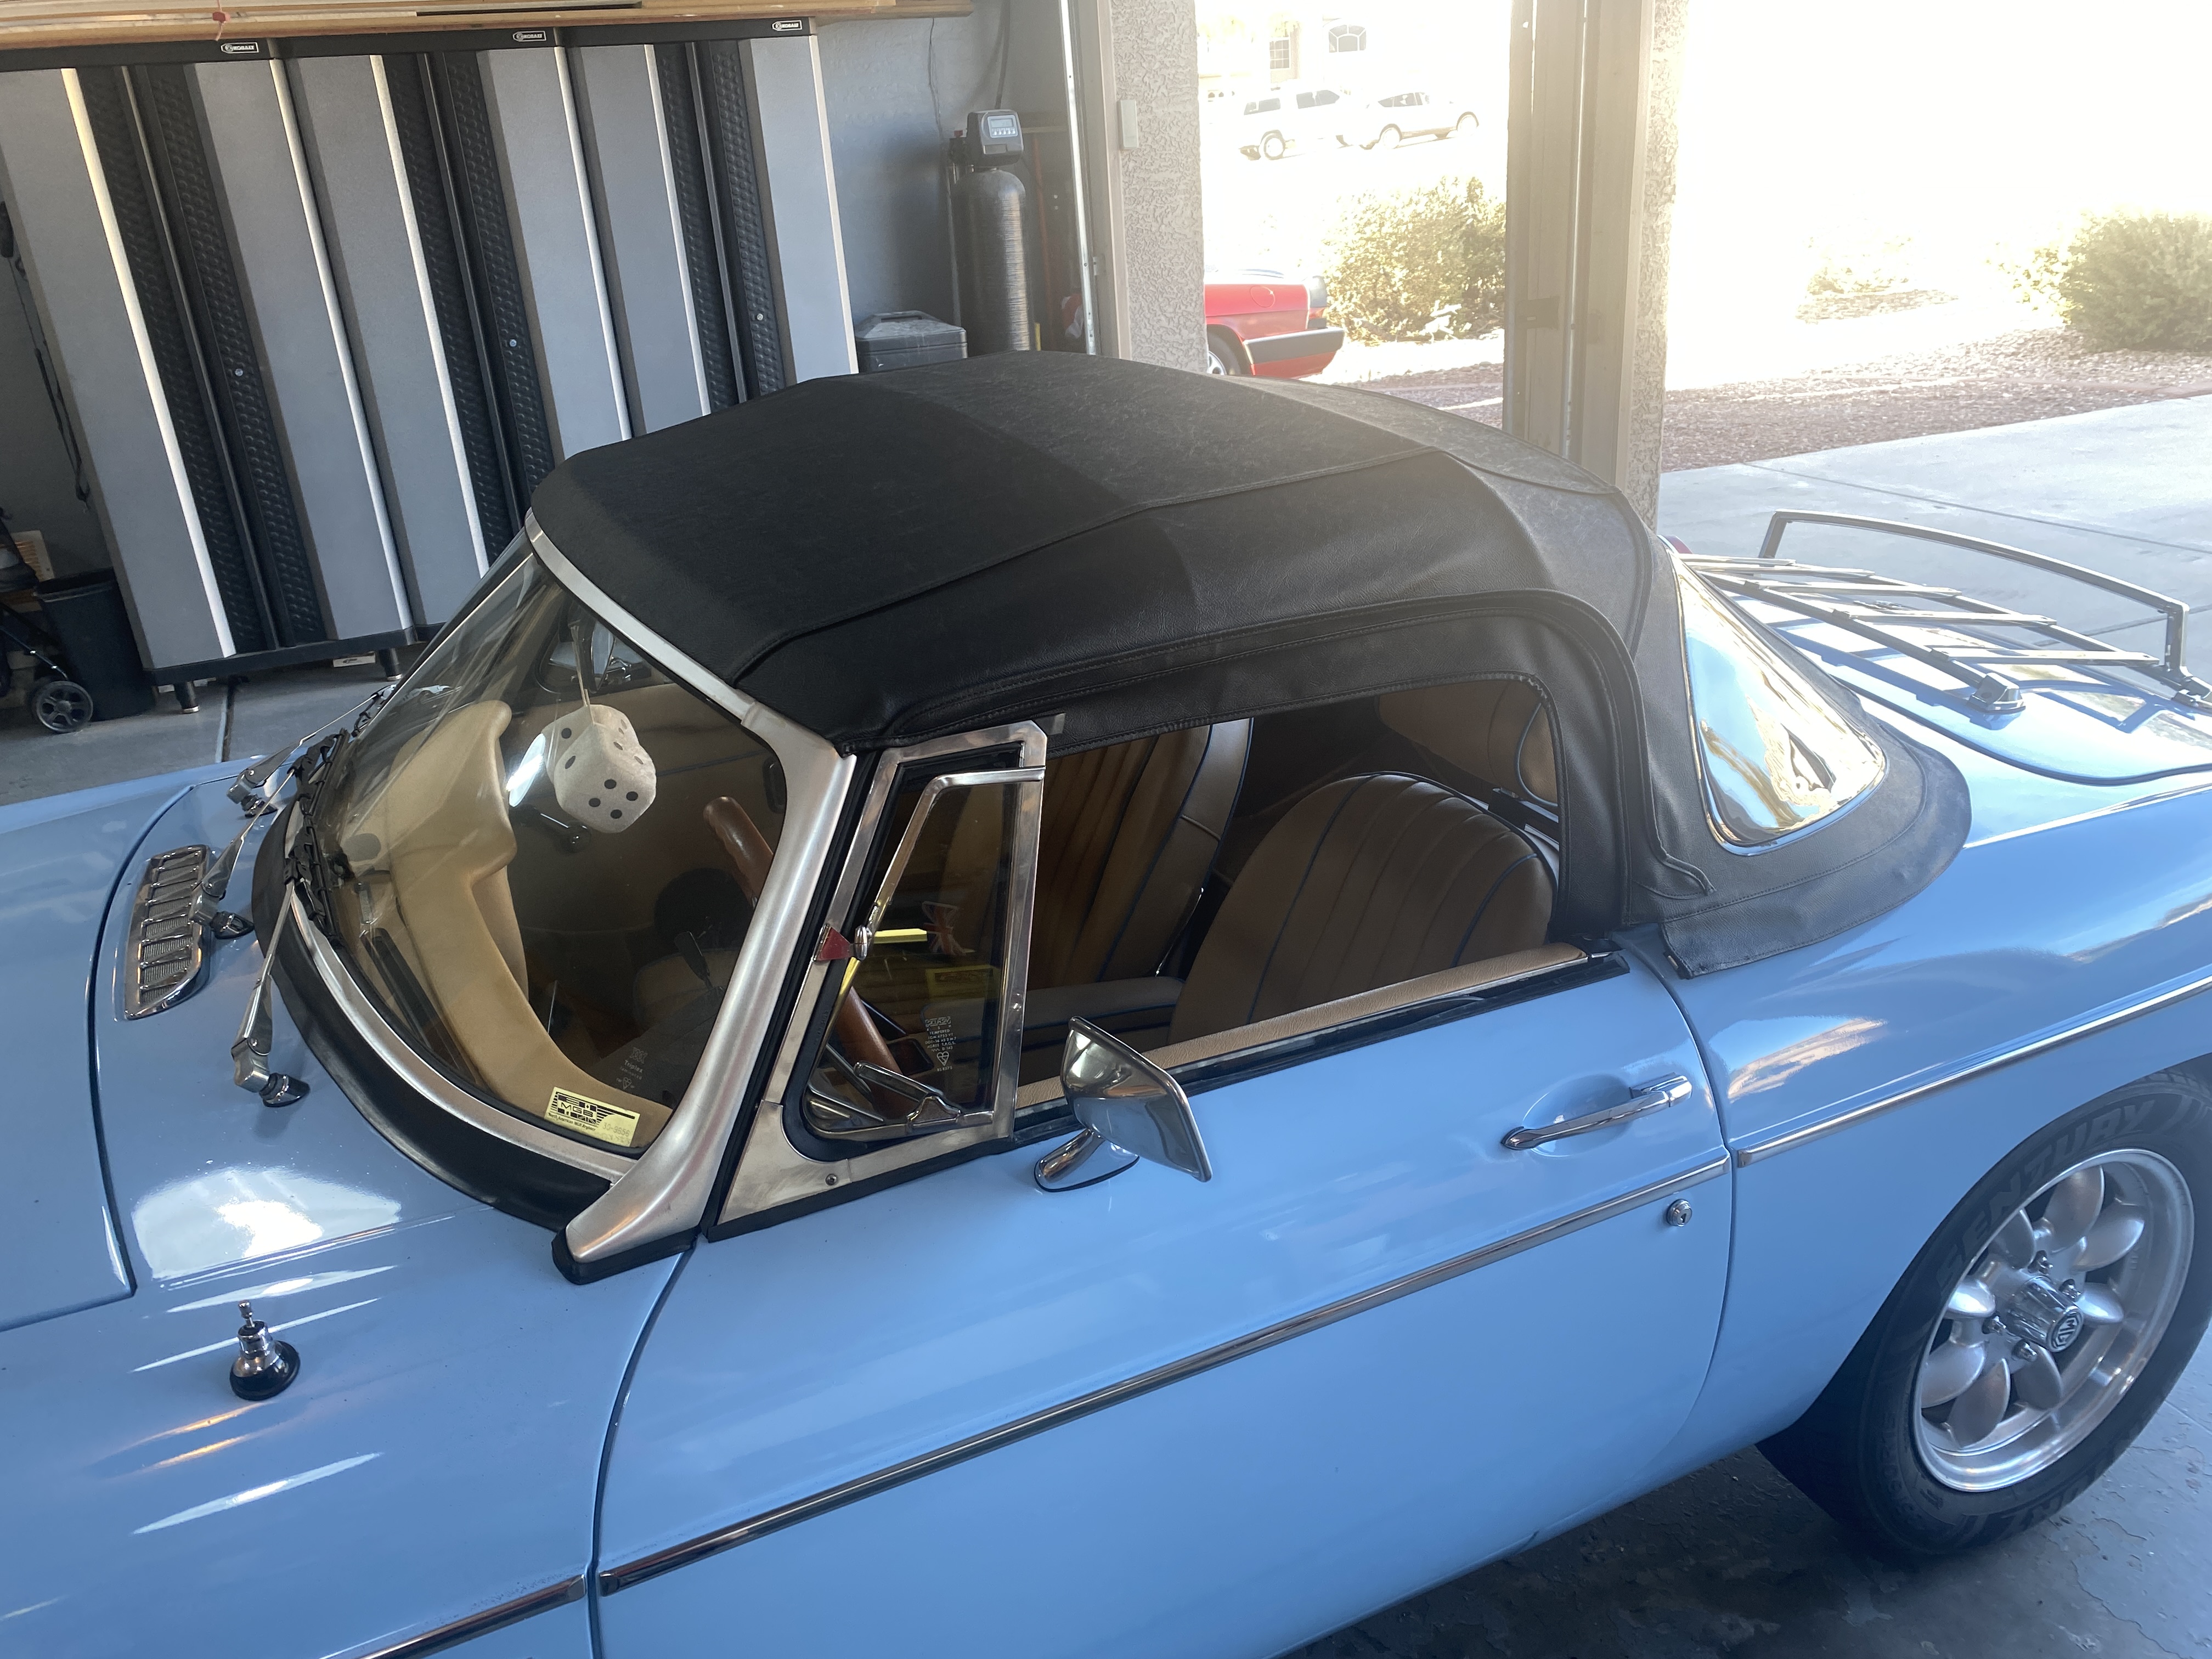
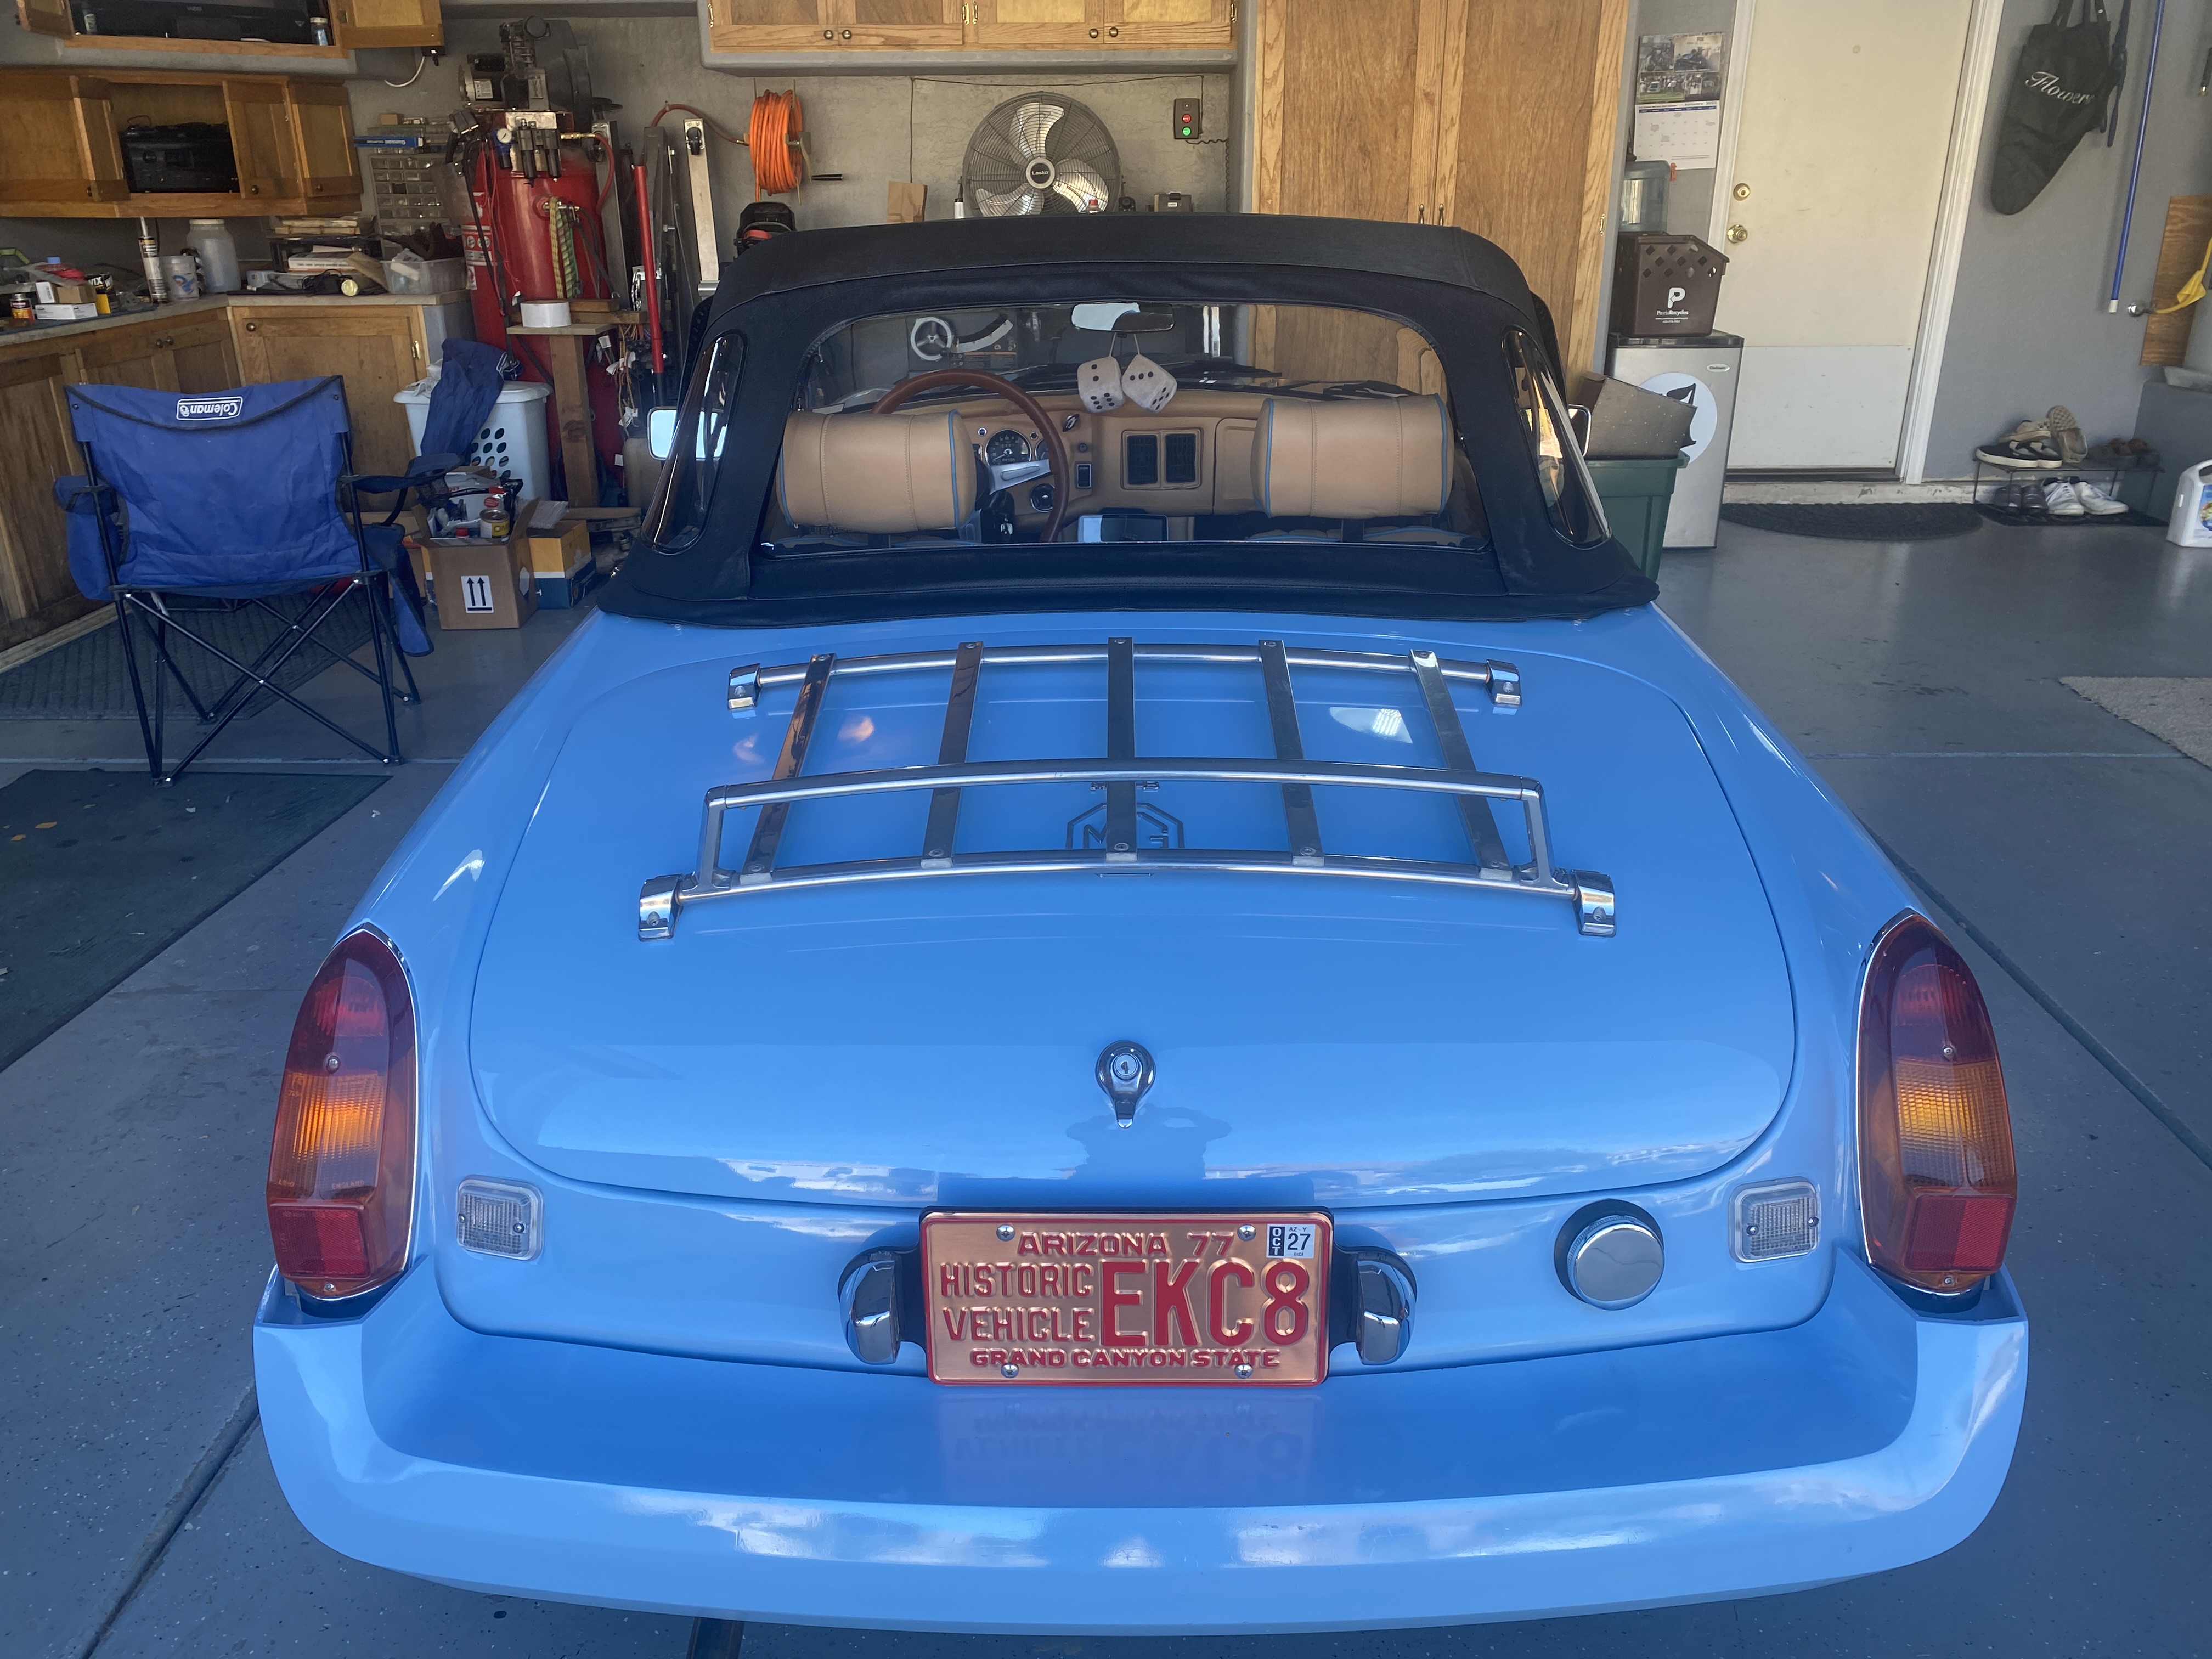
Alice has her hat on.

Installing the top was a lot less stressful than I thought it would be.  It helps that the top I bought from Prestige Auto Trim is a perfect fit and came with good instructions, though I modified them a touch.

First things first - raise the frame and lay the top on the car to see how close the fit is, attaching it to the fasteners.  It happens to be ideal.  In fact, Prestige even had a mark indicating roughly where the header rail would attach - and it happened to be spot on.  I left the protective paper in place until the end so I wouldn't screw it up and drip stuff on it.

Next, stretch the fabric to see how well it will line up with the header rail.  As I mentioned before, the top fit extremely well and matched the marks from Prestige.  The instructions say to mark the center of the material and the header rail so you can align those marks.  However, I skipped this as the top is not exactly large and it is pretty easy to see how it will fit by looking at the edges to ensure it covers the header rail.

The step beyond is the one that requires courage: attaching the top to the header rail with contact cement.  The instructions say to make a chalk line outlining where the header rail meets the fabric.  However, I already had it!  I used Weldwood contact cement, which comes in small bottles and are the perfect amount for this job.

I carefully applied contact cement to the header rail (which I cleaned well first) and the fabric up to the mark.  I let it dry for about 5 minutes, and then stretched the fabric and tacked it down in the center.  I then pulled fabric into alignment on each side.  You get a little working time and a couple of tries, but that's it.  I practiced this a half dozen times before applying the cement.

The result was nearly ideal!

Once dry, the next step is to attach the seal to the header rail.  The seal and its retainer come as a kit from Moss, which also includes the proper rivets to attach the retainer.  This also acts to hold the fabric in place to the header rail.  The seal fits into the retainer pretty easily as it is soft.

The top from Prestige also came with a nice extra strip of fabric on each side that helps relieve stress on the edges of the fabric.  I glued this fabric down with a little contact cement, then attached the seal retainer.  I had to punch holes with an awl through the fabric before attaching the retainer.  I used the rivets, and I modified my rivet gun to help it fit into the small gap available without bending the lip of the retaining rail (too much).  Lots of people use screws instead.

I then fitted the seal and attached the header rail to the windshield frame.  This is where your efforts really pay off - the top should be tight, but not drum-tight as it will shrink a bit in colder weather.

On my frame, there is a strip of fabric attached to the top around the back rail on the frame (the part that sticks up the most).  I applied contact cement and glued this together to encapsulate the rail.  This was not 100% successful, and I'll have to go back and use some thread to make it stronger.  But that's okay.

Finally, I attached the snaps to the fabric where it meets the windshield frame.  This is what provides teh seal against the window when it's up.

I am extremely pleased with the result!

The hood fits perfectly and the car is actually quite quiet when it's raised.  There is only a little wind noise even at highway speeds.  The rear window zips out as well.  I also bought a new boot cover for when the hood is lowered, and that also fits perfectly.

This was the last step to having a complete car.  Now, I can focus on improvements - and driving!


Read more »

Monday, January 2, 2023

Hood I

Now that Alice is running and driving well, it's time to make her more weather-capable.  That means it's time for the hood!  (That's 'top' to us colonists.)

The first step is to fit the frame to the car.  Actually the first step is to make sure the frame is in reasonably good condition.  Mine was not, but all the pieces were there and I was able to make repairs to one of the top bows and to tighten up the hinges that attach the header rail to the frame.  A lick or two of paint in the right spots and I was happy with the result.

Fitting the frame is not terribly difficult with a little luck.  In fact, it can be done by one person.  Juliette helped me, though.  The first time.  I shall explain later.

The frame is affixed to the car with six rather substantial screws.  If you are lucky, the nuts that those screws screw into will be in good shape.  I was not so lucky... or so I thought.  The frame has three attachment points on each side.  You can see one in the upper right corner of this photo.

Fitting the frame is as simple as hosting it into place and having someone on each side thread and tighten the screws, ensuring the attachment plate for the tonneau bows is in place between the car and the frame.  You have to open the frame a bit to get all three screws installed, but you can do one, then open the frame a little, then the second, open it more, then the third.

So I thought I was in good shape.  Juliette fitted one side and I did the other.  My side tightened down just fine.  But hers did not... and here I was thinking those lousy nuts were stripped out.

So we removed the frame.

Fortunately, Moss sells a repair kit for those nuts as they take a lot of abuse over the years. I ordered one, then I put a couple of screws in to hold the tonneau retaining plate and... they tightened down tightly.  No stripped nuts!

I'll have to cancel that Moss order, but in the meantime it was off to the hardware store!  I bought some alloy steel screws (blackened, even) and headed home.  Unfortunately, Juliette was not around.  So I made a big decision and did it myself.

It really isn't that hard if your lower back is in good shape.  I wrapped one side in a heavy towel and lowered the frame into the car.  I got one screw in on one side, then a second.  I worked my way over to the other side, removed the towel, and installed all three screws.  Then I put the last screw in place on the other-other side, and they all tightened up!

The result is a smoothly working frame that goes up and down properly.

Next time, I'll install the actual hood.  That might take a couple of shots of liquid courage.

Read more »

Saturday, December 31, 2022

Alternating Reality

A few days ago, Alice and I were happily winging our way home at about 8:00.  Suddenly, my dash lights went out. I thought I just had to fix the patched connector I had put together when my dimmer switch died. But then the radio quit. And then the lights got dim. And then I said, Uh Oh.

When I got home, I shut her off, and then turned the key to find absolutely nothing. So I threw her on the charger and went to bed.

The next morning, I took Alice off the charger and she fired right up.  I got my multimeter out, and was surprised to see 14 V at the battery. Puzzled, I reached over and turned on the lights. Suddenly I only had 12.5 V.  You know what that means - a new alternator!

I looked around and was not satisfied with the “OEM replacements” I found either in cost or output. So I figured I would upgrade a bit.  A little research on the Googles let me to the Bosch alternator upgrade by using a unit from a 1979-1980 Ford Fiesta. Unfortunately, the actual Bosch alternator (13107) is extremely rare. But I found a clone on Amazon for 70 bucks, and I figured I’d take a chance.

There is only one problem with this upgrade for my application. The connector on the back is not the same. For 1975, British Leyland decided a “little – big – little” connector was necessary, unlike almost every other year that used a “big – big – little” connector.  (I don’t understand what it is with 1975. Everything has to be different.)   Thankfully, the correct connector is available online and rather inexpensive. So I bought one for a tractor that happens to be exactly the same and saved a few bucks.

I was pleasantly surprised when I received the alternator. It came with a test sheet showing what my amperage would be at different RPM. Note that the RPM listed is the revolutions per minute of the alternator, not of the engine. On an MGB, the crank pulley is 6 inches in diameter and the result is a 2.4X multiplier at the alternator. However, the replacement alternator has a larger pulley and the resulting multiplier is only 1.7X by my measurements. I was hoping that would be sufficient because the Lucas alternator has a different shaft size and the pulley is not compatible.

Removing the alternator is simple. First, you must do this.

This is NOT OPTIONAL.  There is a lot of current that goes to the alternator. You will create a big mess and probably kill yourself if you do not disconnect the battery.

To remove the alternator, remove the connector from the back, disconnect the lead to the distributor and the temperature sensor, and move the harness out of the way. Then remove the three bolts holding it in place and take it out.

Fitting the replacement was just as easy. Transfer the adjuster bracket from the old alternator to the new one and install the alternator.  The fit is exact.

There is one small problem with this conversion. You will need a larger belt. The stock belt will not quite make it. Fortunately, it’s easy to find a replacement. A Duralast 15385 does the trick and is only $12 at your local parts store  

For most cars, you can simply plug in the connector and fire things up. However, I had to convert to the newer connector. A little digging on the MG Experience gave me what I needed.  The replacement connector was easy to install.

I hooked everything up and did a quick test before installing the connector body.  I’ll skip ahead a bit and tell you that everything went fine, so here’s a picture of everything tidied up.

I hooked up the lead to the distributor and temperature sensor, reconnected the battery, and turned the key.  Here is the before and after at the voltmeter.


Then, I turned on the lights.


Success!

This was an easy conversion with a good result.  It cost me less than $100 including the connector and the belt. The replacement puts out an extra 12 A.This is good as I have installed a couple of things that use a bit of juice.  I’d recommend this conversion if you still have the original Lucas alternator.


Read more »

Wednesday, December 14, 2022

We All Float Down Here, Georgie

In my last post, I mentioned that the front carb was flooding out and dumping fuel into the overflow / vent port.  I suspected the needle, but I was wrong...

There are a number of reasons why an SU carburetor might flood:

  • Damaged or worn needle/seat(s)
  • Incorrectly set or damaged float(s)
  • Excessive fuel pressure
  • Damaged fuel line (into or between carburetors)
  • Debris in the fuel supply (from lines or tank crud)
  • Damaged float chamber lid (cracked)

The usual suspect is indeed the needle and seat.  Those move and interact as fuel is consumed and pumped into the chamber.  Debris from the tank can cause a failure to seal, or the seat may develop a wear line.  Once the needle doesn't seat properly, fuel continues to get pumped into the chamber and out the vent.  Debris is easily managed with a filter in front of entry into the carburetor , and many cars have a filter at the exit of the pump.  (A filter before the pump isn't a good idea for our cars, as the filter may eventually impede flow into the pump and burn it out.  The pump doesn't really care if there's debris, unless maybe if you're trying to pump rocks.)

The second most common issue is an incorrectly set or sticking float.  The 'float level' determines how much fuel is maintained in the chamber.  The effect is to also set the level of fuel in the jet, since liquids in a connected chamber will equalize their level (and the jet with its needle is a very small chamber).  A level that's too high will dribble fuel out the jet and flood the carburetor throat, causing excessively rich mixture and poor running.  Too low a level won't draw enough fuel up into the jet and will cause excessively lean running.  There are differing opinions on how to do this - some swear by setting the level of the float by seeing how it sits with the float lid inverted, and others insist the best way is to measure the level in the jet with the piston and needle removed.  I find both work and ideally in conjunction; the first gets you in the ballpark but the second gets you a precise setting, especially for more inclement (hot) weather.  The first is easy; the second is less so.

Then there are more uncommon failures like a float that has a pinhole and 'sinks', meaning it won't rise to block the fuel inlet, or a cracked lid where fuel can leak past the base of the seat.  Old fuel lines or those that do not handle ethanol fuel can cause problems by flaking particles into the fuel flow even after the fuel filter.  This causes frustratingly inconsistent behavior.  Too much fuel pressure can overwhelm the needle's ability to block fuel input and cause a similar problem.  With an SU pump, this is generally not likely as the pump only puts out a maximum of 3.8psi.

In my case, it was the floats - but in a way I still can't fathom completely.

I went through everything else first, of course.  I mean, the floats were new and the 'guaranteed to float' expensive ones.  The needles were new, but the brass tip types.  And the car would run fine forever if I didn't drive it... but even going down the block would cause the problem to occur.

I checked the float levels repeatedly.  I changed the needle and seat twice: once for Viton-tipped needles, and once for Mini Spares' updated design that is similar to, but not a Grose-Jet.  I even verified the float chamber angle was correct and changed the rubber isolators that hold the chamber to the carb body.  I disassembled and reassembled the carburetors.  I even changed the fuel lines.  After all of this, the problem moved from the front carb to the rear carb.

But what didn't I test?  Yup, you guessed it - the floats.  So I took the floats off and tested them.

You're expecting me to say that I found one that sank or showed a pinhole.  But you'd be wrong!  Both floats floated fine even after extended immersion.  I was sure that was going to be the culprit.  In a way, I was correct, but I am not exactly sure why.

I decided to change the expensive, guaranteed-to-float floats for a set of cheap plastic non-adjustable floats I had in my bag-o-carb parts.  I set the float height with shims under the seat.

And the problem disappeared.  I've put over 50 miles on Alice since without a hint of a problem.

My theory is that one or both of the floats was somehow sticking in the chamber.  I don't see how that's possible.  Perhaps the needle was binding up on the adjustable float arm, and that is my most likely theory.  The non-adjustable float has a flat surface and limited movement.  However, I use these same floats in Gidget without problem... so maybe one float is "bad" in a way I can't see visually.

I guess I can accept a good result here.  It means that I can get back to finishing up the other items on my punch list to get Alice fully roadworthy for my daughter!  I did rewire the stereo and replace the window seal, though that one is less than 100% complete in my mind.  It still rolls under and I suspect the door is somehow distorted.  I tightened the hoses into the heater box and the coolant smell is diminished, but still present.  I replaced the speedometer, but I get to do it again as the one I installed doesn't read properly (again).  And I did replace the dash lights with LEDs, so night driving is possible.  I still have to get to the hood (top) and replace the speedometer one more time.

Read more »

Monday, November 14, 2022

Driving On To The Green

In my last post, I talked about my (successful) last-minute rear suspension rebuild on Thursday.  Friday was a bit of an adventure too.  But we did make it on to the field!

Friday, I took Juliette out for a drive in her car.  (Cool.)

Juliette quickly mastered the Art of the Third Pedal.  She just needs practice.  Unfortunately, she didn't get enough... after an hour of driving around, we were about to head home - and Alice stalled.  No amount of cranking would get her started.

I ended up having to tow her home with my neighbor's help.  It took a while, but I did figure out the problem.  The front carburetor float bowl is overflowing and dumping fuel into the evaporative system.  When it backs up, the carb can't pull fuel through the jet and it stalls even though you can smell gas everywhere.  I have new needles and seats on order.  I had replaced them, but I suppose sometimes that kind of thing just happens.

So once she was running again, I drove her about on Saturday (including to the grounds to help set up, and get oohed and ahhed over).  She does run great when this isn't happening!  But I also discovered that the 4th gear synchro is basically gone.  It just barely holds up when shifting, slowly, and letting the car drop to near idle.  I also found that the transmission will pop out of 3rd gear on overrun.  So the transmission needs a full rebuild - and I think I will just find another one to rebuild into an overdrive.

Anyhow - we made it to the show!  On Sunday morning I drove Gidget, then Alice to the grounds, and Juliette drove Alice onto the field.  She parked her, too.  Uphill and in reverse.  Super awesome!

Say hi to Finn.

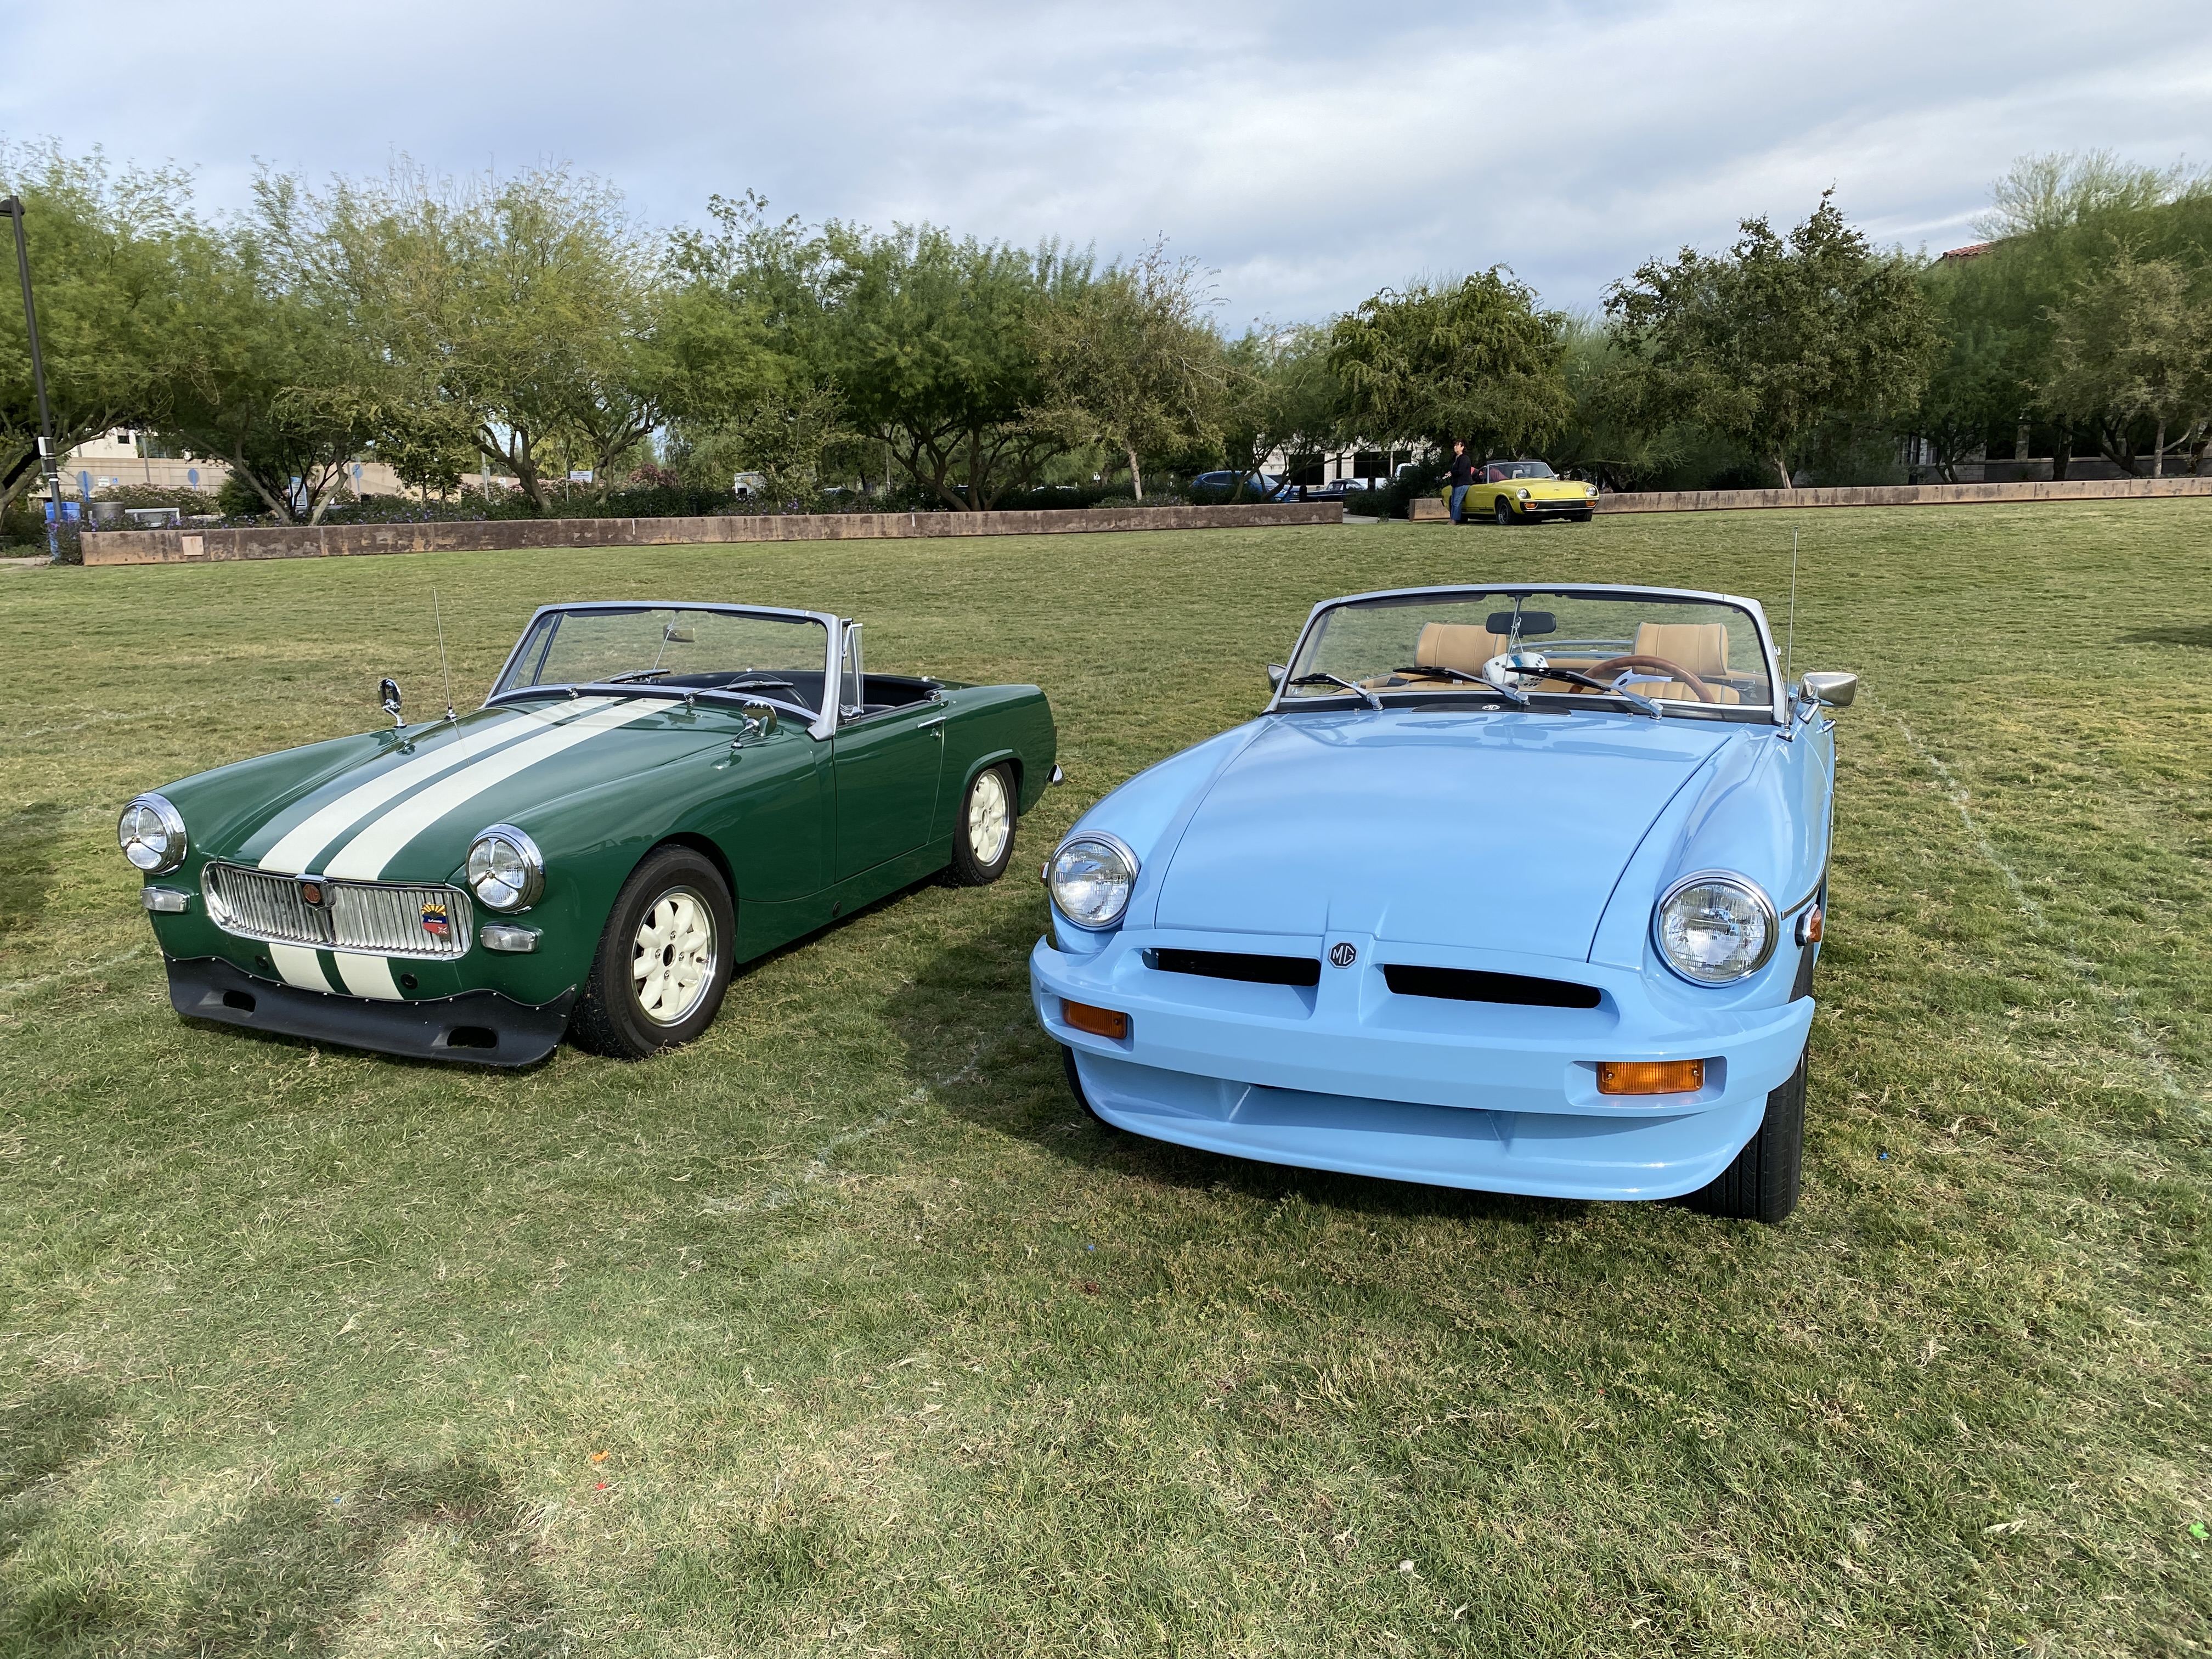
The best part is that Alice took 3rd place in her class!  Not bad for a last minute job and no time to even cut, buff or wax.  She looked great (Alice, that is) and got lots of attention.

Now I have two cars to fawn over and take care of!

There's still more to take care of - I have to rewire the stereo to use the front speakers, and fix that fuel overflow issue.  I need to replace the window seal on the driver's door, so I will have to take the door apart.  Ugh.  I also need to do that front suspension rebuild.  The speedo's trip meter quit, so the dash has to come out for that.  While I'm there, I will replace the bulbs with LEDs so they can actually be seen at night.  There's a smell of coolant coming from the heater - oh please, let that not have to come out too!  And who knows what else with a newly assembled old car. 

Oh, and I have to install the hood.  You know, the top.

But hey, I went through stuff like this on Gidget.  And Alice has a lot going for her.  Her engine is strong with good oil pressure and performs well.  All her electrical stuff works.  (The horns are very loud.)  The interior is sweet.  She's fun to drive.  I'll get these little glitches ironed out and take Juliette for another drive.  Soon, she'll be driving Alice to school.  I can't wait!

Read more »

Last Minute Fixes

After getting Alice drivable (and insured, and registered), it was a frantic couple of days to get her capable of being driven to the show.

When I went on my test drive Wednesday night, I found that the car was squirrelly under braking.  The whole car would dart randomly right or left.  I did some research and the consensus was that a loose rear U-bolt could cause this behavior.

I had taken Thursday and Friday off so I could take care of last minute show details.  It turns out I needed to take care of last minute car details instead!

In the end, it was the rear suspension that was faulty.  I did a frantic rebuild in 8 hours on Thursday to get things put to rights.  Here's the tale.

10:00 AM

At about 10 o’clock Thursday morning, I jacked up the rear of the car and started my inspection.  Nothing looked terribly amiss with the U-bolts, but I was able to move the axle back and forth a bit more than I thought was okay.  I decided I had no choice but to go forward with a rebuild.  Fortunately, I had purchased all the bushings I would need long ago.

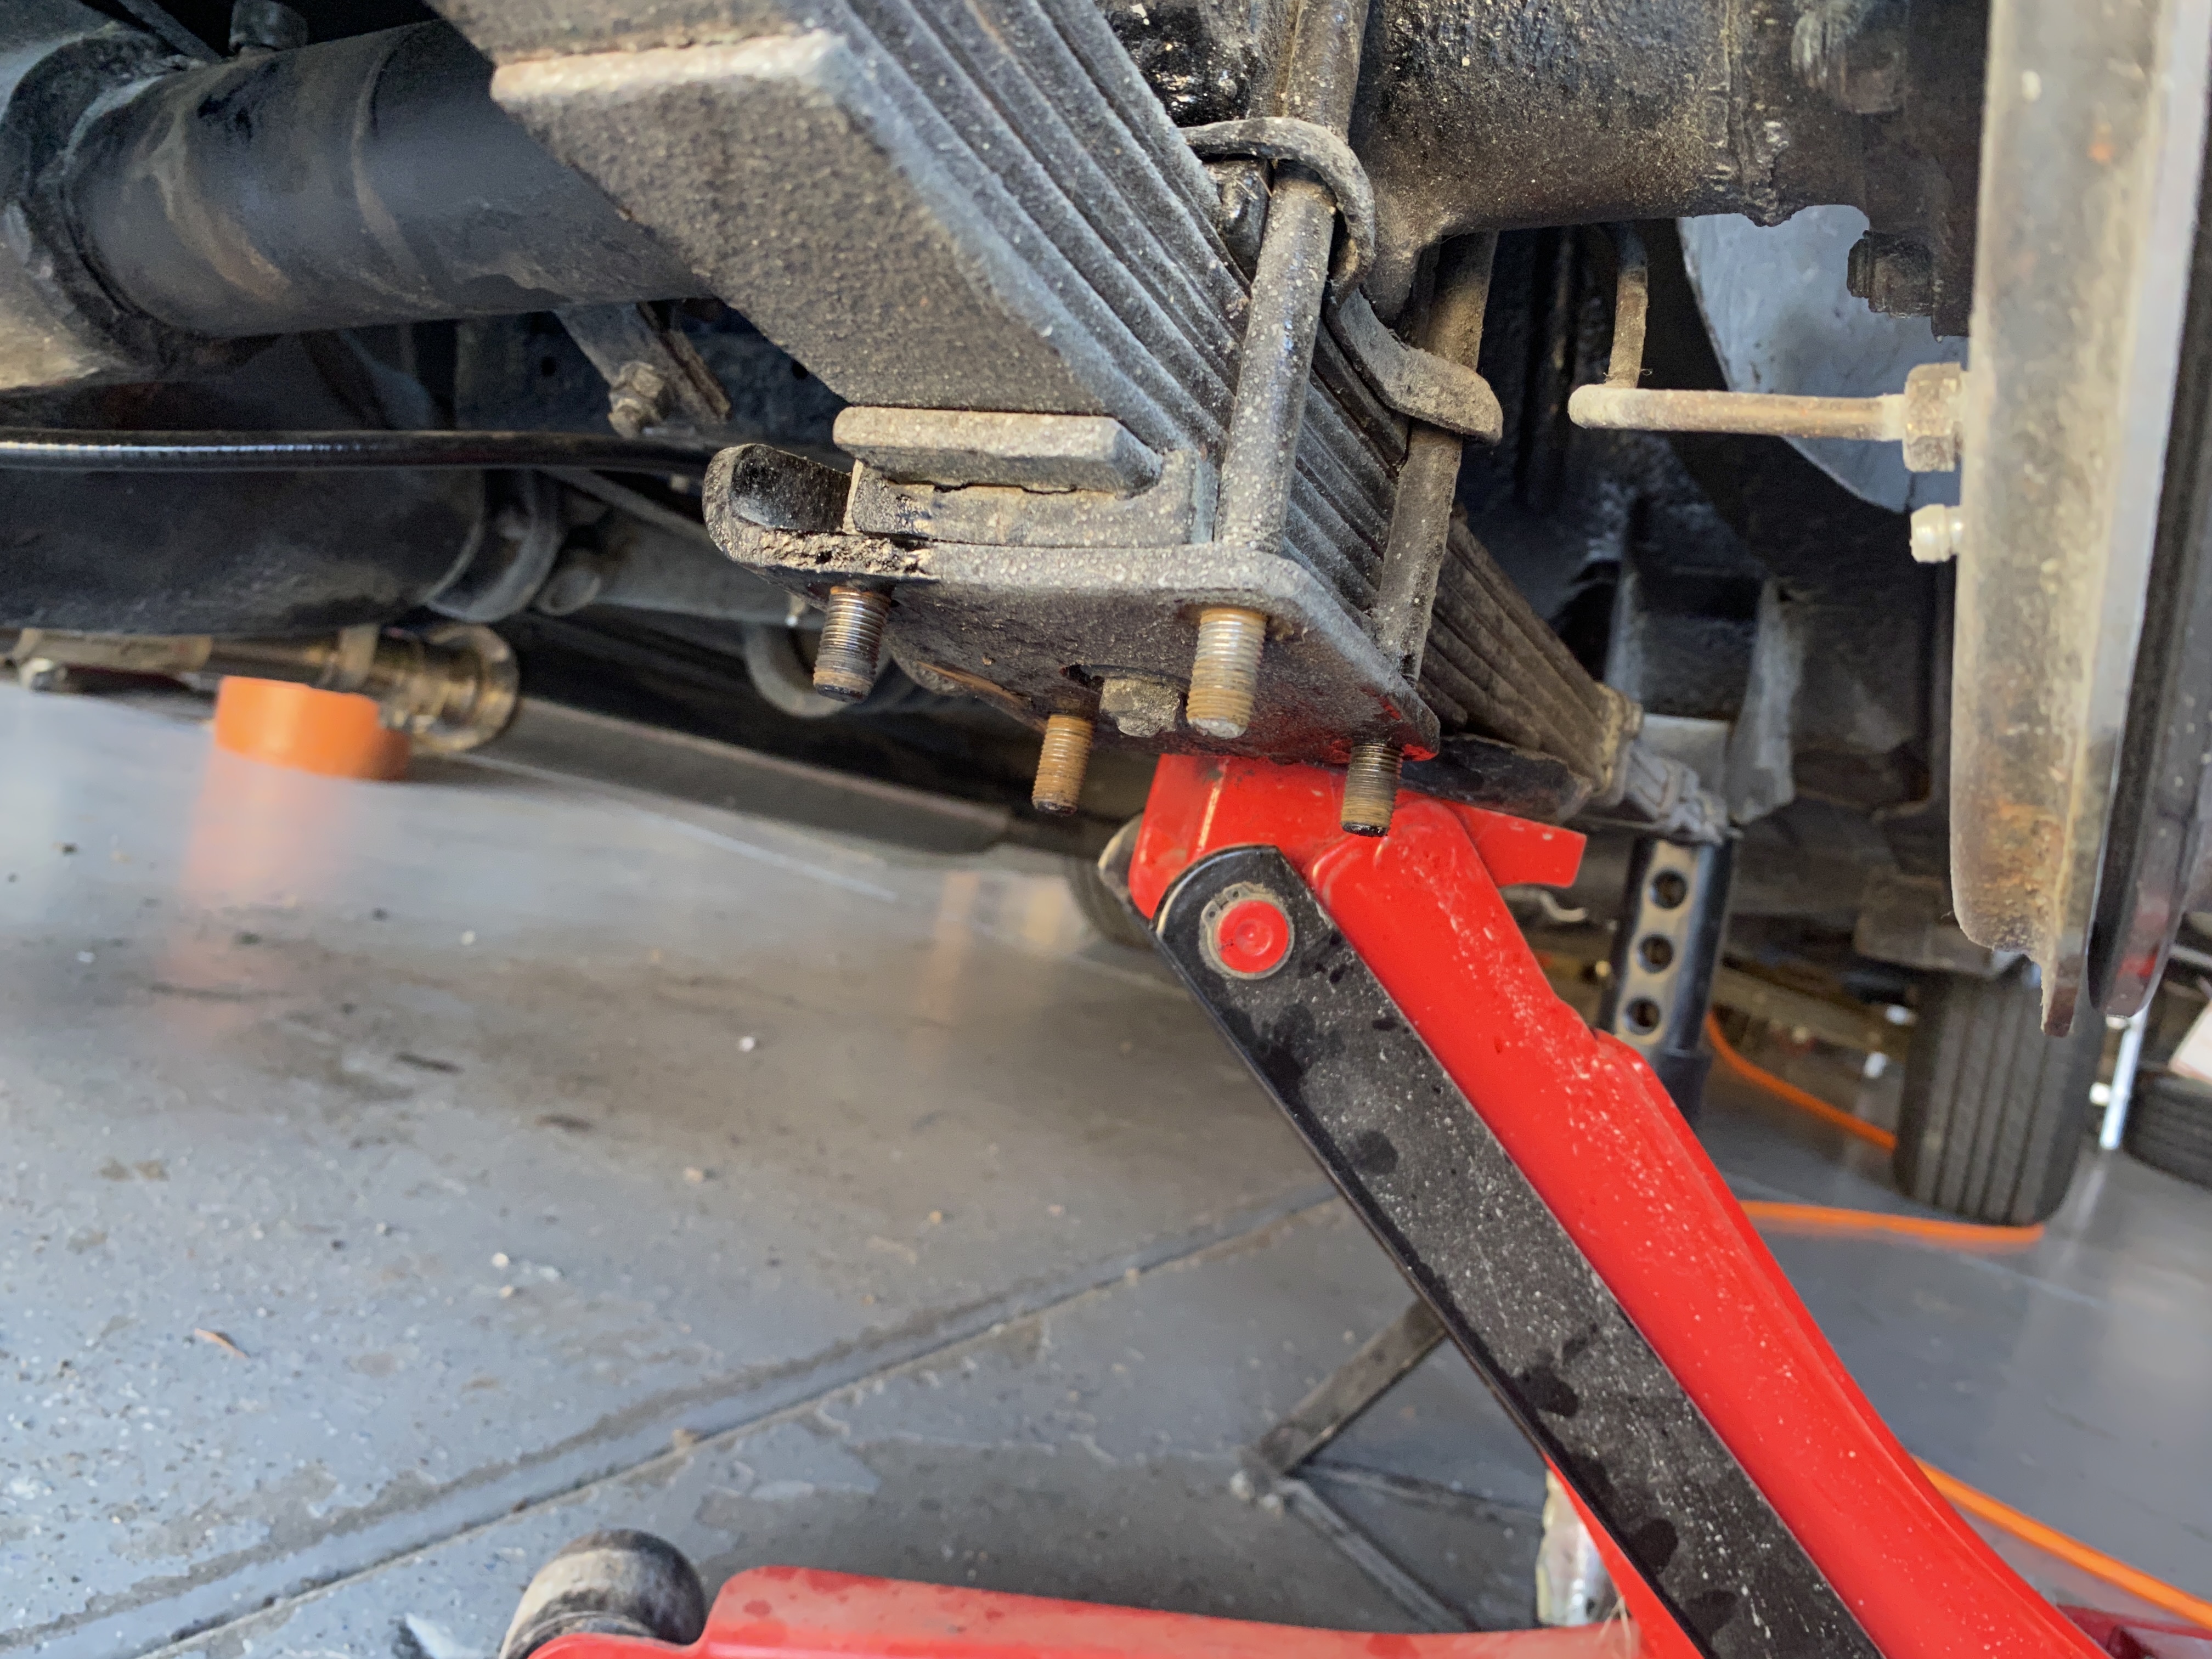
I started by jacking up the driver’s side of the car, removing the wheel and supporting the axle.  I had a jack stand whose head fit right into the bracket for the front leaf spring support.  That gave me access to the bolt while supporting the car.  I then placed my jack under the leaf spring just in front of the U-bolts so I could support the spring while removing the nuts.  As I didn’t have replacement U-bolts handy, I was extraordinarily careful to not break the bolts while removing the nuts.  Thankfully, they all came loose with application of heat and penetrant.  I then supported the axle with another jack stand and slowly lowered the jack to allow the spring to come loose.  It took a little prying – everything was basically glued together after 47 years – but it did come free.  I removed the U-bolts and bracket and cleaned them up, including chasing the threads.

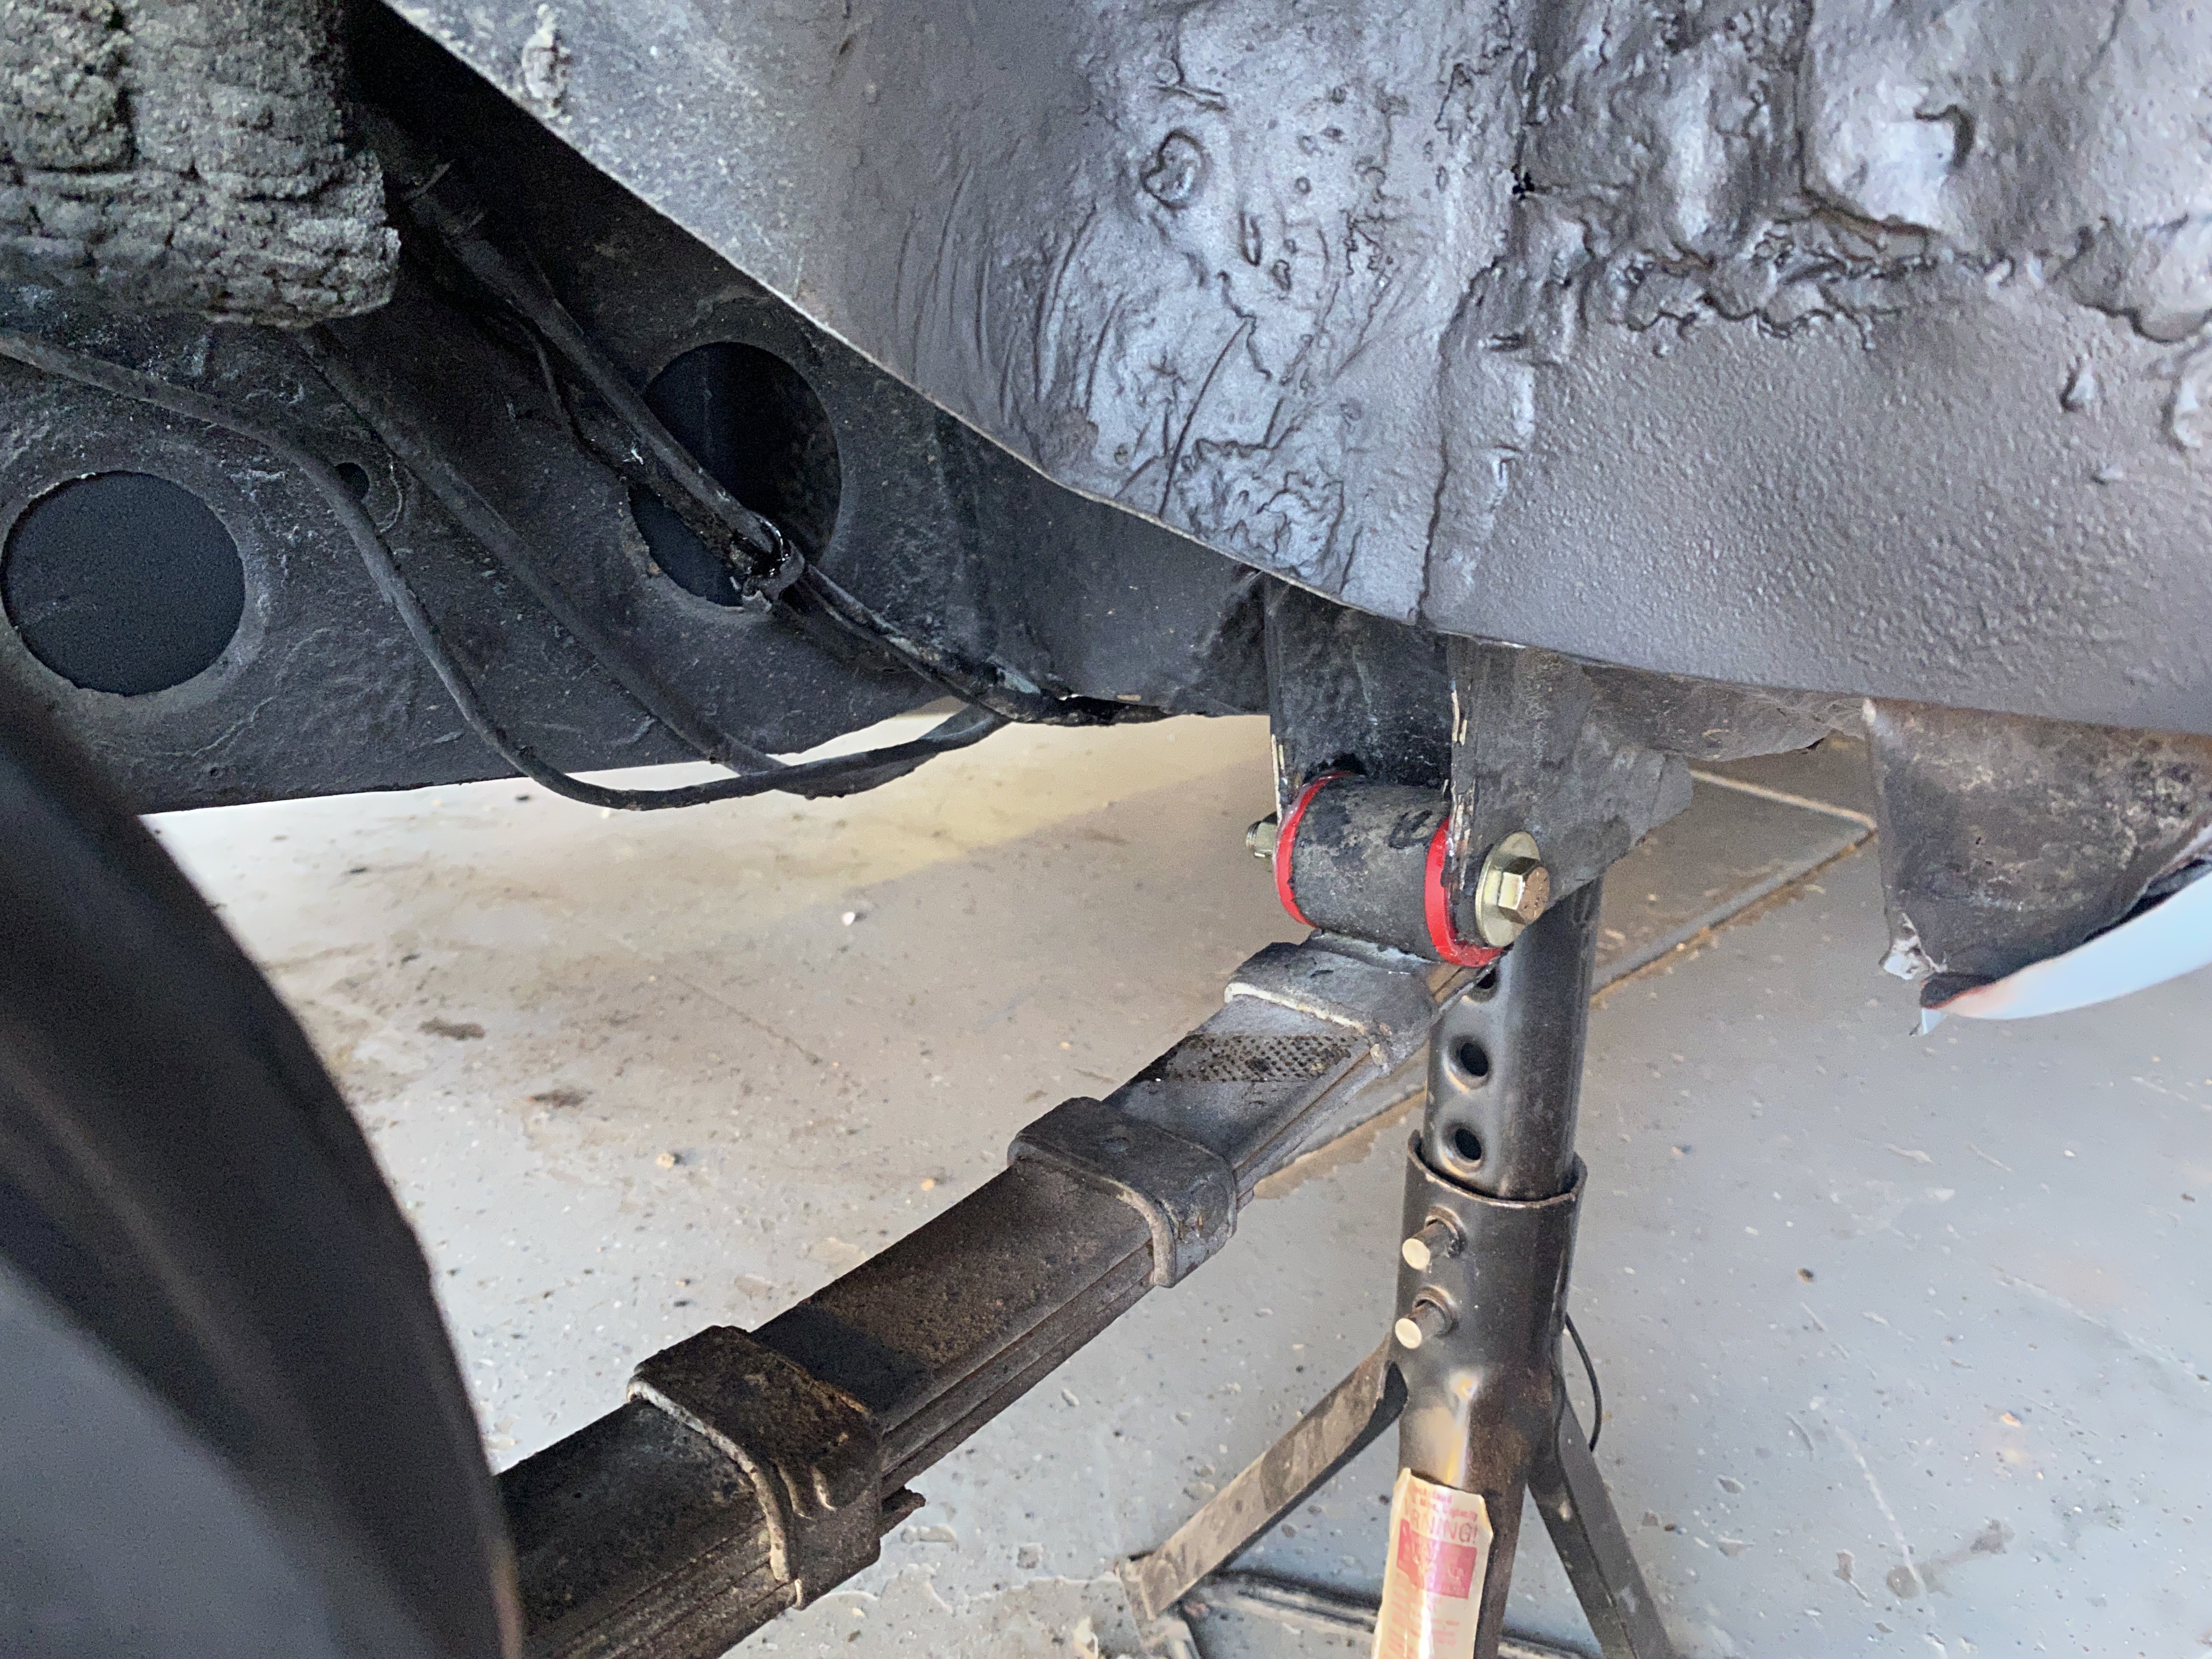
(These pictures are all of the passenger’s side, but you get the idea.  I completed the driver’s side and took pictures of the passenger’s side once I knew what I was doing.)


10:45 AM

Once the spring was clear of the axle, I worked to move the spring from its rear shackle.  They came off with some persuasion, but the shackle was left intact.  I cleaned up the shackles and chased the threads for easier reassembly.

11:30 AM

I moved on to the front bushing.  This is held in place by a long (7/16 3.5” grade 8) bolt with a spacer inside the bushing.  I ended up having to cut the bolt free as it had seized to the spacer, which is typical.  I heated up the bushing to give a little extra room between the spring and the bracket, then cut it free with a 4” cutoff wheel.  The spring was free at last!

And I identified the root cause of the wayward behavior; a large chunk of the front bushing was missing.  The front of the spring was able to move ½” forward and backward.

Scaaaary.

12:15 PM

Once the front bushing was removed, I cleaned up the eye and pushed in new Prothane polyurethane bushings.  These are easy to press in by hand as they come as a split bushing.  I applied the supplied lubricant to the outer and inner surfaces, hand-pressed them in and inserted the spacer.  This was ludicrously easy.  The same was true for the rear bushing.  Having already cleaned up the shackle, everything went together like I knew what I was doing.

1:00 PM

I headed to the hardware store to buy two grade 8 new front spring bolts, nuts and washers, and all new lock nuts (14 in total – 8 for the U-bolts, 4 for the shackles and two for the check straps).

1:30 PM

I headed back to the hardware store to buy two longer front spring bolts.  I am glad the store is less than 10 minutes away.  I shall not speak of this again.

1:45 PM

Now that I had all the correct parts, it was time to reassemble.  The front bushing went in first with a little lubricant, then the bolt and flat washer, and then I cinched it up with the new nut and washers.  The rear shackle was a bit of a challenge, though.  I had a hard time getting the bushings to fit into their holes.  I had to scrape and clean out the hole, as it had rusted somewhat, and I was finally able to get the bushing in place and accepting of the shackle.  I was then able to fit the spring and shackle permanently.

2:15 PM

With the spring in place, I installed the top and bottom spring plate bushings and U-bolts.  I jacked the spring up to mate with the axle.  I had to hold the bottom plate where the damper link attaches out of the way, as I didn’t remove the damper or its link.  Once the axle was centered on the spring, I was able to push the bottom plate into position and tap the U-bolts down.  It took a bit – but I got all four nuts started on the U-bolts and was able to cinch them down by working incrementally on each once until they were all snug.  Surprisingly, this didn’t take very long.  I love it when a plan comes together.

2:30 PM

I replaced the check strap by applying heat to the bottom bolt, then a cutoff tool, and was able to remove the nut without damaging the fitting.  I broke the top bolt off since I could replace it easily.  I had new nylon check straps (highly recommended over the rubber ones) and the strap fit without much trouble.

3:00 PM

I refit the wheel and lowered the car.  The driver’s side was done.  I was in a hurry, but I took a 15 minute break before starting on the driver’s side.

3:15 PM

It took me less time to do the passenger’s side because I knew what to do.  The U-bolts were a challenge and I had to cut one of the nuts to get it to loosen.  I had more of a struggle with the rear shackle as the gas tank was close to the shackle.  There was just enough room to be able to carefully apply some heat and ever so cautiously remove the bolts. Then it was a fight to get the shackle out as the bushings were stuck pretty fast.  It took about 20 minutes, but it finally came free and I was able to drop the rear of the spring.  However, I was incredibly lucky and the front bushing’s bolt came loose from the spacer, and I was able to drive it out relatively easily.  I suspect this had been worked on previously as the bushing was intact.

4:30 PM

I cleaned up the shackle and spring, hand-pressed in the new bushings and refit the spring to the car.  At least I didn’t have to make a third trip to the hardware store.

5:15 PM

I fit the axle to the spring and cinched everything up.  I am missing the bottom centering plate on the passenger’s side and will replace it once I find one.  (I did order one and installed it later.)


5:45 PM

I replaced the check strap.  Again, I broke off the top bolt as I didn’t want to apply heat near the fuel pump.

6:00 PM

I refit the wheel and lowered the car.  Job done!

This was an 8-hour job, right down to the minute.  And it was a success.  A test drive (after cleaning myself up) proved the car stopped straight and well even under hard braking.  It was an exhausting job; you may have noticed there was no mention of lunch anywhere in this timeline.  I worked straight through with just a short break.  I suppose my trips to the hardware store count as breaks too.

This is not a job to be undertaken lightly.  It is hard work and normally this would be done by dropping the rear axle and springs, rebuilding the assembly, then refitting the whole thing.  I was desperate and was glad it was even doable.  I am impressed I was able to do this in a day.  Now, I need to do the same to the front suspension – it’s okay, but I can tell the bushings need to be replaced.  At least I have more time for that job!


Read more »